How to upload WordPress image from frontend with a plugin

Uploading images is one of the most important things when talking about a website, as the images are, basically, what give the style of a site without images a site could look too old or could not get the number of customers/users we would like to get.
Apart from this, giving the possibility to your users of uploading images in the frontend could give you many advantages such as allowing them to download documents or any picture they would like to use for, for example, a profile.
In this post, we are going to evaluate a few plugins that allow us to achieve what we want to do.
Say goodbye to messy media library.
WP Media Folder lets you categorize files, sync folders with
cloud storage, create amazing galleries and even
replace images without breaking links.
Optimize your media workflow today
Table of content
How to upload WordPress image from frontend with a plugin
Here we will discuss several ways to upload WordPress images with several types of plugins.
Upload files in the Frontend using a Form Plugin
One of the quick and most accessible ways is using a form plugin, this is useful when we need to create, for example, a contact form where we need the user to upload a document or any useful info using an image.
There are many plugins that allow you to create forms with a file upload field, one of these is Contact Form 7 which allows you to upload files to your site in the frontend for free.
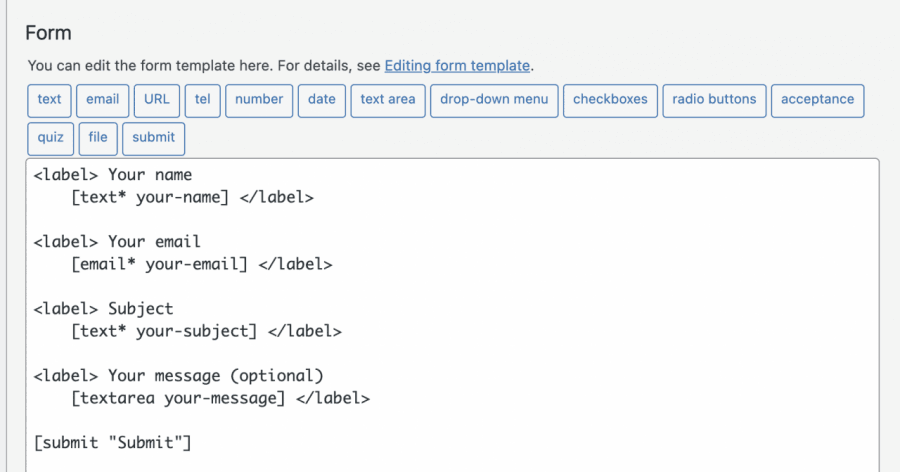
So in order to use forms to allow your users to upload files in the frontend, we will need to create the form first, so after installing the plugin, go to Contact > Add New.

In this screen, you will have some HTML tags with the shortcode for each field inside, by default, a form is created with the basic fields.
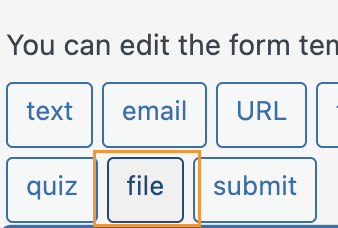
As we want to add a file upload field, click on the place where you want to add the field and then click on the file in the available buttons/options.
This will open a popup where you can set limits for your file upload, add all the limits you want, and finally, click on insert tag.
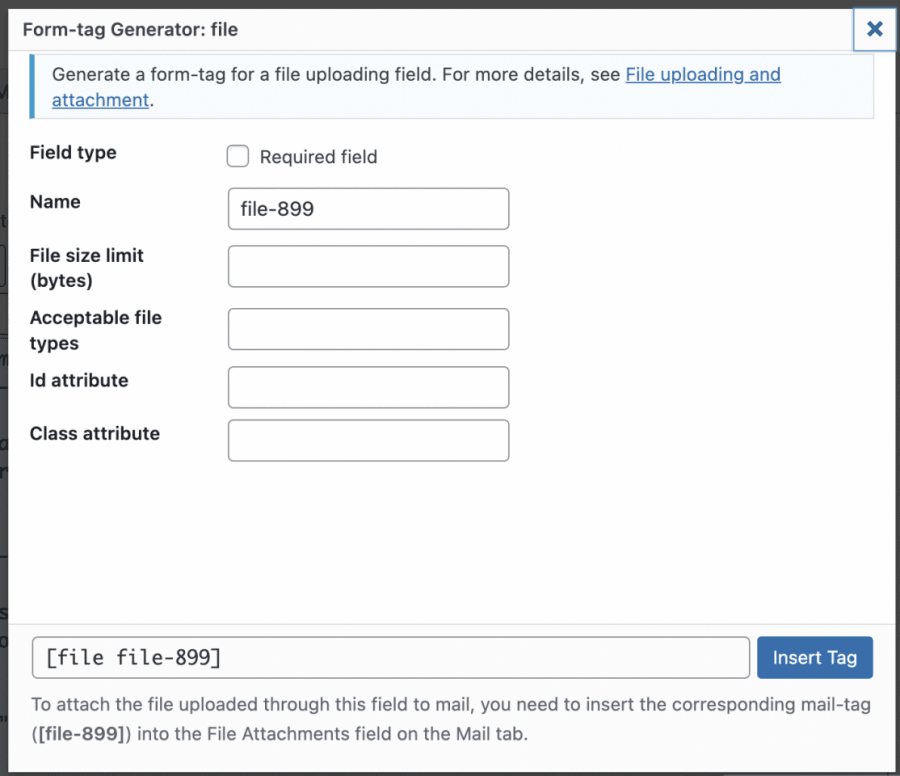
This will add the shortcode for the field in the form content.
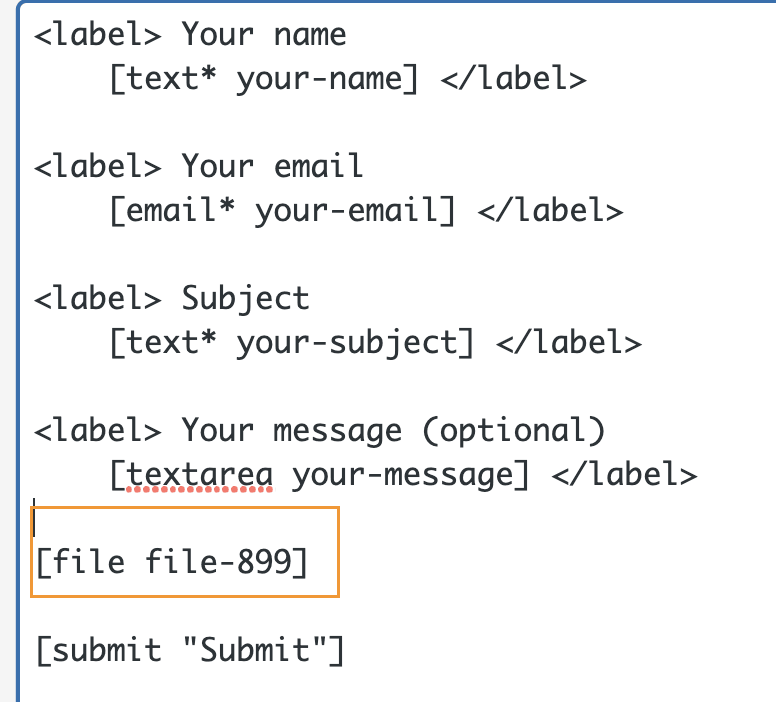
Now you can customize as much as you want your form, add other fields, or add HTML and also CSS if you want as the form admits all that kinds of customizations.
When everything is done, you can add a title and click on Save.

This will generate a shortcode that you can use to embed the form in your post or page, copy, and then use the block available in your page editor for adding a shortcode, in this case, we will see how to add it with the Gutenberg Editor.
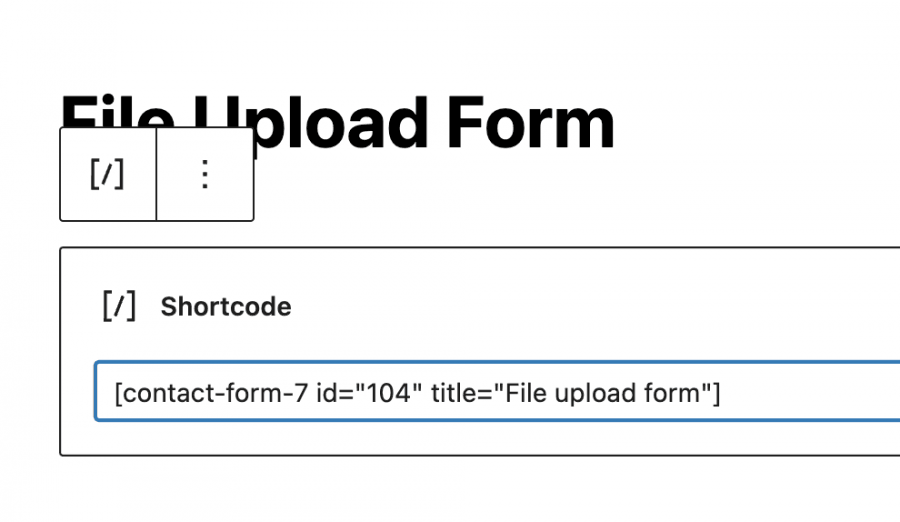
Now you need to publish it and you'll be able to see the form with the fields that you added and the file upload button.
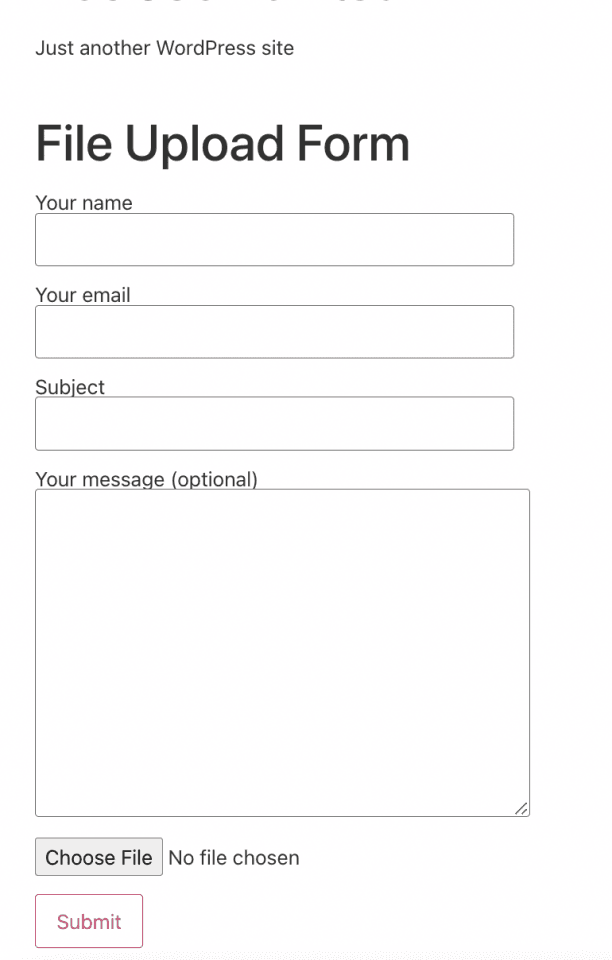
All you need to do is click on Choose File and select the file, in this case, your image, from your folders on your PC.
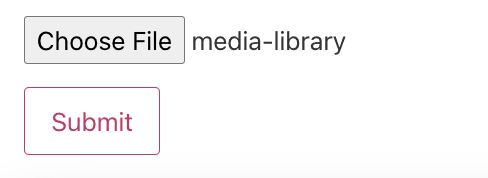
After clicking on submit, it should be done and the image should be now on your site.
This way your users will be able to upload images to your site, along with some other info we may need like the name or email from the person who uploaded using a form, really simple and functional.
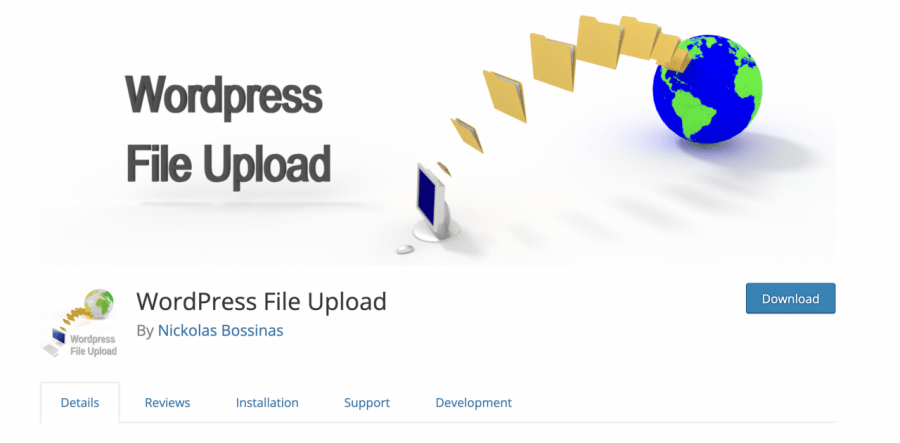
Using the WordPress File Upload Plugin
Now that we saw the normal "old" way, let's see how to upload an image but using this plugin that will allow us to embed a file upload option in any post or page without needing to fill in other info or create a form at all.
First of all, we need to have the "WordPress File Upload" plugin installed as this will give us all the options needed to create the file upload option.
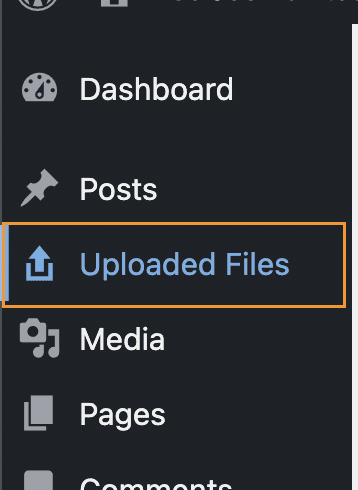
After having this plugin active on our site, we should be able to see a menu option available to check all the files we do upload using it.
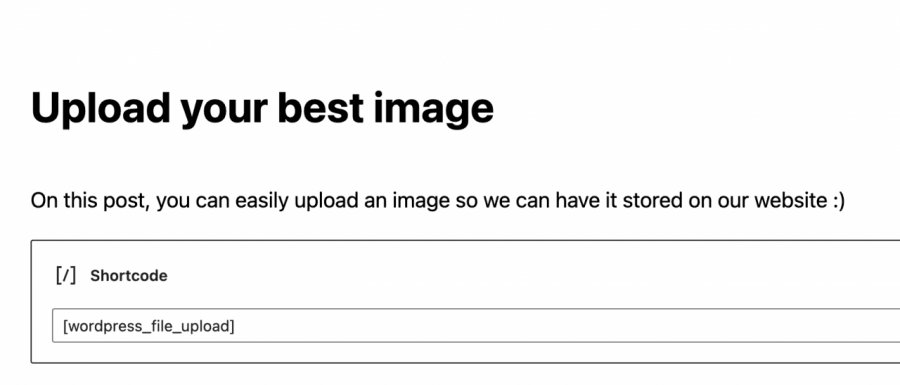
In order to use it, all we need to do is add a shortcode [wordpress_file_upload] where we want to display it, in this case, we have a post with some info prepared where we added the shortcode so you can check how it would look like in the Gutenberg Editor and the frontend.
Gutenberg Editor
Frontend
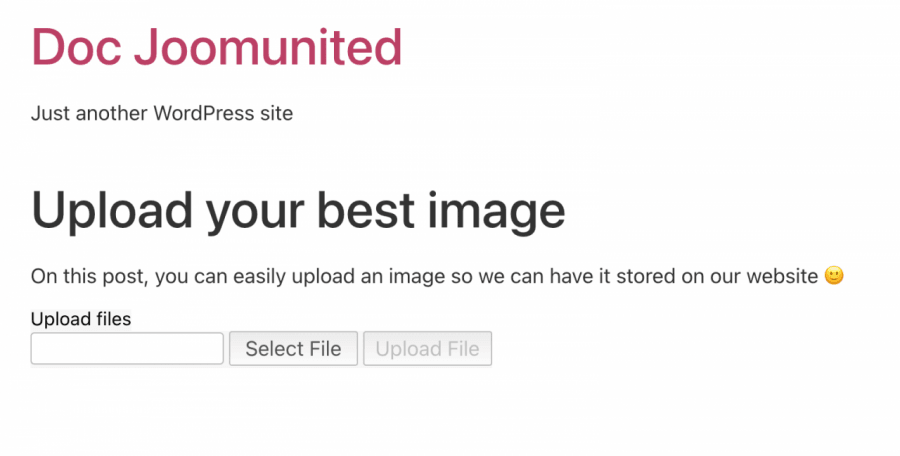
Now that our upload form is added, all you need to do is click on "Select File" to explore your PC files, and finally, click on Upload File.
Clicking on this button will allow your user to upload an image or file to your site, and the best part of this is that we can select where in the server we want to upload the image directly under the plugin settings as well as how it looks like and many other settings for the form.
The main place where we can check the uploads will be in the "Upload Files" option in the left menu from the admin dashboard, this is the main page for the plugin where all the files uploaded are displayed.

As you can see an easy and functional plugin that will allow us to get images from our users without a major inconvenience more than pasting the shortcode in the backend and waiting for the users to upload the file.
Manage Media per user role using WP Media Folder
As we can see there are many ways to allow our users to upload images and files in the frontend but the thing in those cases is that the images could be uploaded "randomly" and we could not have exact good control of where these are uploaded, no worries at all! WP Media Folder to the rescue.
WP Media Folder has a special tool dedicated to managing the access to your media library, this could be really helpful when you want to control who uploads images and where as well as if you want to allow your users to manage their own media directly in the media library without being able to see other roles/users media.
First of all, we need to have installed WP Media Folder, this is the plugin that will allow us to use all the available features to make this work.
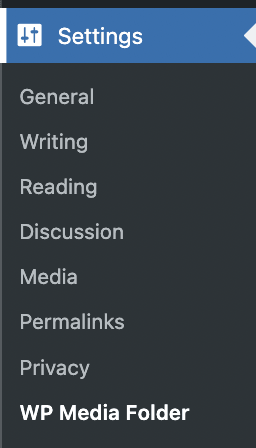
Now that we have installed it, we will need to enable the option to limit the access, for this, go to Settings > WP Media Folder, and we will be able to see the WP Media Folder main configuration page.
In this section, navigate to Access & Design > Media Access.
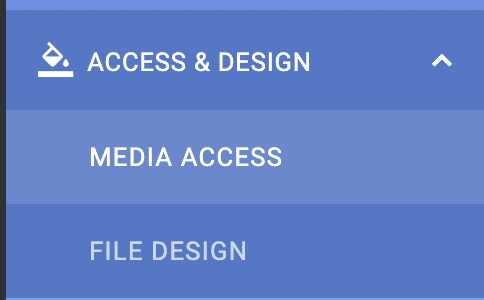
In this section, in order to limit the media per user role and automatically generate a folder dedicated for each user role, we will select Media access by User or User role and User roles.

We also have more options like selecting a path folder or allowing the role/user to see all other users/role media.
Now that we have enabled the option to only allow a user role to edit their own media, let's say we have an editor role and we want all the users under this role to be able to see and manage their media for posts and pages.
With the options we did select, all of this should be possible so let's see, for this, all we need to do is log in as an Editor and upload the media as they would do normally.
When logged in as an editor, you will be able to see the media library like this.
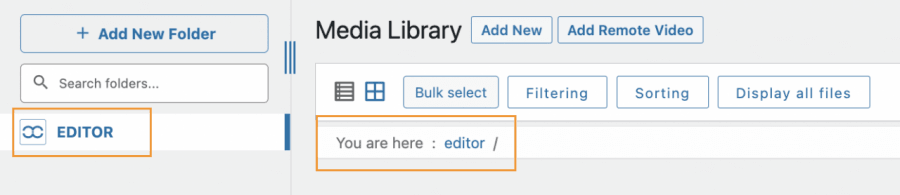
As you can see there are two sections where the Media Library lets you know that we are in a folder called "editor" so let's upload some media to check how it would work.
The process for upload would be exactly the same as you usually do, it could be using a frontend upload tool or just using your Media Library, everything this user role uploads will be limited for the user role automatically.
One of the advantages of using WP Media Folder is that this role(and all others with access to the wp-admin) will be able to create folders using the +Add New Folder button.
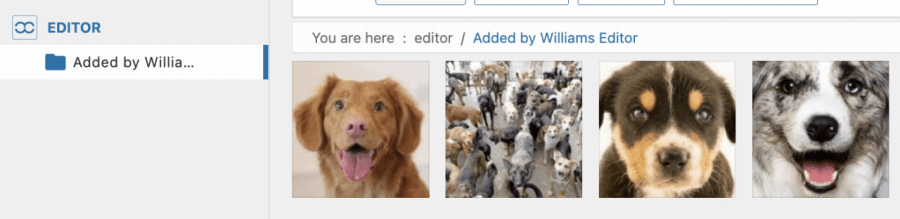
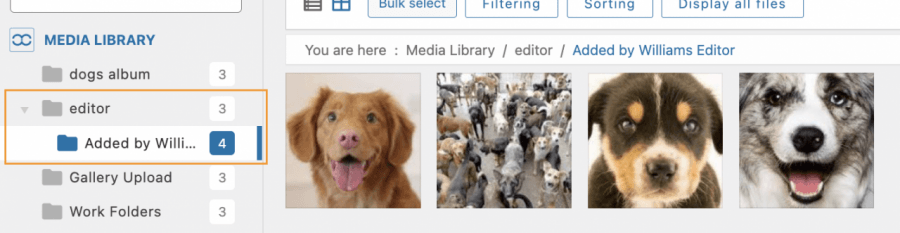
We can confirm that under the media library an Editor folder has been created and inside is the folder that we created using the Editor role, and it was as easy as clicking a button!
Now that we have enabled the media access option, a folder will be created for each role that accesses your Media Library and uploads an image, and will be able to share or not the media with the other users under the same role depending on the settings you choose, you can also have more control over your media using filters.
What an awesome feature and really easy to use! Isn't it?
Allow your users to upload files in the most professional way
In this post, we were able to see how to allow our users to upload their images in the most professional way and adapt our site to each case such as just submitting a form or also allowing our Editors to create a shared folder that only they will be able to see in the Media Library, and this is not all! With WP Media Folder you will be able to do more other things like connecting your Media Library to a cloud service, Awesome! Isn't it?
Check more about WP Media Folder and the Access Limitation here!
When you subscribe to the blog, we will send you an e-mail when there are new updates on the site so you wouldn't miss them.


Comments