How to Create a Comparison Table in WordPress
If you're looking to create a price comparison website using WordPress, one key element you'll need is a comparison table. These are essential for showcasing product features, prices, and reviews in an organized and easy-to-understand format.
In this article, we'll explore how to create this type of table in WordPress using WP Table Manager, a powerful and user-friendly table plugin. By following the steps outlined in this guide, you'll be able to effectively display product or service information and help your users make informed purchasing decisions on your price comparison website.
Should I create a Comparison Table on my WordPress site?
Creating a comparison table on a WordPress site is highly recommended for several reasons. Firstly, it provides a visual representation of the differences between various products, services, or features, making it easier for visitors to compare and contrast them. This can help them make informed decisions and choose the option that best suits their needs.
Secondly, a comparison table can enhance the user experience on your website by presenting information in a clear and organized manner. Instead of having to sift through paragraphs of text, visitors can quickly scan the table to see key differences at a glance. This can save them time and make it more likely that they will stay on your site to make a purchase or learn more about the products or services you offer.
Looking for a robust table management solution for client websites?
From pricing tables to product comparisons, this plugin offers powerful features to present
data in a clear and
user-friendly manner.
Get the competitive edge now!
Setting Up a WordPress comparison Table
Now that we know the importance of creating this type of table for WordPress sites, let's see how to create them directly using WP Table Manager which has many features to create tables directly from our WordPress site.
We will divide this into a few steps, from creating the table to adding it to our content so let's start with the table creation.
1. Creating a WordPress Table
Let's start by creating the table in WordPress, to do this, go to WP File Downloads > All Tables > + Create New.
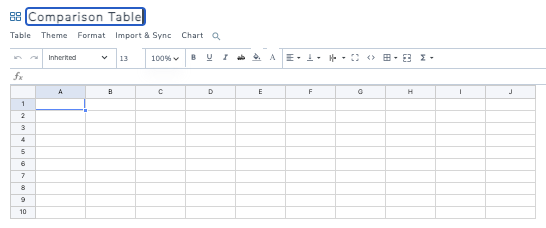
A new table will be created and the options to customize and further edit it will be shown as quick as the table loads, we can see that there are not just edit option but also extra features like templates, let's start by adding a title, in this case, we will call it Comparison Table.
As easy as doing a few clicks to create our empty table.
2. Customize our table
Now that our table is created, we can start to modify it in order to create our comparison table, between the main functions, we have the tools at the top bar where we can edit the font style, as well as font family, size, and cell options like borders, alignment, HTML (if we want to add HTML), Add cell padding, and calculations.
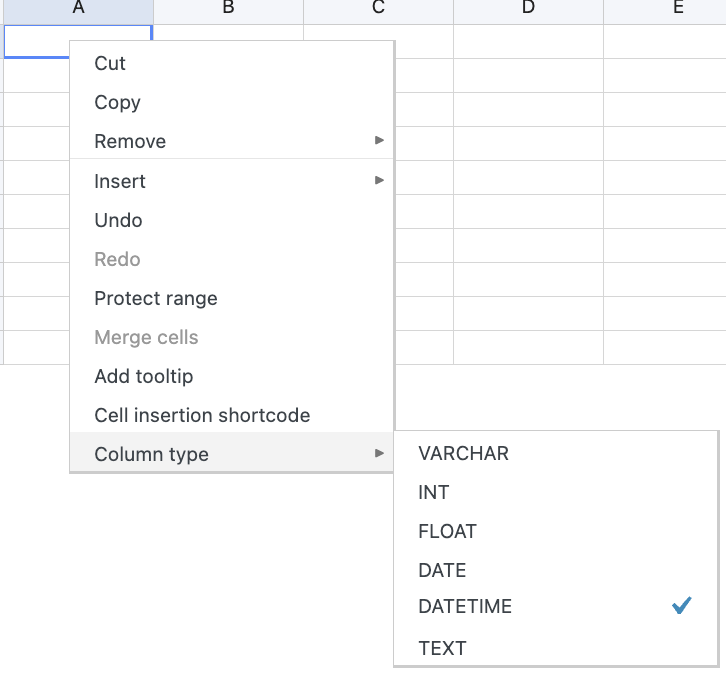
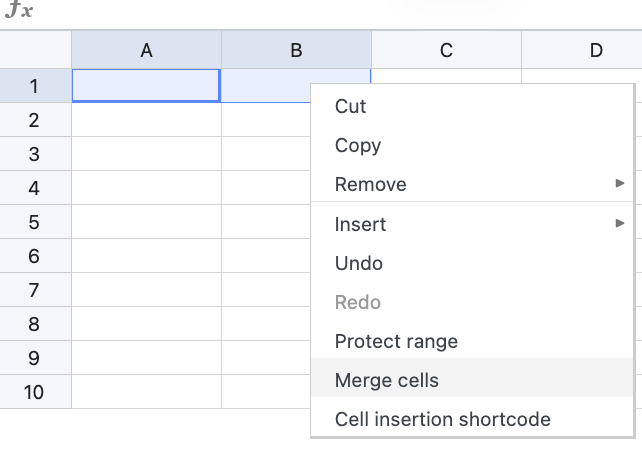
We do also have options like merging cells and protecting range when selecting more than one cell and doing a right-click.
Now let's say that we need something to start with, then we can proceed to check the next topic.
3. Using WP Table Manager themes to create tables quickly
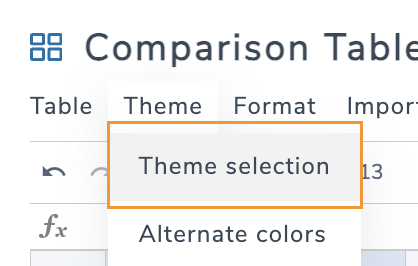
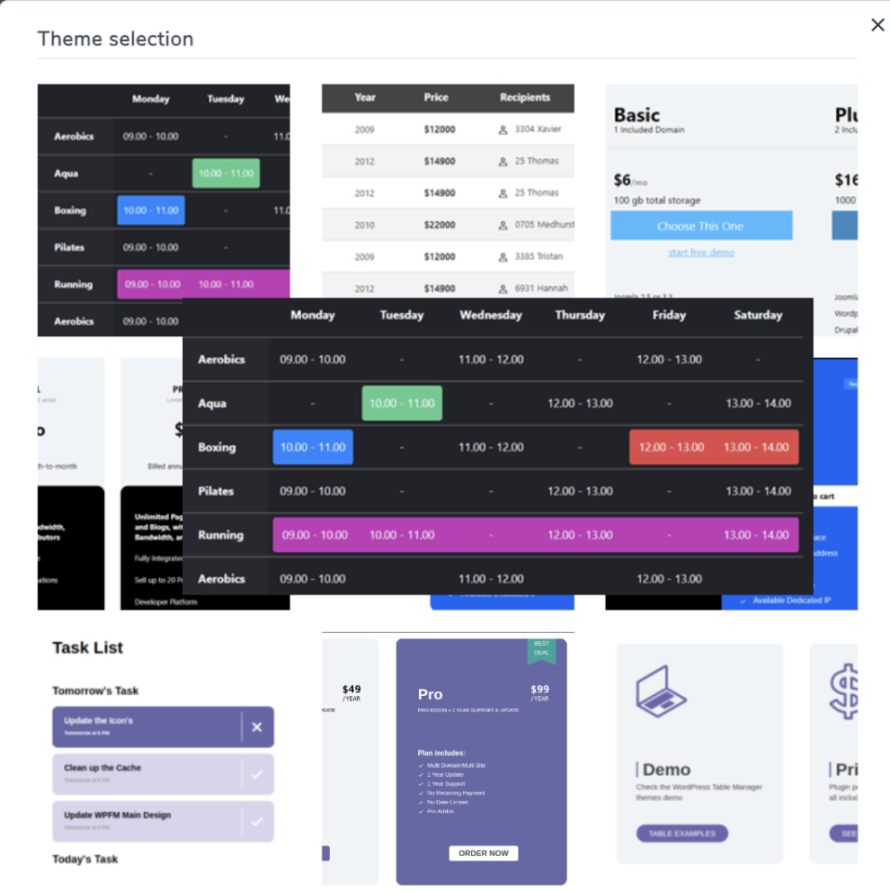
Let's check all the themes available for comparison tables.
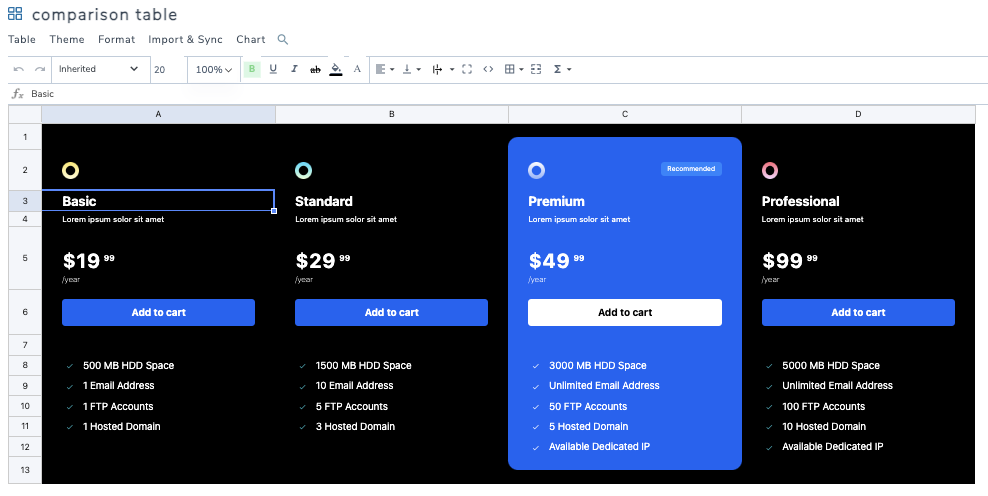
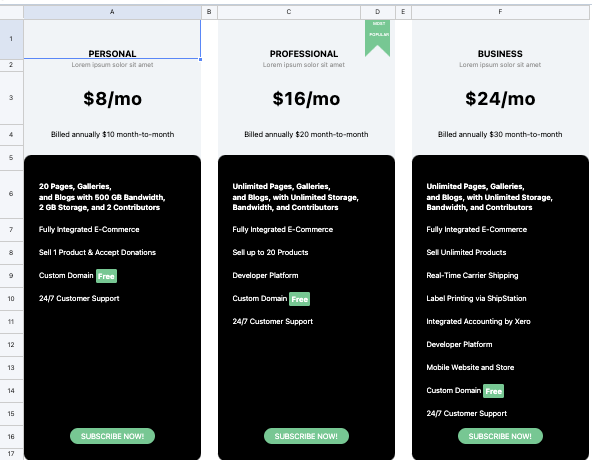
1. Dark price grid TABLE
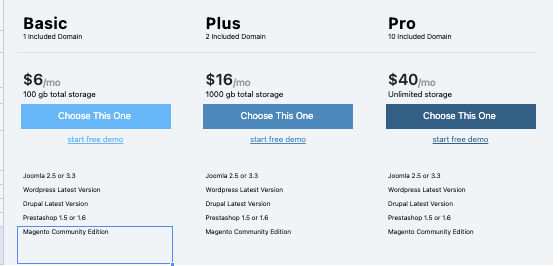
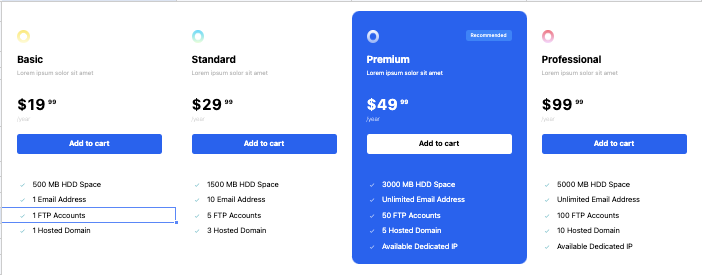
2. Blue feature comparison Table
We can use all these themes as the template for our Comparison tables, add more items, and duplicate columns as well as remove columns if needed or edit the icons by just clicking on what we want to edit.
There are many other themes that we can preview live here.
4. Add your table to the content
Let's start by creating our page/post or editing the page/post where we want to add the comparison table.
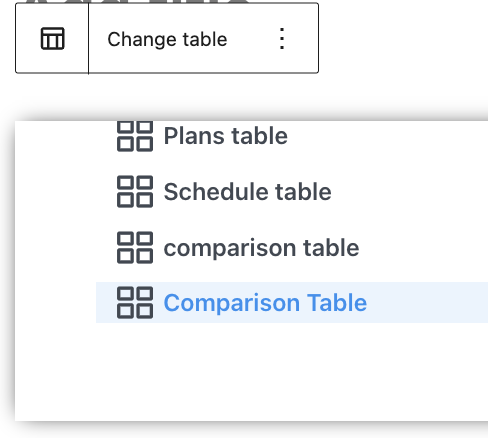
Depending on your page builder, you can use the dedicated block or widget available for WP Table Manager, for example for Divi or Elementor, and also there is a dedicated shortcode in case you are not using a block/widget page builder.
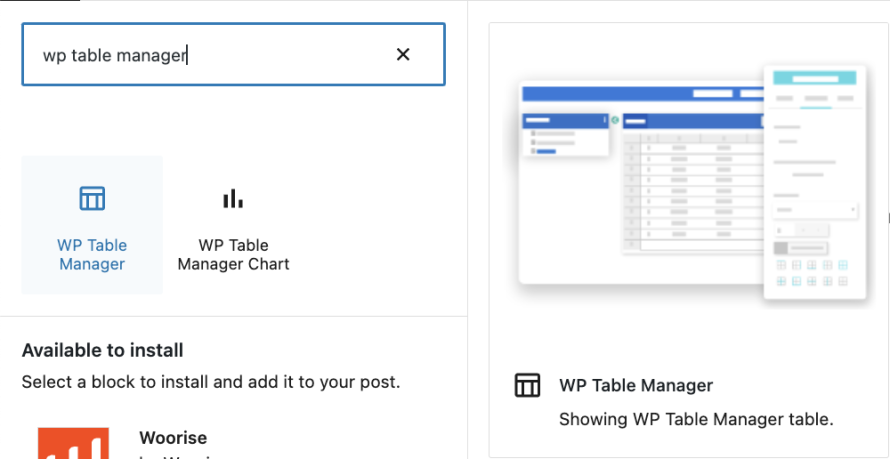
For this article, we are going to use the Gutenberg editor, we need to search WP Table Manager in the blocks.
An awesome plugin with awesome features! Isn't it?
Import your templates from Excel to WordPress
What about if we have an Excel file with a template ready or we find a template in the internet that we want to use?
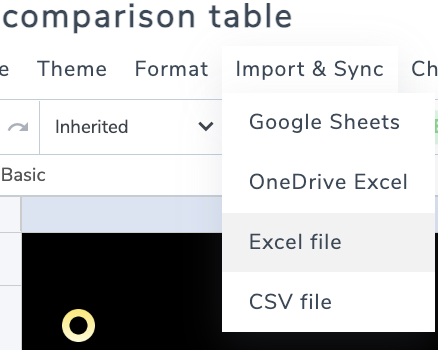
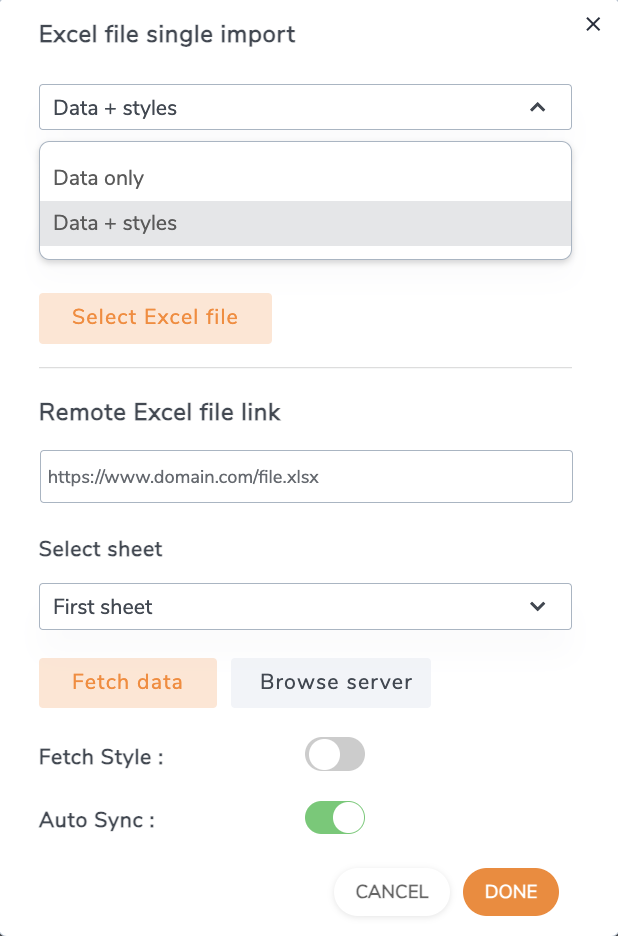
With WP Table Manager and its Excel integration, it is really easy! We just need to go to a new table and find the Import & Sync option, then select Excel File.
A modal with the options to add the file will appear, we can select between import only data or data+styles in case our table already have all the styles that we need, choose a file or a external link, select the sheet that we want to synchronise and finally set up a sync if we want to keep updating the Excel file, an edit to the file and it will go directly to the frontend!
Calling all webmasters!
Enhance your client websites with WP Table Manager. Easily manage and customize tables, charts,
and spreadsheets,
providing clients with dynamic and engaging data visualizations.
Upgrade your web design services today!
Create Awesome and Informative Comparison Tables with Ease on WordPress
incorporating comparison tables into your WordPress website can greatly benefit your visitors and help drive conversions. By presenting information in a clear and visually appealing manner, you can make it easier for users to compare products or services and make informed decisions. With the right tools, such as WP Table Builder, creating these tables becomes a simple and seamless process. The plugin offers a wide range of customization options, themes, and responsive designs, as well as awesome integrations with Excel, and Google Sheets for example! Allowing you to create beautiful and informative comparison tables that enhance the user experience. So, why wait? Start creating your own comparison tables in WordPress today and take your website to the next level.
When you subscribe to the blog, we will send you an e-mail when there are new updates on the site so you wouldn't miss them.







Comments