How to Manage Media in Folders with Gutenberg Blocks
Gutenberg editor is one of the best features that WordPress has added as it makes really easy post/page creation and design but it could be really hard to manage and use the images as everything is not organized in your media library but don’t worry as WP Media Folder will help you with this.
WP Media Folder allows you to create folders directly in your media library in order to make the media management process easy, this plugin also gives us a lot of options like gallery creation based on these folders.
We can use these folders to manage our files directly into the Gutenberg editor, in this tutorial we are going to show you how to do it.
Table of Content
Say goodbye to messy media library.
WP Media Folder lets you categorize files, sync folders with cloud storage, create amazing galleries and even replace images without breaking links.
Optimize your media workflow today
Using the WordPress Media Folders in Gutenberg
For this tutorial, we are going to show you all the blocks where we can use WP Media Folders in Gutenberg and how to use these folders.
After installing WP Media Folder, we will see the option to create folders in the media library so here you can see how the media library looks like after this.

Now we have a lot of options to manage our files in the media library and this will make the content creation process really easy.
Now let’s go to the Gutenberg editor in order to check all the blocks where these folders are available, the first block that we are going to try is the Image Block.
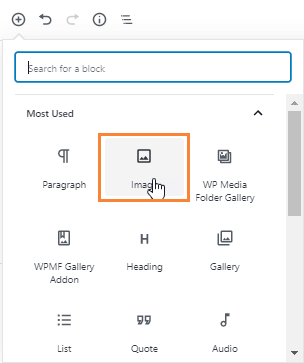
When you select this option, a block should appear in the editor that will allow you to select the image that you want to add on that part of the post/page.
We just have to click on the “media library” option and the media library with the folders that we have created before to organize the media will appear.
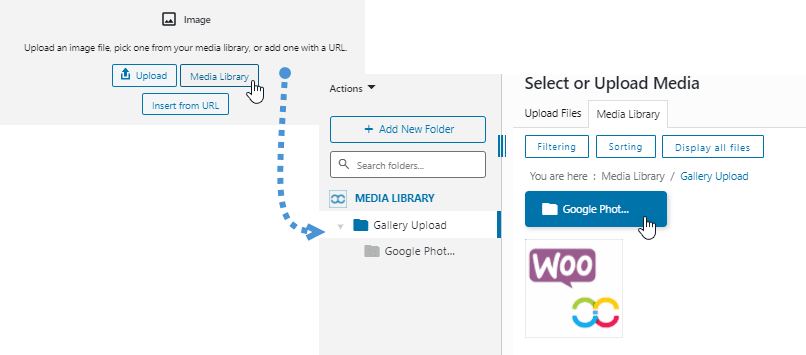
You also have the option to upload new media and organize it as you can create folder/subfolders and sort all the media inside, so all the options without having to go to the media library and that’s really great :).
In order to keep using the blocks where we can manage the media, let’s show the gallery block, yes! We are going to use folders and order the media in order to select the media that we are going to use in the gallery.
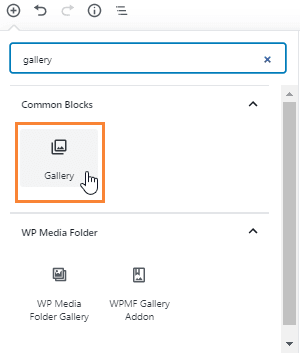
Here we can use the media inside our folders, just click on the media library option.
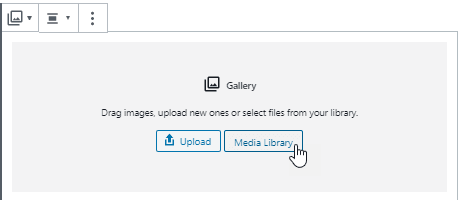
Now that we are on the folders, we have the option to filter the media in order to see what images are we going to use for the gallery.
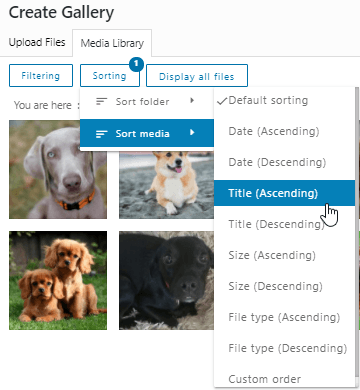
There are a lot of filters that we can use, for example, if we want to create galleries based on the first letter of the image title, we can choose the “Title” option and start to select the images.
We have another great option to create a gallery that is, hover the image in order to see more details, you are going to be able to be more precise at the gallery creation process.
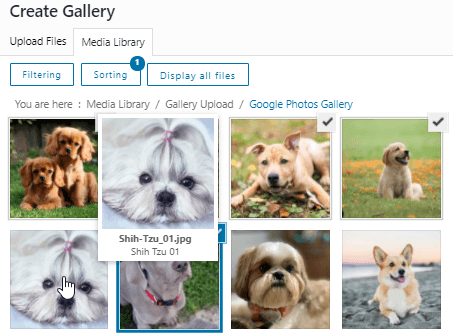
It is great, isn’t it? We have a lot of options to filter and select the images that we want to use in our post/page and if we want to upload the media when we are creating the gallery, we have that option too!
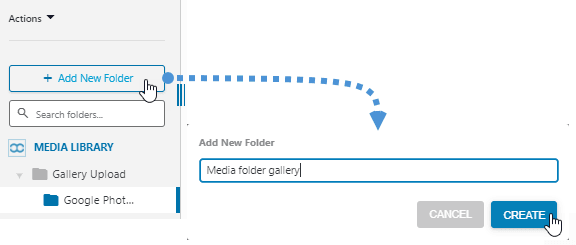
We can create a gallery called, for example, “Media folder gallery” and add a folder with that name in order to have everything organized.
All we have to do is select on “+Add New Folder”, type the name and start the uploading process.
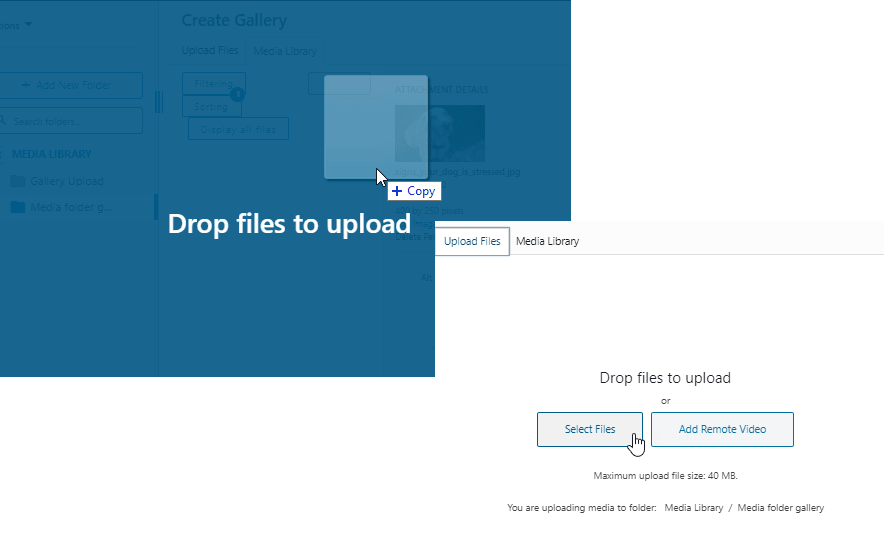
We have two options to upload files, we can just drop the images that we want to use inside the folder or select on upload in order to look into your documents for the images.
Now we are going to be able to have all our media organized per folders and if we want to use that media again in the future, we are going to be able to find it really fast! No more nightmares finding old media in our site :)
Organize your Media in Gutenberg Editor for Different Post Types
Let’s say we have a lot of posts with a few post types, for example, video games and dogs, two really different blog types, and obviously, we are not going to use the same cover header for these posts types.
It could be really hard to find these headers if we don’t have our media organized so it could be a lot of time dedicated to a task that should be really fast and easy to do.
Now, what happens if we create a folder called “banner” and inside that folder, we create subfolders called, for example, “dogs” and other called “video games”, everything would be really different.
Good news! We can do it with WP Media Folder, and we can also do it directly in the Gutenberg Editor as WP Media Folder allow us to manage our media and folders everywhere.
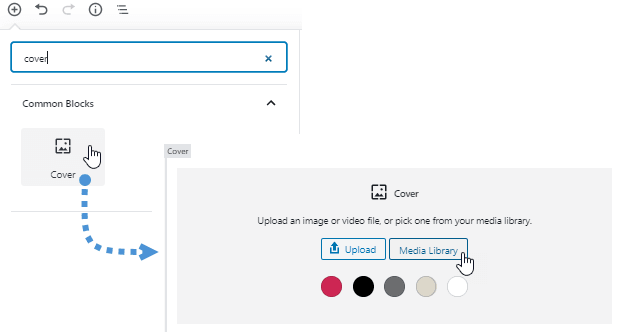
We are going to add a new folder called “Banners” and inside that folder, we are going to create the subfolder called “Dogs” and other one called ”Video Games”, you will see how easy is to find images by using folders and subfolders.
It is really easy to do, just click on +Add New Folder and type the folder name, then, inside that folder, click again the +Add New Folder button, PW Media Folder will automatically detect that we want to create a new subfolder inside that folder.
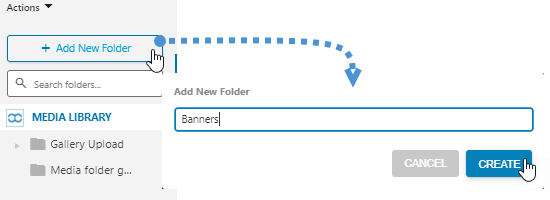
A banner folder has been created! Now we have to click on it in order to be placed inside the Banner folder, then, click again on the +Add New Folder button and type the subfolder name, we will type “Dogs”.
If we follow these steps without issues, the subfolder should be created and we should be able to see that subfolder in the folders section at the left side and also inside the folder in the right section.
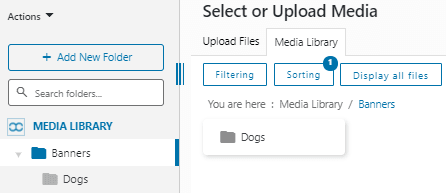
In order to create another subfolder, we just have to click again the +Add New Folder button and type the name of the subfolder.
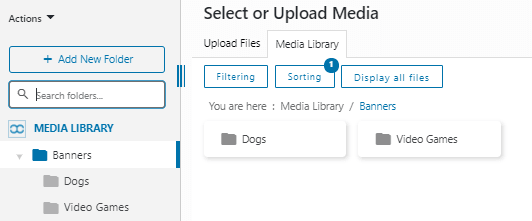
Now that we have created our Banner folder, we could find another case that is, what happens if I have a lot of folders, it could make harder the process of finding the right folder again, don’t worry! There is a search bar where you can type the name of the folder that you want to find.
For example, let’s look for the Dogs subfolder, just type Dogs in the search box below the add a new folder button, it will show you the parent folder and only the subfolder name that, in this case, is “Dogs”.
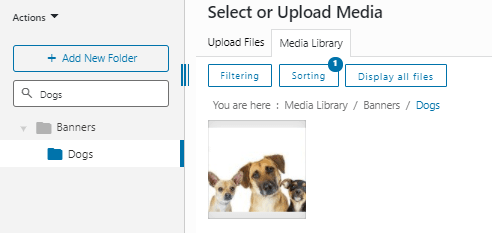
Now just select the image, create the banner and enjoy the easiest way to find images ;)
How to Create a Section to Organize your Downloadable Files
The last block that we are going to test is the File block that allows us to add a link to a downloadable file.
A good idea to find this kind of file in the easiest way is to create a folder called “downloadable files” so we are not confused between normal media/files that we use in our posts and the one that we want to make downloadable.
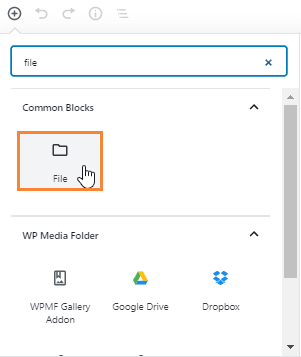
Now that we have selected the block, we just have to click on “Media Library” and we are going to be able to see and manage our media and folders.
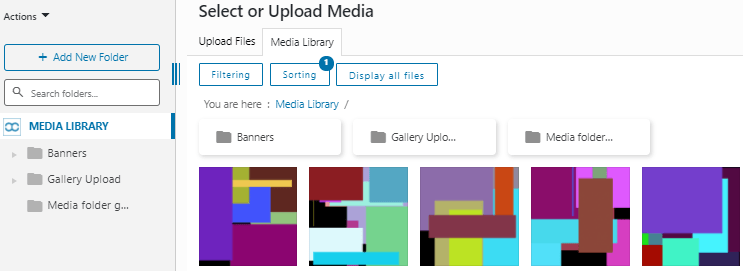
A good practice to start adding files to be downloadable is to create a folder called “Downloads” or a name like that but if you already have a lot of downloadable files added to your media library, don’t worry! There are some options you can use in order to find them and add them to the “Downloads” folder.
First of all, we are going to create a folder by clicking on + Add New Folder, then just type the name and click on create.
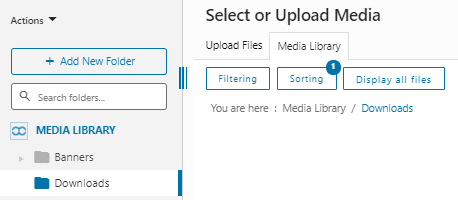
We can also have this folder more organized by adding inside subfolders and naming these subfolders maybe by the date when we have added the files or we can also name it as the post title where we have added them, for this tutorial we are going to set the name of the folder as the post title.
In order to create the subfolder, we just have to place it into the folder and click on +Add New Folder, the plugin will automatically recognize that we want to create a subfolder inside that folder.
Our post is going to be called “First Download Post”, so the subfolder will have that name, now that we have created the subfolder, we can start adding the files inside, for this, we have two options, upload new files or move the old files to this folder in order to organize them.
To upload files we just have drop files inside the folder or go to the “Upload Files” section at the top in order to look into our desktop documents.
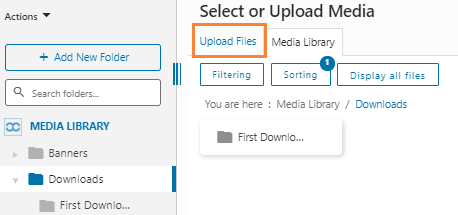
In this section, we will have the options to upload the files from our desktop.
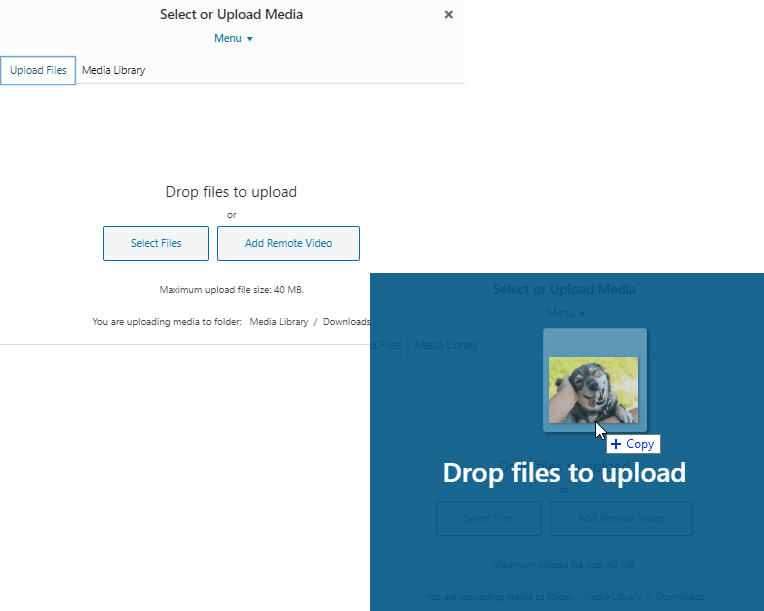
The other option is to move the files from other folders, this is really easy, we just have to move the file and drop it inside the folder at the left section.
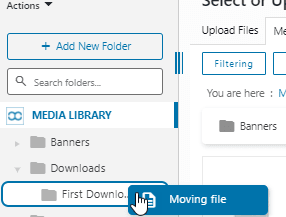
You can do it with all the files that you want in order to organize all your files, after doing this, the file finding process is going to be a dream :)
There is another case where we could have the same file in two posts and we would like to have that specific file in two folders, well that’s possible too.
In order to achieve this, you have to go to the file that you want to add in two folders and click on it, at the right section a menu with some options will appear.
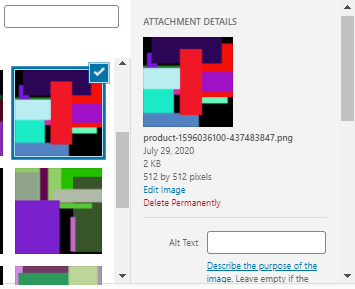
On this menu, we have a lot of options, one of these options is “Media Folder Selection” that will allow us to select the folders where we want to add our file, you just have to click these folders and your file is going to be available in all these folders that you have selected.
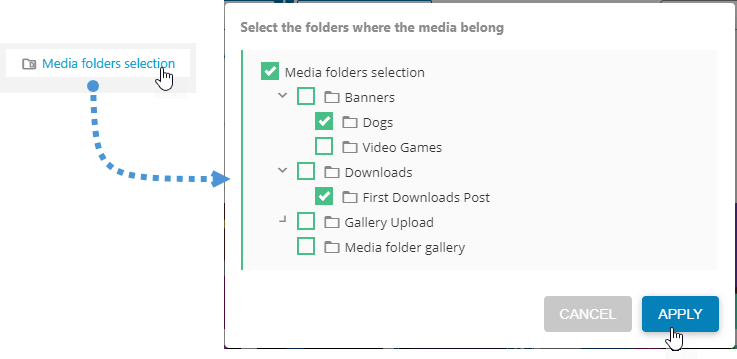
The process is really easy, just select the folders and click on apply, and the file will be available on all these folders.
Now thanks to WP Media Folder, a nightmare has become a dream, all your files are organized and easy to find.
Calling all webmasters!
Save time and boost productivity with WP Media Folder. Effortlessly organize client media files, create custom galleries, and provide a seamless user experience.
Upgrade your website projects now!
Start Managing your Media From the Gutenberg Editor in WordPress
As you can see, WP Media Folder allows you to manage your folders and media in all the blocks that allow you to use the media library as well as an extra pro block to manage your galleries with the addon, now you can organize and find your media and files from everywhere, the content creation process never has been so easy so what are you waiting for? Go here and obtain your WP Media Folder membership and enjoy all the features that this awesome plugin offers.
When you subscribe to the blog, we will send you an e-mail when there are new updates on the site so you wouldn't miss them.


Comments