How to import files and documents in Joomla to build a digital download website
Importing files and documents in Joomla is a really helpful tool when you want to build a single digital download website or multiple download websites as you could, for example, build them into a development site and then push those to the live site after testing or also copy the files between your multiple sites in easy steps and we will see how to do it on Joomla using Dropfiles!
In this post, we will see how Dropfiles makes this import/export process easy, allowing us to import files directly from the server and also export/import these between different Joomla sites.
Table of content
Webmasters, simplify file collaboration for client websites with Dropfiles.
Empower clients to securely share and collaborate on files, boosting productivity and
streamlining project workflows.
Get the competitive edge now!
Import files from your server to your Joomla downloadable files category
First of all, we will see how to import files directly from the server to our categories, really useful when we have a folder in our server where we or our team upload files to make them available as downloads, we will be able to keep everything in order and will be able to easily find it in our server.
To do this, we need to have installed Dropfiles on our Joomla site to be able to follow this tutorial.
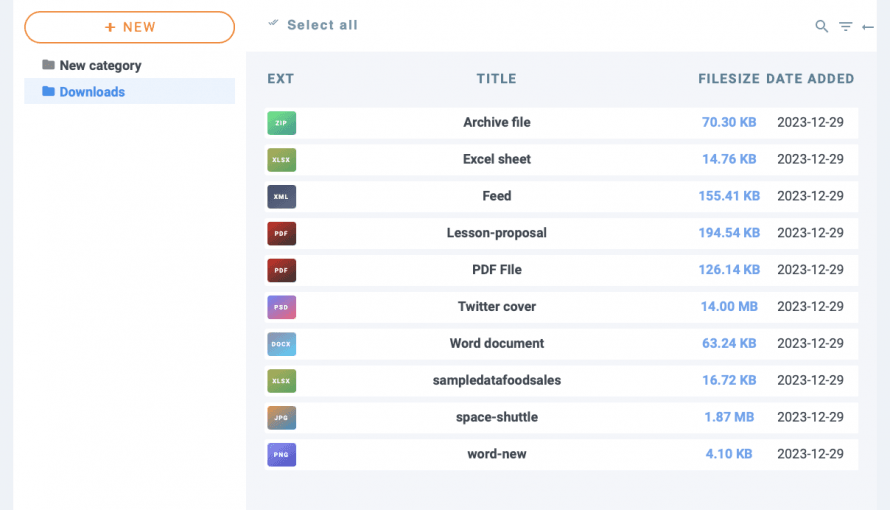
First of all, we need a folder with files available on our server, in this example, we have a folder called Downloads but it can be any folder.

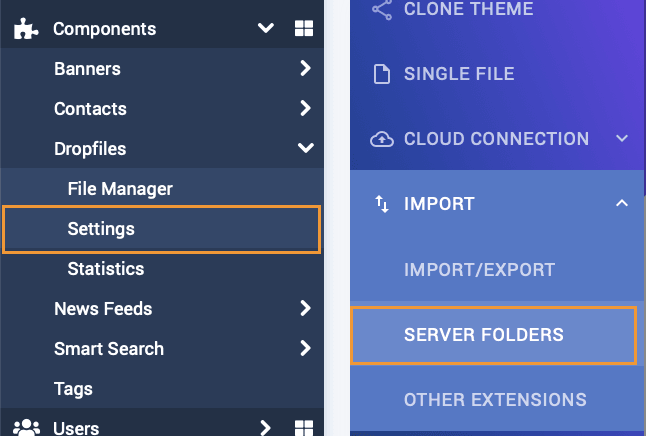
Now we can go to our Joomla Administrator, and then to Components > Dropfiles > Settings > Import > Server Folder.
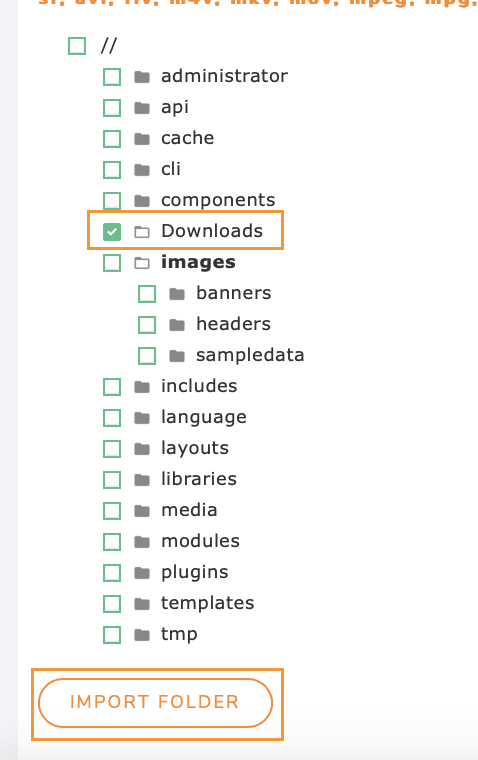
On this page the options to import from the server will appear with the option to select one or multiple folders and we will also able to navigate between subfolders to select only what we want to do so all we need to do is select the folder and click on Import Folder.
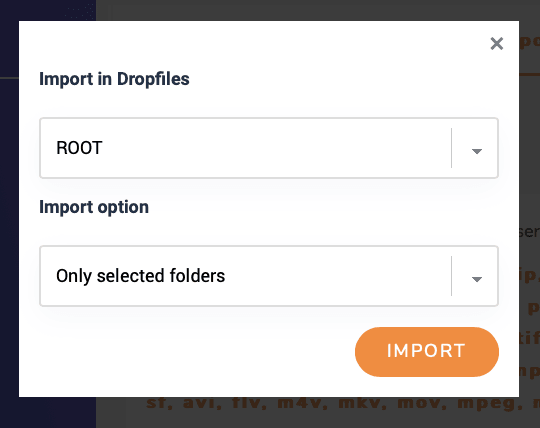
A modal will appear letting us create this new category as a parent category or as a subcategory of another category, we will also be able to import or not import the subfolders of the selected folders, after selecting this all we need to do is click on IMPORT.
And that's all! Magic is done, the folder will be available with the files inside in our Dropfiles dashboard ready to be published and you can confirm it by going to Components > Dropfiles > File Manager.
Now that we know how easy is to import files from our server, let's check how to export/import files to another site.
Share files between Joomla sites using the import/export option from Dropfiles
With the import/export option offered by Dropfiles, we will be able to share our files between Joomla sites or even import files or categories structure from a development site to our live site to be sure that these work and look correctly with just a few clicks!
It is important to note that Dropfiles is required to import/export files from a site to another.
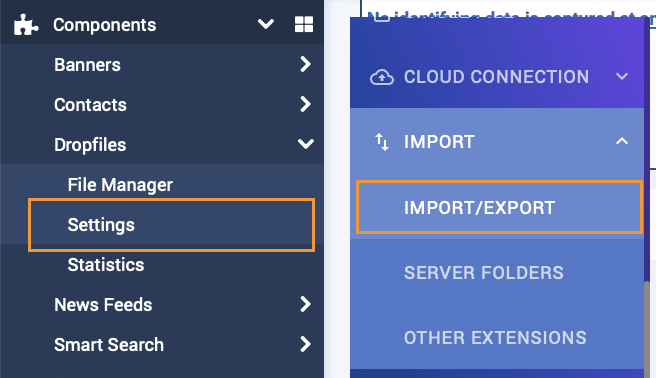
Let's start with the process! To do this, go to Components > Dropfiles > Settings > Import > Import/export.
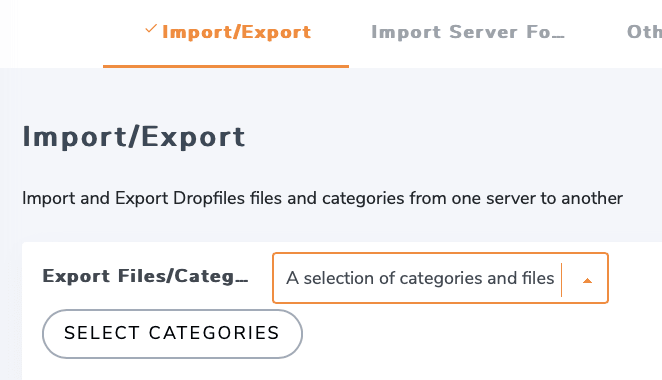
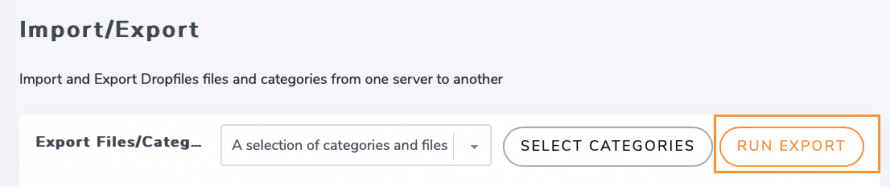
First of all, we should go to the site where we will be exporting files and on this site, after going to this page, we should confirm if we want to export all the categories with the files, only the categories structure or if we want to select a specific set of categories with files.
If we choose the specific selection of categories with files, we will be able to see a select categories button.
Clicking on tis button will open a modal with the available categories in the file manager, we can check categories as well as sub categories and select the ones that we want to export.
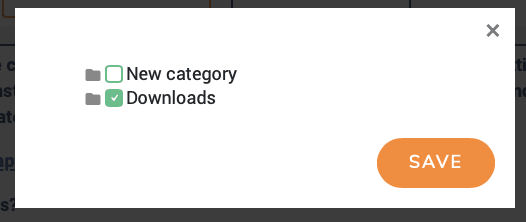
When the categories are selected, click on SAVE and then on Run Export.
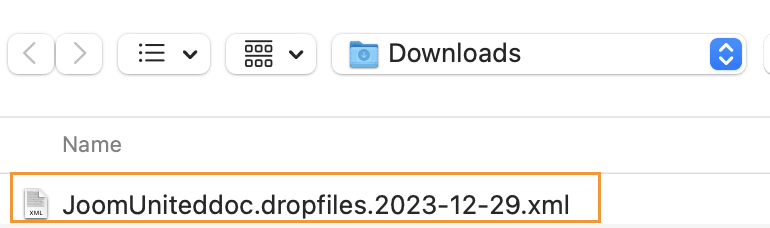
An XML file will be downloaded that we can use to import our selection to another site.
Now with the Import process, which is as easy as the Export process, we just need to go to the same page that we went before under the Component > Dropfiles > Settings > Import > Import/Export, and find the import option.
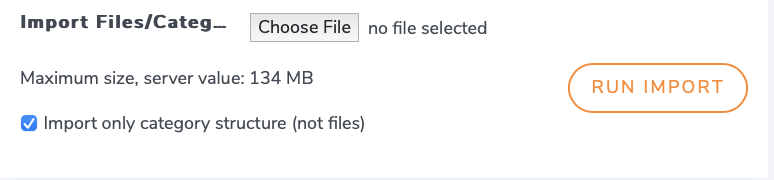
In difference to the export option, we can only choose if we want to import only the category structure or include the files as well by using the checkbox, in this case, we are going to unselect it to import everything and finally click on Choose File that will open our PC file explorer so we can find the XML file that we did export previously.
After selecting it and click on Upload we will be able to click on Run Import to select where we want to import the categories and files.
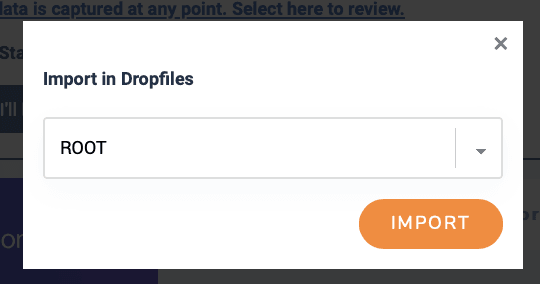
Finally, click on IMPORT and the process will start and depending on the amount of categories and files, the process will be almost instantly.

As if it were magic, the files/categories will be fully imported and ready to use! As we can see with just a few simple steps, awesome! Isn't it? :)
Calling all webmasters!
Enhance your client websites with Dropfiles. Easily upload, categorize, and share files,
offering clients a
user-friendly and efficient way to manage their documents.
Upgrade your web design services today!
Start managing your downloadable files like a pro in Joomla
A really awesome extension with nice and easy-to-use features! And that's not all as we have other options like importing directly from 3rd party extensions like Docman, jDownloads, Edocman, and Phoca Download!
So what are you waiting for? Go here and get your subscription to install Dropfiles on as many sites as you want!
When you subscribe to the blog, we will send you an e-mail when there are new updates on the site so you wouldn't miss them.


Comments