How to download images from the WordPress media library

We may need to download our images may be to share with our team or just because we need to edit them but it could be too difficult to find how to actually download the media from our wp-admin but no worries! Let's see some of the options available to download the media on our site.
In this post, we will see how is the structure of the media added to your site and how to download the media using the normal WordPress way, a plugin, and directly from the server.
Table of content
Understanding the WordPress Media Folder Structure
As you may know, when you add media to your site, it is added to the server using a number for the root folder under uploads and other numbers inside the root folder for media but… What does that mean?
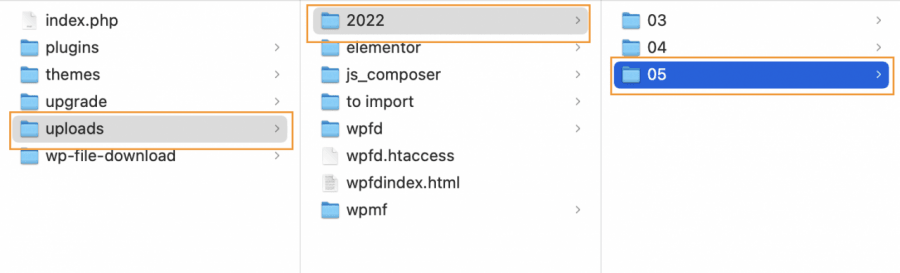
As you can see in the image, the path to the media is /uploads/number1/number2
If we see it deeply, the number1 is the year when the media was uploaded, meaning that if we have a site running since 2020, in 2022, we will see 3 folders according to the years that we've been working on the site so the folders would be 2020, 2021, and 2022.
Now let's see number2, if we check it, we can see that it has more folders and that also, these folders are "limited" to 12 folders, meaning that each folder number is the month when the image was uploaded, for example, in the image, we can see that the site has been working for 3 months only so there are 3 folders, these folders are 03 that is March, 04 that is April, and 05 that would be May.
These folders could be empty or filled with images, it doesn't really matter as WordPress will create a new folder by default when the month starts.
This is, basically, how WordPress creates the default media structure, just as simple as a year/month formula, really easy, isn't it? :)
Say goodbye to messy media library.
WP Media Folder lets you categorize files, sync folders with
cloud storage, create amazing galleries and even
replace images without breaking links.
Optimize your media workflow today
Download your WordPress Media from your Library
Now that we understand the WordPress media default structure, let's see some of the possible ways.
The Default WordPress way
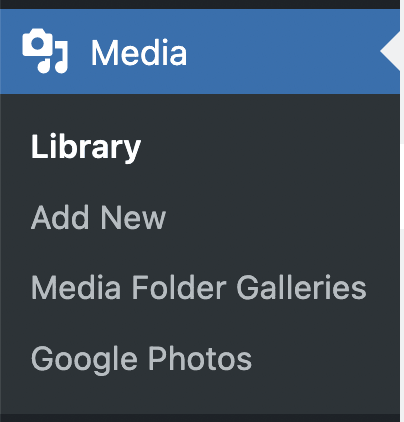
The first one will be doing it directly from your Media Library using the "default WordPress way", in order to download your media without any tool, you need to go to Media > Library.
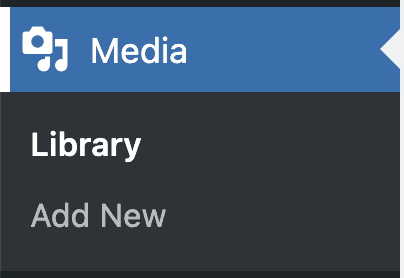
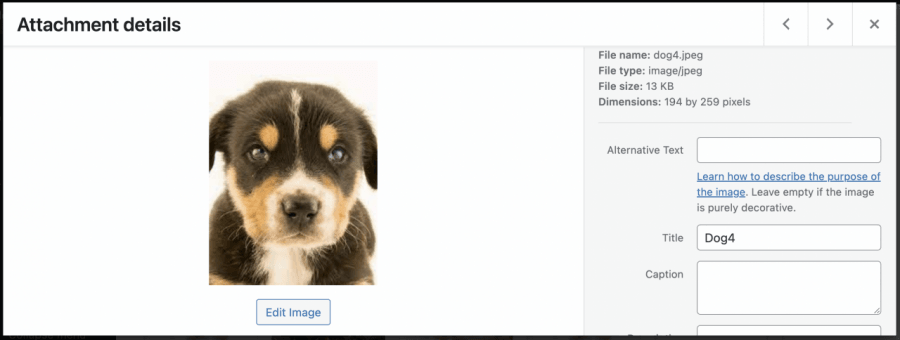
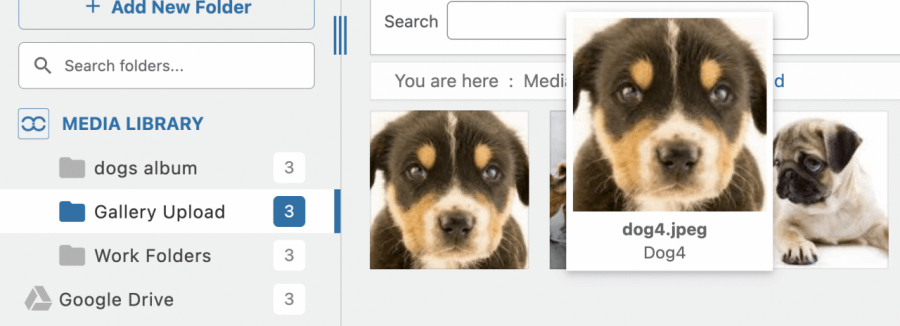
In this section, you can see all the images available on your site so the next step is to look for the image that we want to download and click on it, this will open a preview of the image with the details on the right side.
In order to find the URL to the image, scroll down in the right section and click on Copy URL to clipboard.
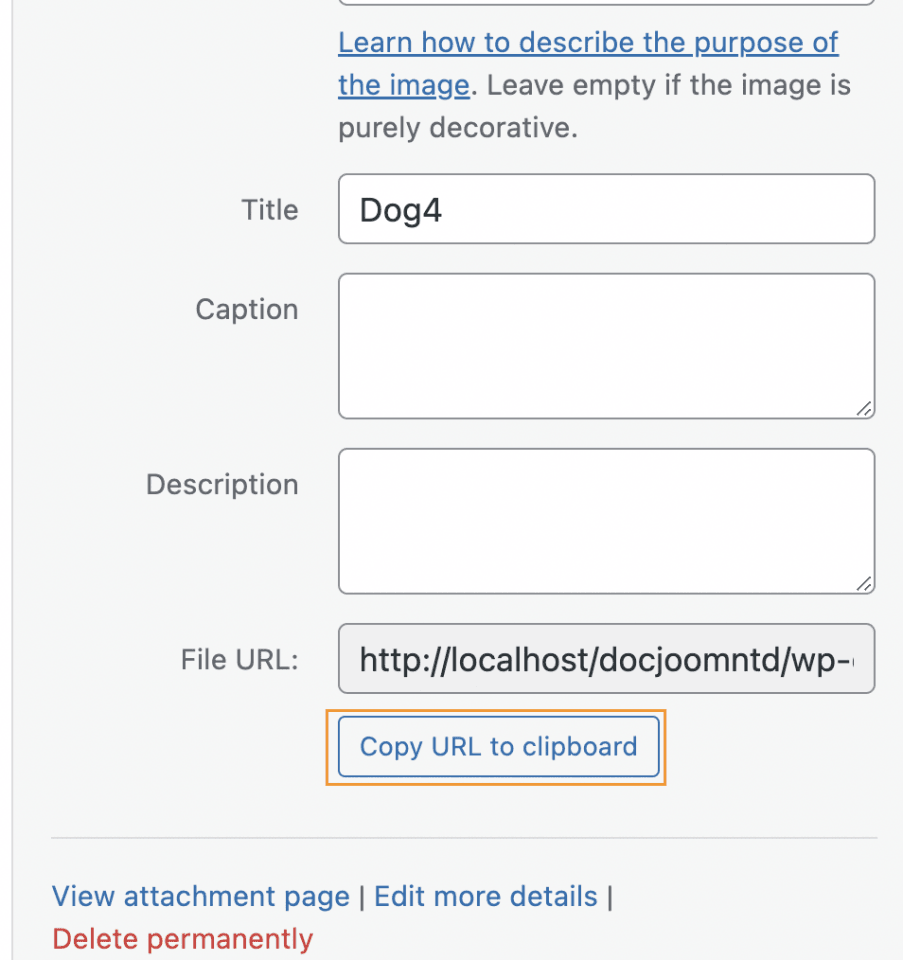
Now that we have copied the URL, we can open a new tab and paste the URL so the image load, do a right-click, and then, click on Save Image as, and finally, save your image.
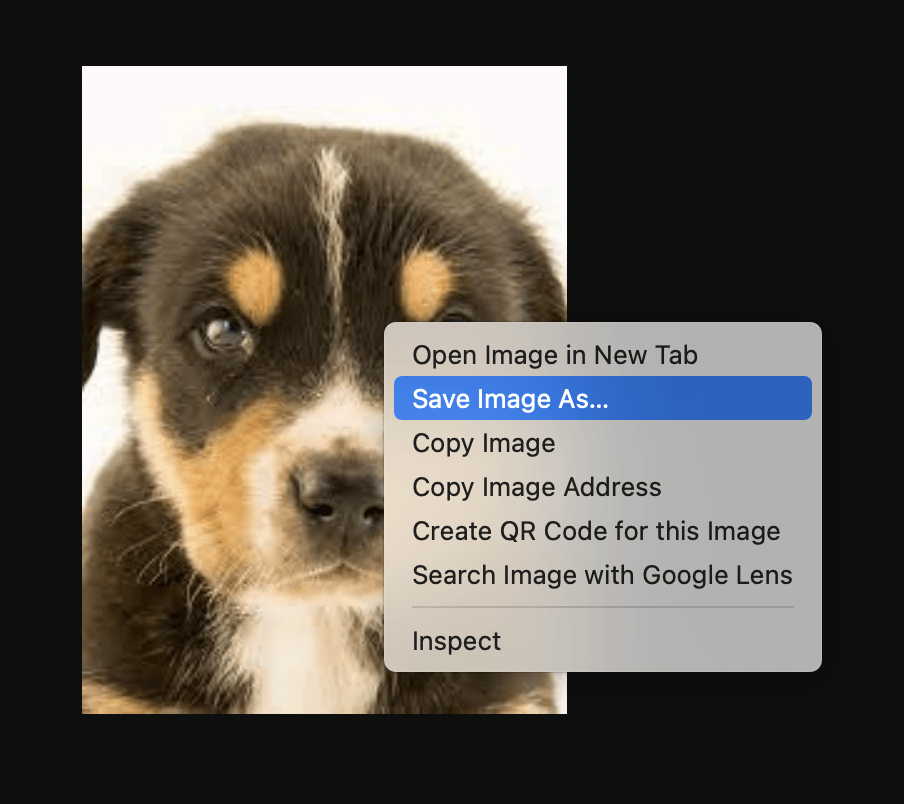
This will allow you to select the folder where you want to download and the name that you want to add to the image, click on save, and done!
Directly from the Server
The "manual" way is also an option when downloading images, there are many ways to connect to a server, for example, using FTP or the File Manager that many Hosting providers offer.
Both options should work but, basically, you will connect to the server and will see the WordPress install folders, and files, look for one called wp-content and open it.
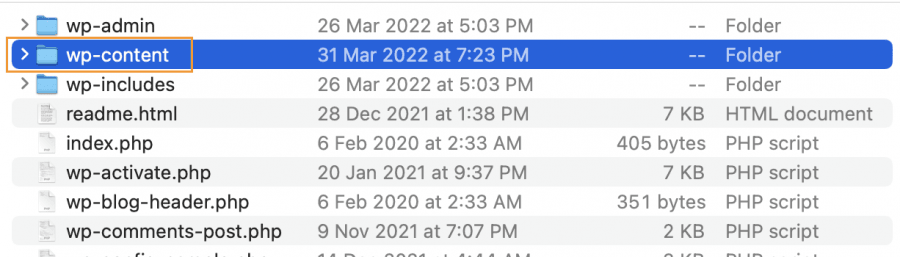
Under this folder, find one called Uploads.
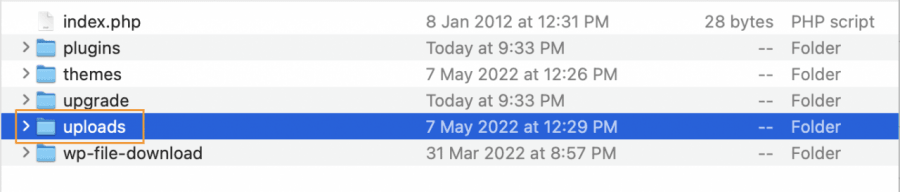
Under this folder we will see the year folders, we need to find the one when the image was uploaded, in this case, there is only one year so the image will be in this folder 2022.

Now we will have the folders available for each month, in this case, there are 3 months available, select the folder when the image was downloaded.

Finally, find your image, and then, do a right-click and download, depending on the Hosting the option could be download or Save as, click on it, and you will have your image downloaded.
Using WP Media Folder
The third way would be using a plugin, in this case, WP Media Folder.
In order to achieve it, keep in mind having it installed and enabled, and then go to Media > Library.
The first you will notice is that you can create folders so finding an image will be really easy, so look for the image that you want to download, in this case, we will use the same image.
When you find the image, do a right-click, and you will see the Download button.
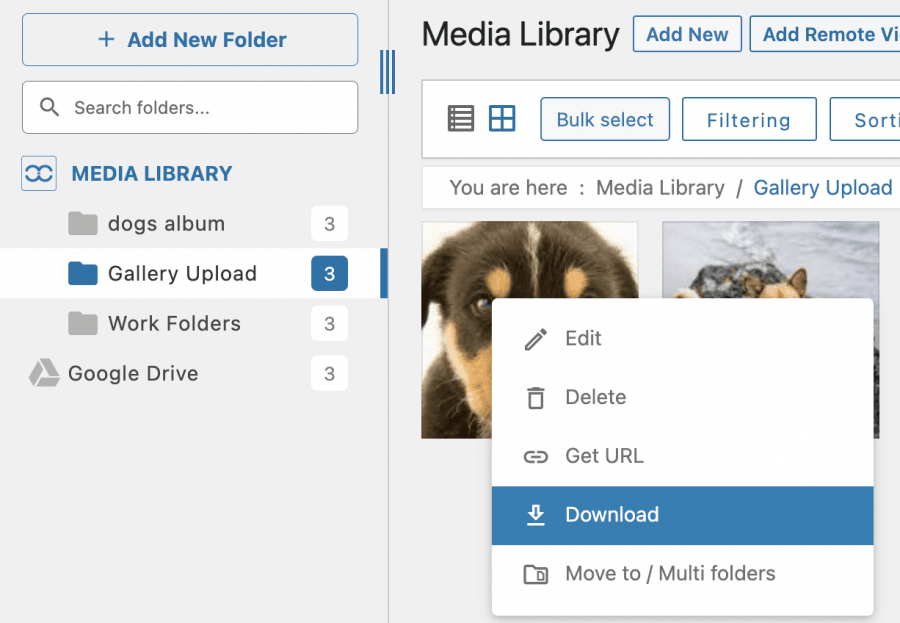
As easy as clicking on it and the image will be downloaded, really easy! Isn't it?
As we can see, using WP Media Folder really simplifies the process, all the process, finding the image, and downloading it as well.
Calling all webmasters!
Save time and boost productivity with WP Media Folder. Effortlessly organize client media
files, create custom
galleries, and provide a seamless user experience.
Upgrade your website projects now!
Start Downloading your WordPress Media
We did see many of the options available to download your media and as you can see there are many but wasn't it really easy to do it using WP Media Folder? And that's not the best part! There are many other tools offered by WP Media Folder such as cloud connection and managing awesome galleries so what are you waiting for? Go here and learn more!
When you subscribe to the blog, we will send you an e-mail when there are new updates on the site so you wouldn't miss them.


