How to Create Additional Image Sizes in WordPress (Easy Tips)

Creating additional image sizes in WordPress can be a powerful way to make your website look cleaner, load faster, and feel more polished. Many site owners rely on whatever WordPress generates automatically, but with a strategic setup, you can control how images appear across your site in a far more precise way. This improves not only visual consistency but also your overall search visibility because search engines consider image clarity, loading speed, and relevance as part of ranking signals.
When done correctly, adding custom image sizes helps your site adapt to modern layouts and responsive design standards. You can ensure blog thumbnails fit perfectly, hero images look crisp, and gallery images are lightweight enough to keep your pages loading fast. Adding this level of structure to your media library puts you back in control of your site's visual experience while keeping everything friendly for beginners who don't want to dive too deep into technical jargon.
Say goodbye to messy media library.
WP Media Folder lets you categorize files, sync folders with
cloud storage, create amazing galleries and even
replace images without breaking links.
Optimize your media workflow today
Table of content
- Why Additional Image Sizes Matter
- Preparing Your Site for Additional Image Sizes
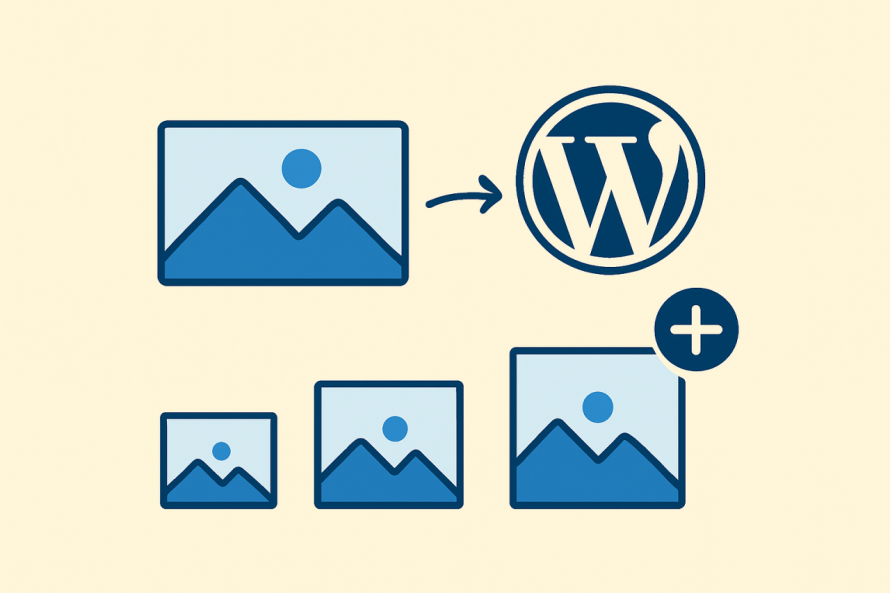
- Registering Custom Image Sizes Using functions.php
- Regenerating Thumbnails for Existing Images
- Optimizing Images for Search Engines
Why Additional Image Sizes Matter
WordPress automatically generates a few default image sizes when you upload a file. However, these preset dimensions are often too limited for today's layouts. Themes, page builders, mobile versions, and image-heavy content all benefit from having more tailored dimensions.
Additional image sizes let you meet the needs of your design without forcing you to manually resize images outside of WordPress. You avoid pixelated banners, stretched thumbnails, and oversized files that slow down your site. Most importantly, you create consistency. Consistency helps search engines better understand your media content, which indirectly supports improved indexing and visibility.
Preparing Your Site for Additional Image Sizes
Before making changes, consider the type of images your site uses most often. For example, blog thumbnails, featured images, hero sections, gallery images, or product photos. Think about where images appear and how consistent you want those appearances to be. Defining your needs upfront ensures that your custom sizes serve a real purpose rather than creating unnecessary duplicates.
You should also review your current theme settings. Some themes already register extra image sizes, and duplicating those dimensions can create clutter in your media library. A quick audit helps keep your media operations clean and efficient.
Registering Custom Image Sizes Using functions.php
The functions.php file is where you can tell WordPress to generate new image dimensions whenever you upload a picture. Even though this is technically part of your theme, the process is straightforward and safe as long as you place the code correctly.
Below is a simplified version of what custom image size registration looks like. The goal here is clarity, not complexity.
add_action('after_setup_theme', 'custom_image_sizes');
function custom_image_sizes() {
    add_image_size('custom-small', 300, 200, true);
    add_image_size('custom-medium', 600, 400, true);
    add_image_size('custom-large', 1200, 800, true);
}
Each line adds a new size:
- The first value sets the width.
- The second value sets the height.
- The final value determines whether WordPress crops the image to fit the exact dimensions.
Using the value true enforces hard cropping, which is useful when you want consistent-looking thumbnails. If you prefer images to maintain their natural proportions, use false, and WordPress will scale the image instead of cropping it.
How to Load These New Sizes in Your Theme
Registering the sizes is only half of the process. You also need to use those sizes when displaying images. For example, when pulling a featured image inside a loop, you might see something like:
the_post_thumbnail('custom-medium');This ensures WordPress selects the right version of the image instead of relying on the default thumbnail or full-size file.
If you're using a page builder, many of them detect custom image sizes automatically. In that case, you'll be able to select your new size directly from the dropdown menus in the editor.
Regenerating Thumbnails for Existing Images
Adding new image sizes means WordPress will only create those sizes for images uploaded in the future. Anything already in your media library will not have the new sizes generated. To fix that, you need to regenerate thumbnails.
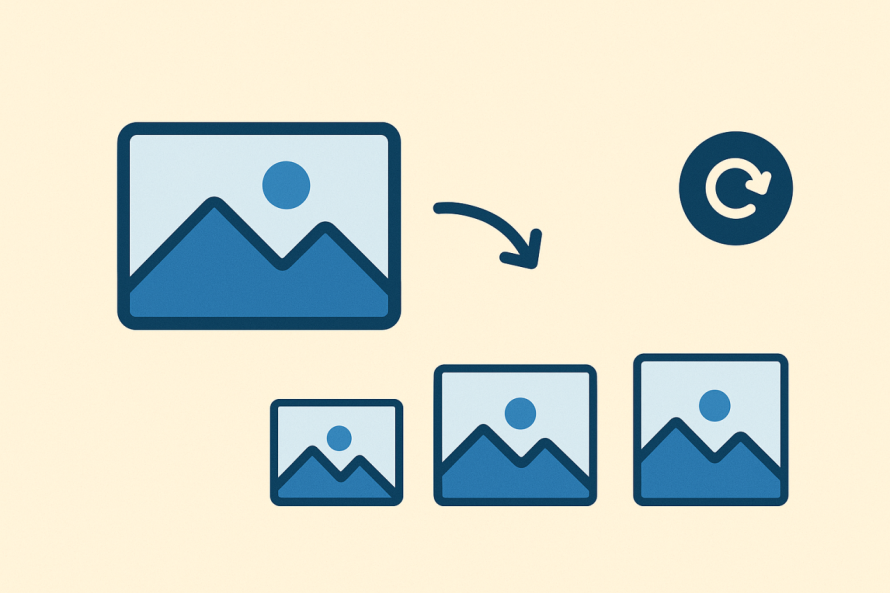
Regenerating thumbnails is the process of asking WordPress to create new image versions based on your recently added dimensions. This is a one-time task whenever you add new sizes. The process does not delete your images; it simply adds the missing file versions.
Using a Plugin to Regenerate Thumbnails
You don't need to do anything complicated. Just install any thumbnail regeneration plugin and run it once. These tools scan your existing images and generate the new versions automatically. They also allow you to skip sizes you no longer use to avoid unnecessary clutter.
This process could be resource-intensive, so if your site has thousands of images, run it during a low-traffic period to minimize performance impact.
Optimizing Images for Search Engines
Image optimization plays an essential role in search performance. Search engines evaluate image loading speed, file naming, alt tags, relevance, and even on-page context. Your new custom image sizes become more effective when paired with proper optimization practices.
Key Optimization Techniques
1. File Naming
Use descriptive file names before uploading. For example:
modern-living-room-design.jpg is far better than IMG_8273.jpg.
2. Alt Text
Describe what the image shows, using simple descriptive language. Alt text helps search engines and also improves accessibility.
3. Appropriate Dimensions
Serve images at the size they will be displayed. Oversized images slow pages down and hurt search performance(Exactly, with thumbnails).
4. Compression
Compressed images load faster. Use tools or plugins that automatically compress your images without hurting visual quality.
5. Lazy Loading
Let images load only when the user scrolls into view. This reduces initial load time and helps with performance metrics.
Using WP Media Folder for Smarter Image Handling
WP Media Folder is an advanced media management plugin that offers a structured approach to organizing and optimizing your images. If you're creating additional image sizes, the plugin can help you maintain clean organization and streamline your workflow.
Benefits include:
- A folder-based structure for WordPress media, letting you sort images as if you're using desktop folders.
- Advanced image replacement features, ensuring you can swap image files without breaking links.
- Compatibility with gallery tools and page builders, where your custom image sizes will also appear.
- Built-in optimization workflows that complement your SEO strategy.
This plugin is especially useful when scaling your site or managing large media libraries.
When to Add Additional Image Sizes
Consider adding new sizes when:
- You see inconsistent thumbnails across your blog or archive pages.
- Your theme's built-in sizes don't match your layout needs.
- You want to optimize images specifically for mobile or high-resolution screens.
- You are using gallery or slider plugins that require specific dimensions.
- You want full control over delivery performance, especially when optimizing for search engines.
On the other hand, avoid adding unnecessary sizes. Each new size increases storage usage because WordPress creates multiple versions of every image. Only add sizes that support a real design requirement.
Optimize Your WordPress Media with Smart Thumbnail Generation
Creating additional image sizes in WordPress is a straightforward technique that significantly improves how your site looks and performs. It gives you tighter control over your media output and helps ensure search engines can easily interpret and index your content.
With clear image dimensions, properly regenerated thumbnails, and smart optimization practices in place, your site becomes faster, more consistent, and better prepared for search engine visibility. When combined with powerful management plugins like WP Media Folder, you can confidently maintain a clean, organized, and SEO-friendly image workflow without needing deep technical expertise.
When you subscribe to the blog, we will send you an e-mail when there are new updates on the site so you wouldn't miss them.

