Create stunning Galleries with the best gallery manager for DIVI
It is true that the use of galleries is usually one of the best ways to show our content on a website as it looks more professional than just adding images, but it is also true that creating galleries and adding styles could be really tedious work just like the fact of adding elements to a page and make them fit your website.
DIVI is usually what we use in these cases as it is a known page builder with perfect tools but could be limited when adding images and here is where WP Media Folder helps you.
WP Media Folder and its gallery manager allows you to manage and add galleries directly from DIVI, in this tutorial we are going to see how easy it is ;)
For this post, we are going to use DIVI, WP Media Folder, WP Media Folder Addon, and WP Media Folder Gallery Addon.
Table of content
Connect WordPress and Google Photos Albums to create awesome galleries
One of the topics from this post is to create these galleries using images imported directly from your Google Photos account, so you can easily upload images from your Phone to Google Photos and use them on your WordPress site.
So let's start with the connection.
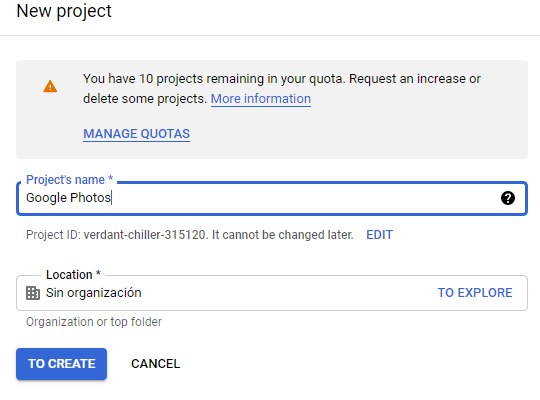
First of all, we need a Google Dev APP for this, go here: https://console.developers.google.com/project and create a new Project.
Add a name to the project, you can add whatever you want.
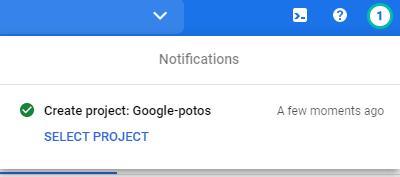
Now, wait a few moments for the project to be created.
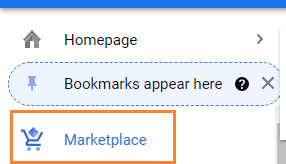
If it is the first time that you are using this Photos Library API, you will need to activate it, in order to activate it, go to the MarketPlace at the left menu.
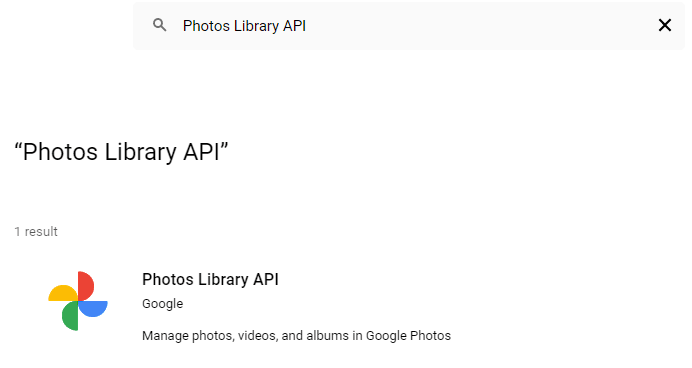
Now, in the search box, type Photos Library API and search it.
Click on it, and then, on Enable.
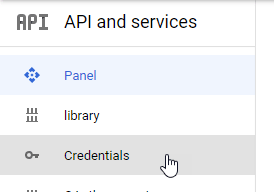
Now that it is enabled, click on "API and Services" in the left menu, on this panel, go to Credentials.
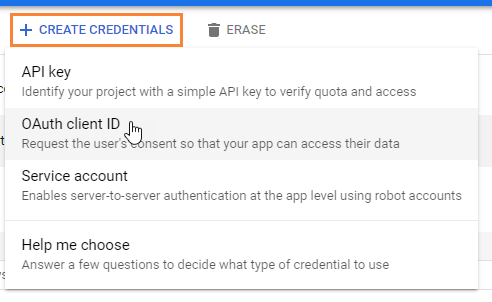
Now that you are here, at the top panel, go to + Create Credentials > OAuth client ID, if asked, add a name to your OAuth consent screen.
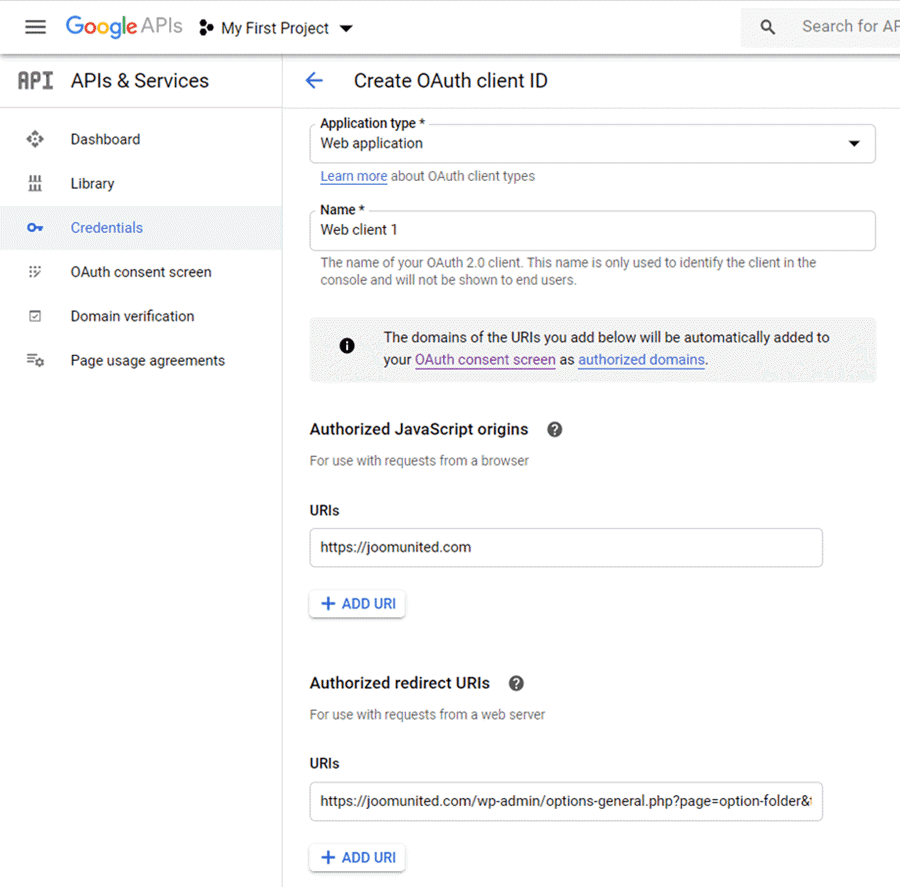
Now, setup the credentials like the following:
- Select "Web application" and add a name of your choice.
- Authorized JavaScript origin: https://your-domain.com (replace by your domain name, with no trailing slash).
- Authorized redirect URIs: https://your-domain.com/wp-admin/options-general.php?page=option-folder&task=wpmf&function=wpmf_google_photo_authenticated
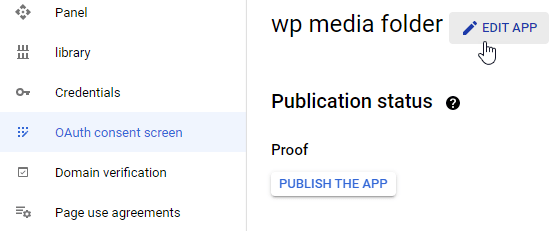
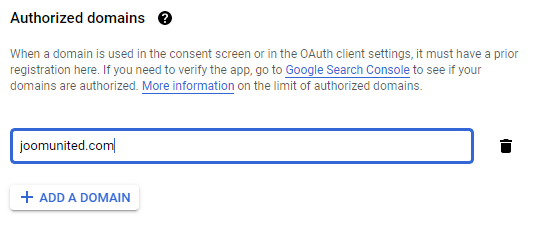
Keep in mind that Google has changed their policy so you need to fill your Authorized domains at OAuth consent screen tab > Edit App.
At the Authorized domains section, click on +Add Domain and add your domain.
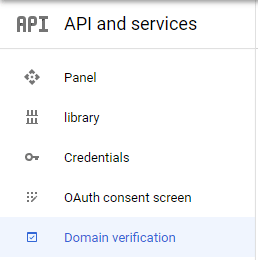
Add it also to the Domain Verification section.
And done! You'll get your ID and Secret to add in WP Media Folder's configuration :)
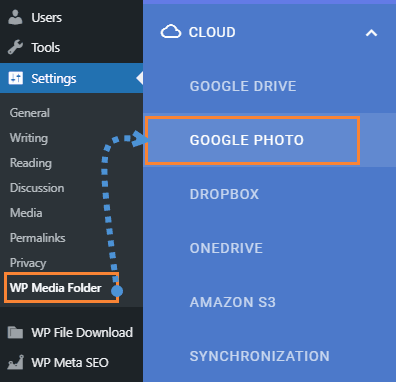
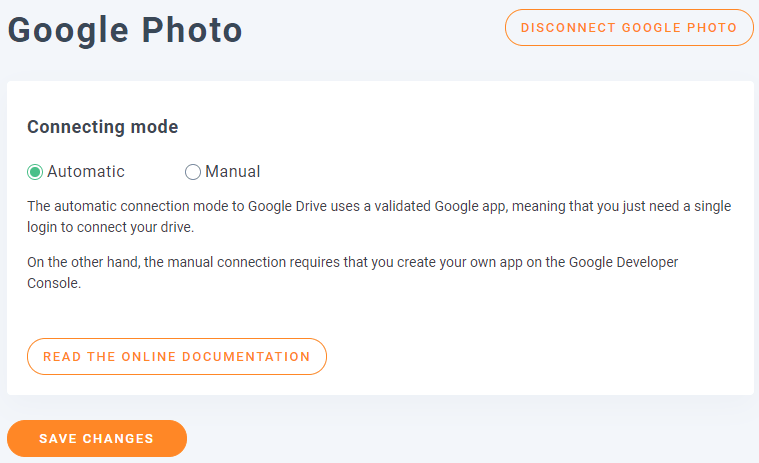
Now, let's connect your Google Photos account to your WordPress site, for this go to Settings > WP Media Folder > Cloud > Google Photo tab.
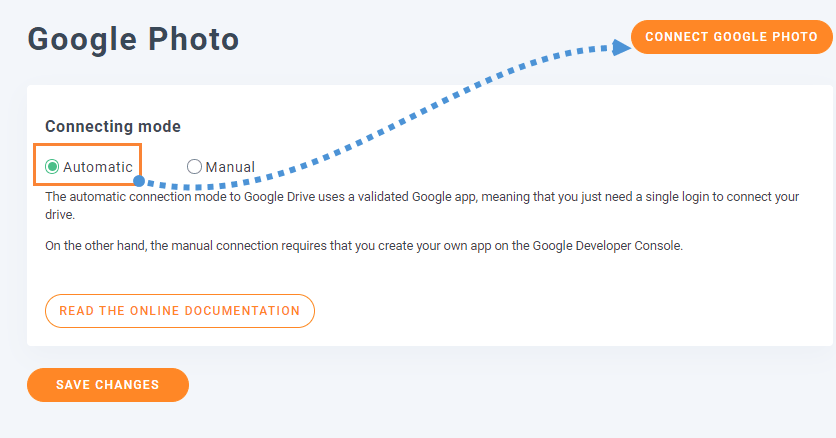
You can use the Automatic mode that is the easiest one as you will only need to log in to your Google account, for this, choose Automatic in the "Connecting mode" and then Connect Google Photo.
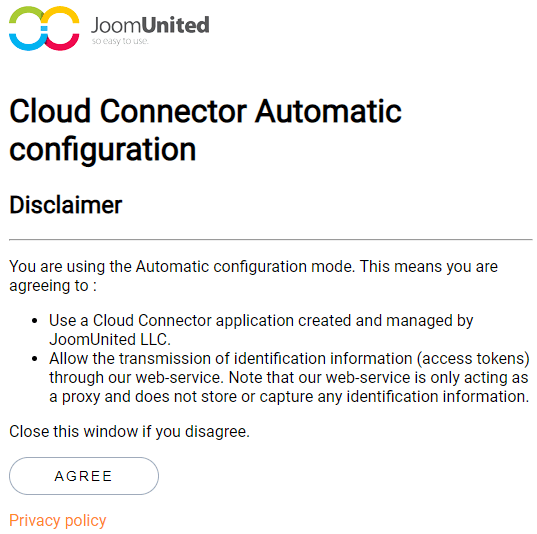
A Pop Up will appear, click on Agree.
The last step will be, log in to your Google Account, allow the permissions, and finish the connection.
That's all, really easy and fast, isn't it? :)
From Google Photos to a WordPress Divi Gallery
Just like the title says, from Google Photos to a WordPress Divi Gallery, now that Google Photos is connected, we can proceed to create our galleries from the albums in our account.
First of all, we are going to create a new gallery from the manager.
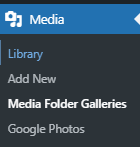
Go to Media > Media Folder Galleries.
Here, we are going to be able to create many different galleries for images from our WordPress site, our Computer, or(in this case) from Google Photos.
Click on +Add New Gallery.
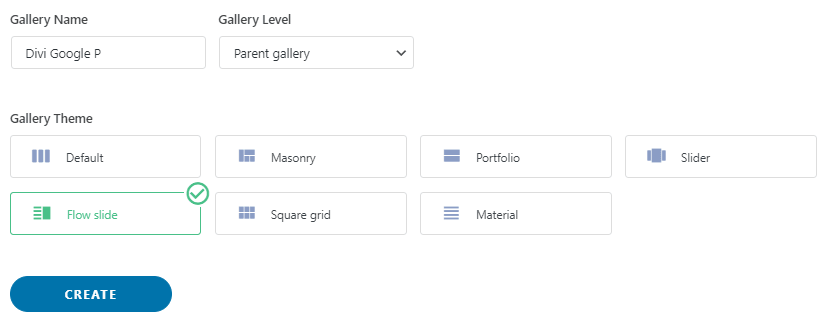
This will open a pop-up where you can type the name of the gallery, select the theme, and other things like if you want to add it as a PArent gallery or maybe a sub-gallery.
Select all your options but don't worry as you can edit this after the gallery creation so it is not like something that we are not going to be able to change ;)
On this screen, you have 3 options to add images to your gallery, you can add them from WordPress(your media library), from your computer, and from Google Photos.
For this tutorial, we are going to select Google Photos but you can choose what you want.
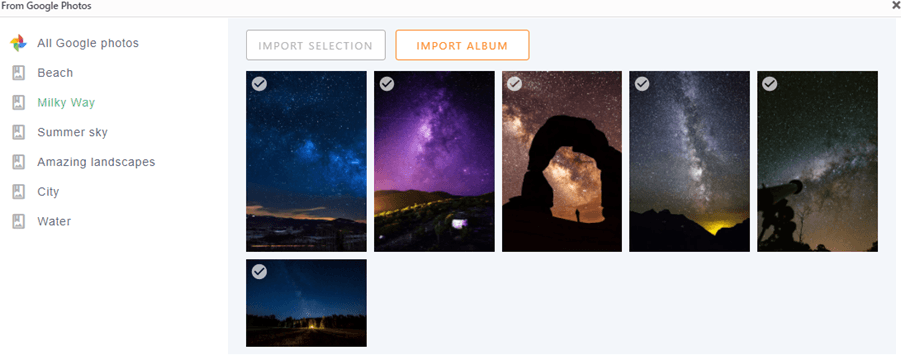
If you choose Google Photos, you will see all the albums and images from the account that you connected to your site before.
You can import a complete Album by clicking on Import Album or also, select multiple images and click on Import Selection.
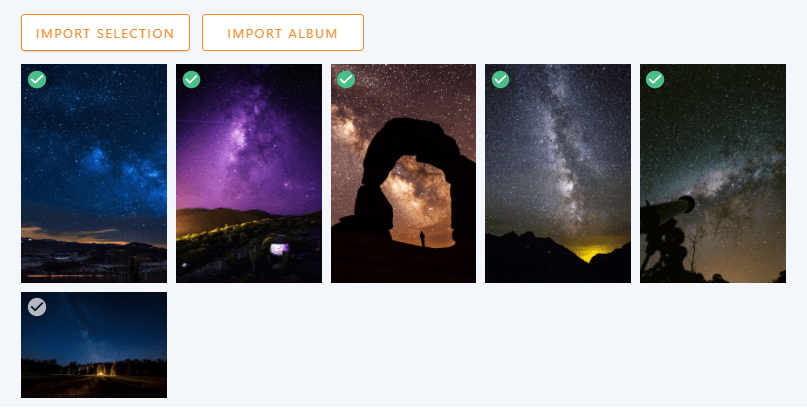
For example, here we are going to select 5 images and import only these ones.
It is as simple as a click on the images that you want and then, click, as explained before, on Import Selection.
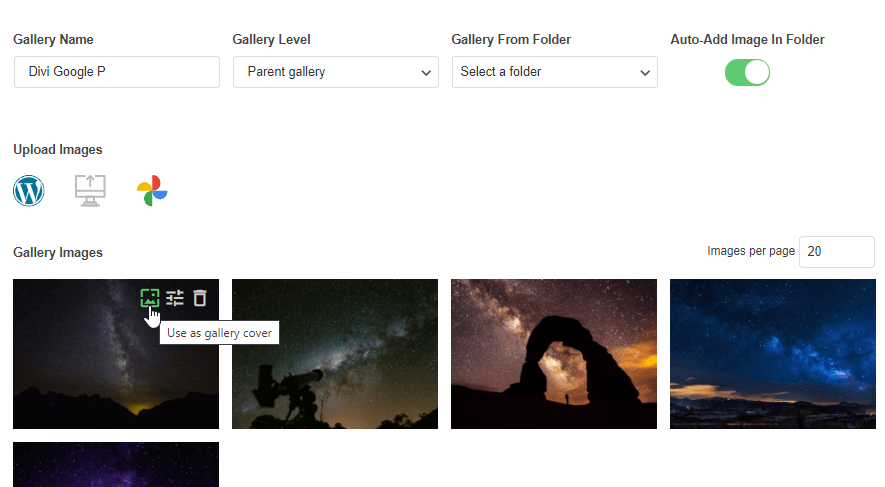
Now, that you added the images to the gallery, you will see them in the manager, on this first screen you have the option to order them, set an image a the gallery cover, and also, edit the image itself.
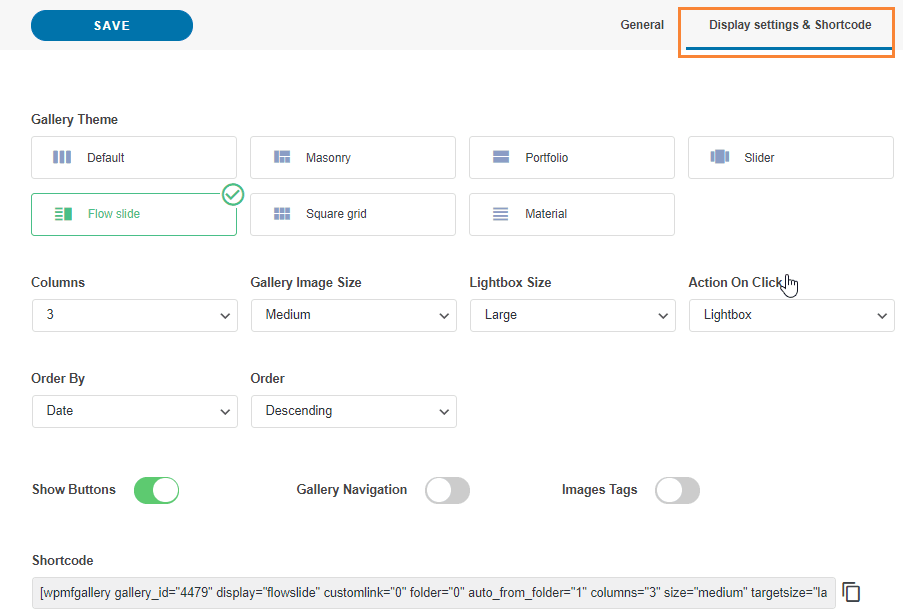
You will notice another tab called Display Settings and Shortcode.
In this section, you will have the option to edit more settings from the gallery like the theme that you want to use, the number of columns, image size, action on click, and the lightbox size if you select a lightbox as the action on click.
There is also the shortcode for that gallery in case you want to use it ;)
You will also have these options in Divi so don't worry about having to come each time you want to edit something in the gallery.
Now that you have finished the Gallery creation, click on save and go to the page/post that you want to edit, and click on Use the Divi Builder, you can use it in the front end or the backend without issues;)
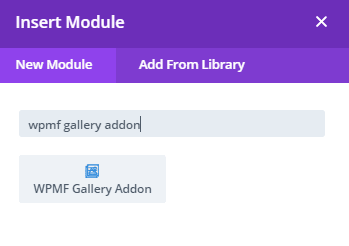
Select the column as you usually do and then, look for WPMF Gallery Addon module.
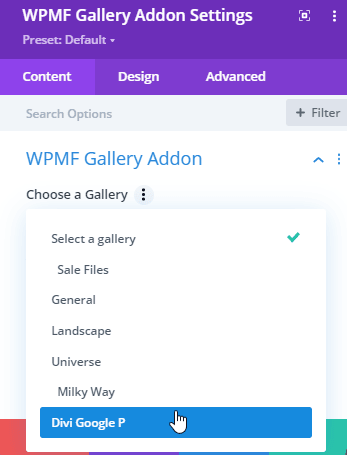
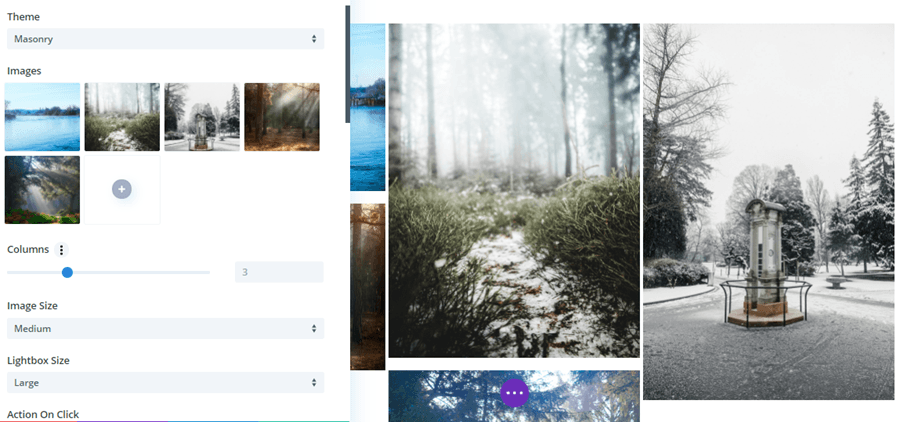
In the next pop-up, you will see the option to add an already created gallery, and also all the other options that you saw in the Display Tab from the Gallery Manager so you can easily edit the gallery.
We are going to select the gallery that we created before.
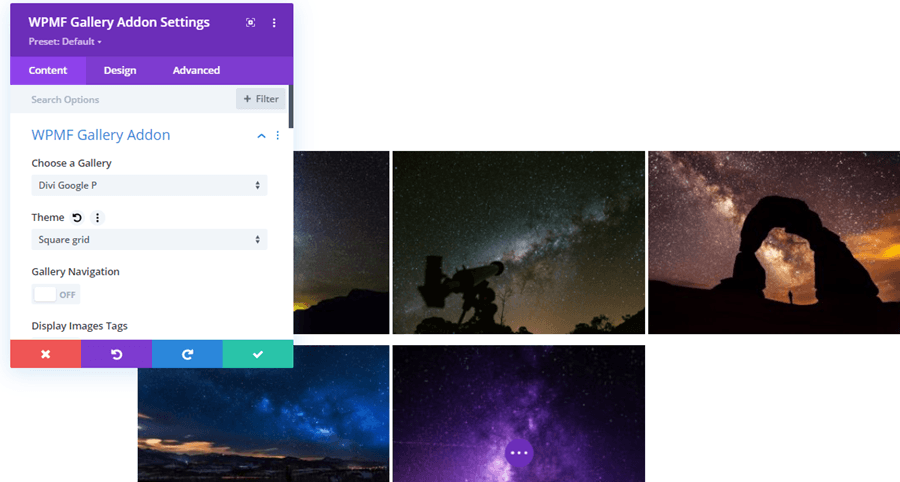
The Gallery will be displayed and you will be able to edit all the display settings with a live preview so every change is going to be reflected automatically.
The best tool when you want to check how things are going without having to click on the preview or reload the page every time a change is made.
Now you can finish your page creation and go to publish it without having to worry about not being able to know how the gallery will look like in the frontend.
A really awesome tool, isn't it?
Create galleries from the Cloud directly to Divi
So maybe you were thinking that it was all but the answer is no! You can also create galleries with images hosted in the cloud, you are going to be able to save storage space and also, use Divi to place the gallery ;)
We are going to use a Google Drive folder for this but keep in mind that other cloud integrations are available with WP Media Folder and the Addon(Dropbox, AWS, OneDrive).
In order to be able to connect Google Drive with your WordPress site, you can follow the detailed guide here the process is similar to the Google Photos one so you shouldn't have issues.
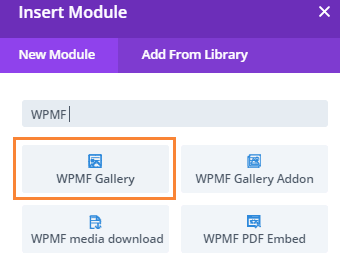
After creating/syncing the Google Drive Folders, you can go to the page/post that you want to edit and click on Use the Divi Builder, add your column, and, in the modules, look for one called WPMF Gallery.
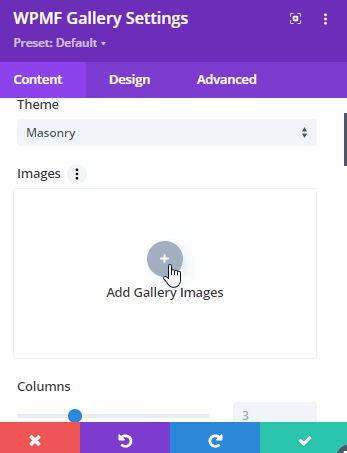
This Module will allow you to create the gallery directly in the Divi Builder, first of all, let's add the images by clicking on Add Gallery Images in the Images section.
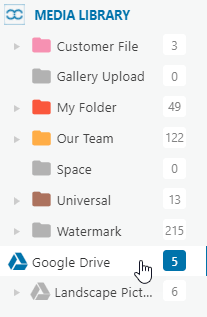
This will load your Media Library as a pop-up, look for the folder that has the images that you want to add inside and click on it.
We are going to use the Google Drive folder for this case.
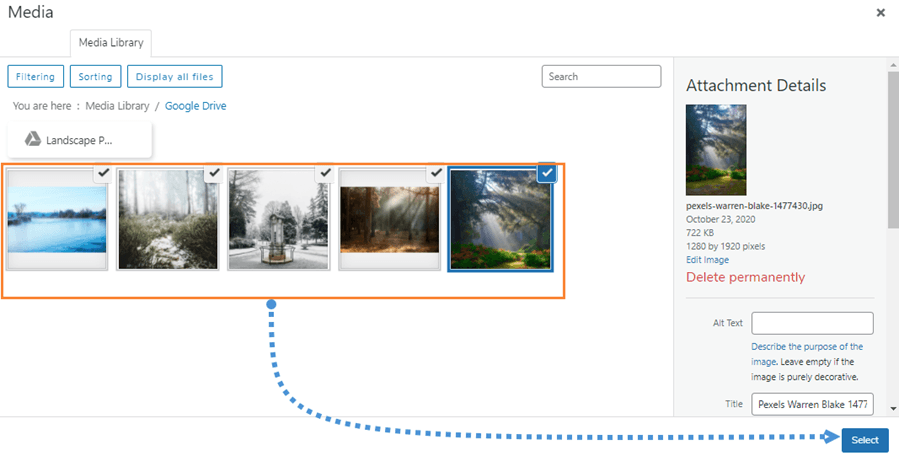
Now, on the right section, select all the images that you want to add by clicking on them, and then, click on Select.
This will load all the images in the Divi module and you will see all the options available for the gallery edition, like the theme, columns, size, action on click, borders, shadows, border-radius, and an option to add Blur to the image.
The best part of this is that each change that you make is going to be automatically displayed in the preview so you won't have to reload the page or save the template on each change.
As you can see, these plugins are just a perfect combination ;)
Get the Most Professional WordPress Website with the best combination
We have only shown a few features of all the available ones in WP Media Folder, there are others like completely offload your media to AWS, PDF Embedded, and more cloud connections like OneDrive and Dropbox so what are you waiting for to start using all these awesome features? Go here and obtain your own membership :)
When you subscribe to the blog, we will send you an e-mail when there are new updates on the site so you wouldn't miss them.





Comments