How to Replace Images and Media Files in WordPress

As website content evolves, there are times when you need to update the images and media files on your WordPress site. However, replacing images and media files in WordPress is not an easy task.
- Replacing images without proper tools can lead to broken links and 404 errors since uploaded media URLs are permanent by default in WordPress.
- Using a comprehensive media management plugin like WP Media Folder allows seamless replacement of images and files without disrupting content or links.
- Efficient media file management improves website performance, storage optimization, branding consistency, and SEO through better image handling and updates.
Table of content
By default, once a photo is uploaded, its URL and location become permanent, so replacing an image with a new one can lead to broken links and 404 errors. This can be problematic, especially if the same image is used in multiple website areas.
Fortunately, there are solutions that allow you to replace images and media files in WordPress easily without having to delete the old files and causing issues. In this article, we will discuss how to seamlessly replace images and media files in WordPress, as well as the importance of managing media files effectively.
Why Replace Images and Media Files in WordPress?
Before discussing how to replace images and media files in WordPress, there are several cases when you need to do so.
- Move to a different domain: When migrating a WordPress website to a new domain or hosting provider, replacing images and media files becomes crucial. This ensures that all assets are transferred and linked correctly on the new domain, preventing broken links or missing media files that can disrupt the website's functionality and user experience.
- Online shop: For e-commerce websites built on WordPress, replacing product images and media files is a common task. As products are updated, discontinued, or new ones are added, managing and replacing the associated images and media files is essential for maintaining an accurate and up-to-date online store.
- Change logo of business: Businesses often rebrand or update their logos, which necessitates replacing the existing logo image across their digital assets, including their WordPress website. Failing to replace the old logo with the new one can lead to brand inconsistency and confusion for website visitors.
- Website redesign: During a website redesign or theme change, media files such as images, videos, and other assets may need to be replaced to ensure they align with the new design aesthetic, maintain optimal file sizes, or meet specific formatting requirements.
Importance of Managing Media Files Effectively
After understanding the various cases that can be encountered when replacing images or files, here are several reasons why you should manage media files effectively.
- Improved website performance: Well-optimized media files, such as compressed images and optimized video formats, can significantly enhance the performance and loading times of your website, providing a better user experience.
- Consistency and branding: Maintaining consistent and up-to-date media files across the website is crucial for strengthening brand identity and ensuring a cohesive visual experience for visitors.
- Search Engine Optimization (SEO): Optimizing media files with descriptive file names, alt text, and correct formats can improve the website's visibility in search engine results and provide better accessibility for users.
- Storage efficiency and bandwidth management: By replacing large media files with more optimal versions, you can save storage space and bandwidth, reduce hosting costs, and improve website performance.
How to Replace Images and Media Files in WordPress?
Now that you understand the importance of managing media files effectively, if you want to replace images and media files, do it efficiently. Although WordPress has a replace images feature, it is just a basic replacement function without additional features to manage your WordPress media effectively.
Therefore, it is worth considering additional plugins that can help with image and media management. One solution is to use the WP Media Folder plugin from JoomUnited.
WP Media Folder is a WordPress plugin that offers a comprehensive solution for managing media files on your site. This plugin offers several features, one of which is the effective replacement and duplication of media. Here are some key features of the WP Media Folder.
- Replace, duplicate, and update images and media files
- Creates virtual media folders by default
- Drag-and-drop interface
- Sort and filter options
- Create a gallery manager from folder items
- Sync with third-party services like Google Drive, Dropbox, OneDrive, Google Photos, and Amazon S3
Here are the steps on how to replace images and media files in WordPress.
#1 Install the WP Media Folder plugin on your web
The first step is to install the WP Media Folder plugin on your website. To do so, you need to subscribe, starting from $49 per year or $69 per year for the plugin+addon.
After that, you can install it by uploading the file to /wp-content/plugin. Then, click "Activate Plugin" to display the WP Media Folder menu on the left side of WordPress.
You can access the WP Media Folder from the Media menu and the Media button at the top of your editor. Additional parameters are also available under the "Settings" menu.
#2 Media folder galleries
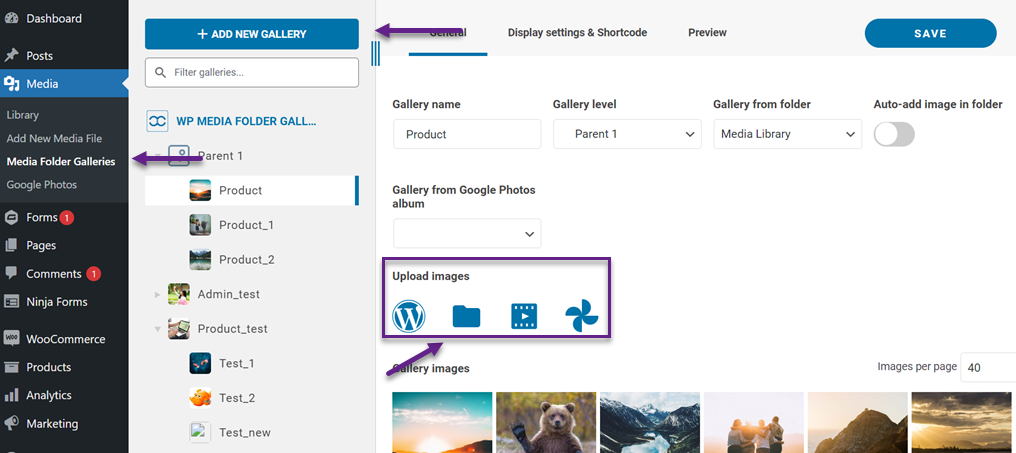
Once the plugin is successfully installed, you can open the media folder page on the left-hand side under Media > Media Folder Galleries. There, you'll find several features, including:
- Add a new gallery: This allows you to classify images or videos easily.
- Upload images: You can upload images from existing WordPress media, from your local computer, upload videos, or upload from Google Photos.
After you have added enough images, we will then proceed to replace images within WordPress content.
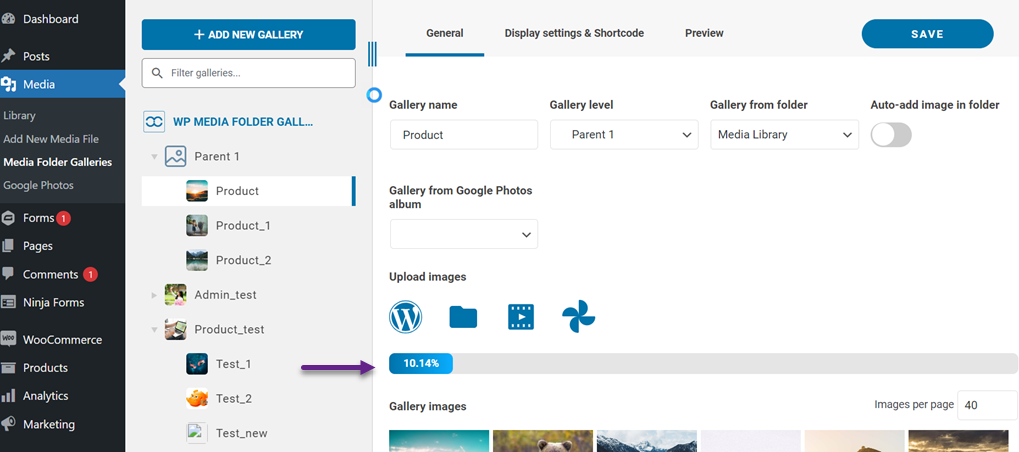
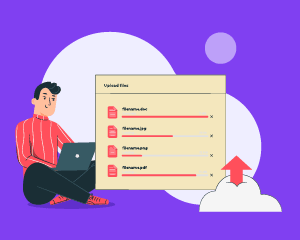
After that, we will try to upload an image to be added to the article later. Click the "Files" icon above, then select a file from your local computer. Wait for the upload process to complete.
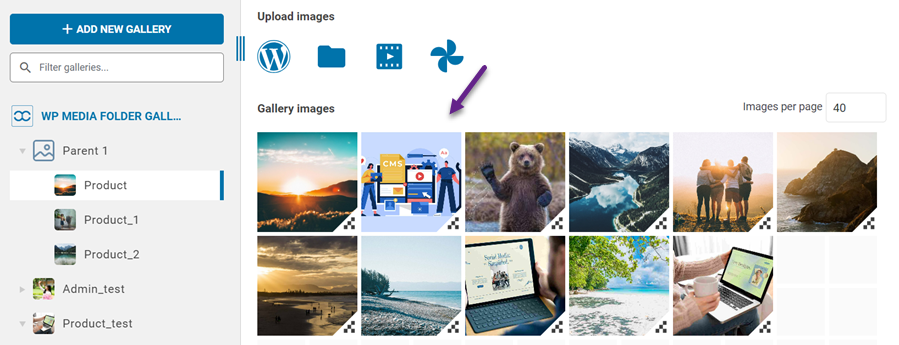
If done, this is what the uploaded image will look like.
#3 Add image to the post/article
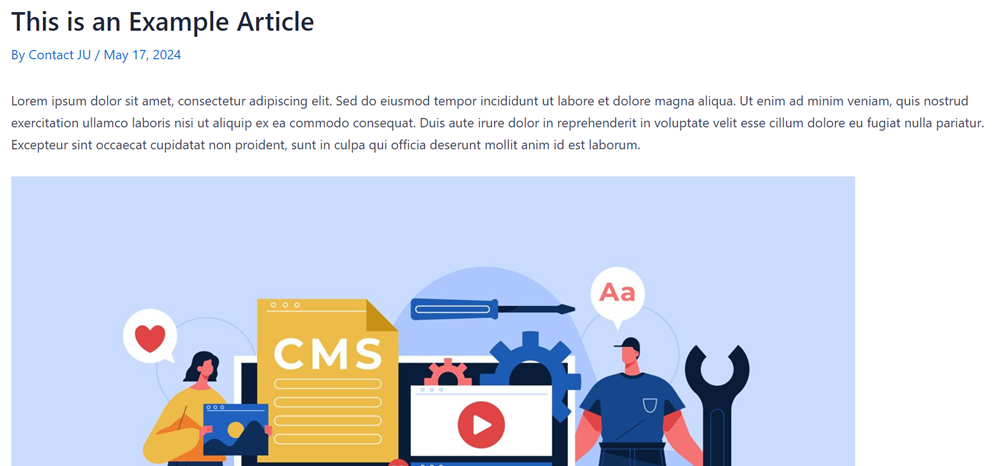
Here, we have tried to create a sample article to demonstrate how to replace images and media files. In the following article, we will add the uploaded image from the gallery earlier. To do this, create a new block, then click on the image icon > Media Library > Select.

After the image is added, let's preview the article. Here is the preview of the article with the successfully added image.
#4 Replace images or media files
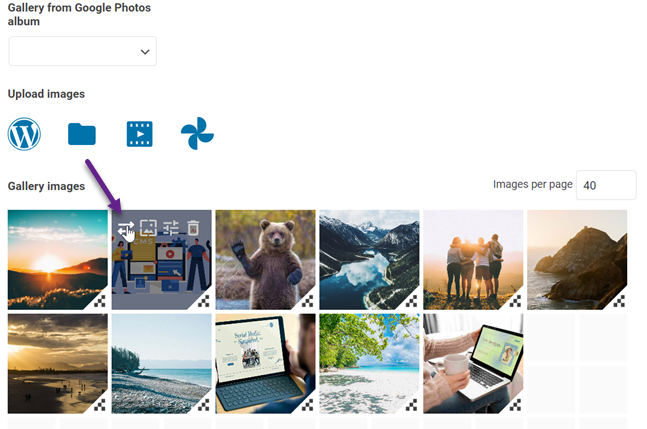
Next, here we will try to replace the image in WordPress content. WP Media Folder can quickly assist; you don't need to open the published content. Just open Media Folder Galleries > then find the image to be replaced > click the Replace icon as shown in the image below.
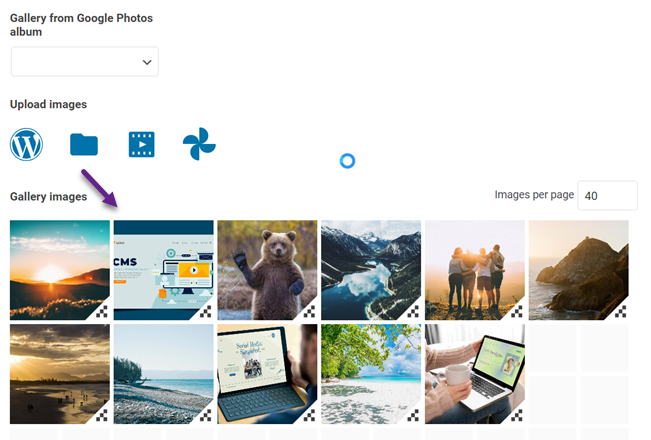
Then you will be directed to your local computer to select the new image. If successful, the previous image will be replaced as follows.
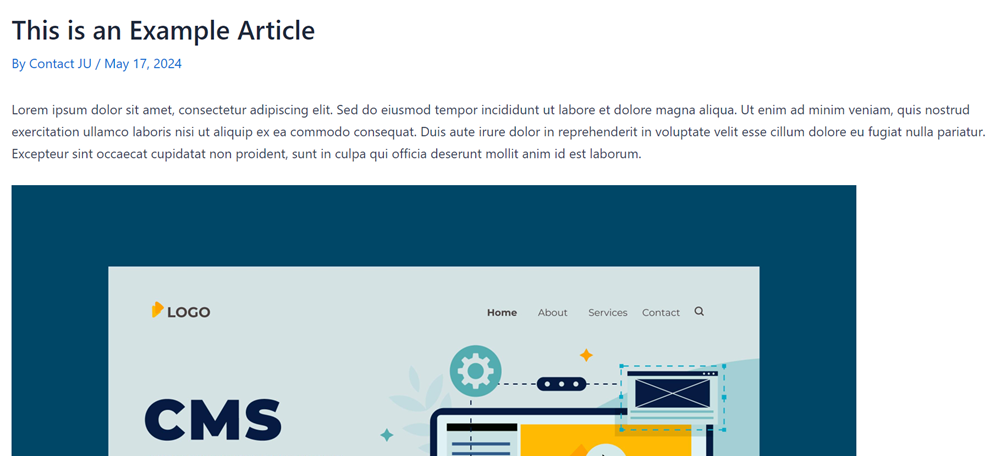
After successfully replacing it, you can check on the content page whether the previous image has been replaced. If the replacement is successful, the previous article will look like this.
Conclusion
Replacing images and media files in WordPress is not easy. By default, once an image is uploaded, its URL and location become permanent, so replacing the image with a new one can lead to broken links and 404 errors.
However, there is a solution that allows you to replace images and media files in WordPress easily, without having to delete the old files. The WP Media Folder plugin offers a comprehensive feature for managing media files on your website, including replacing, duplicating, and updating images and media files with an intuitive drag-and-drop interface.
With WP Media Folder, you can easily replace images and media files while ensuring your website remains optimized. So what are you waiting for? Get WP Media Folder starting from $49 per year or the plugin+addon bundle for just $69 per year with a one-time payment!
When you subscribe to the blog, we will send you an e-mail when there are new updates on the site so you wouldn't miss them.

Comments