How to Connect and Search with Joomla and Bing Maps

Maps on websites are really important when you offer a service and you need to give your clients the exact address and how to go to your office or work site.
Connect your Joomla Site and Bing Maps is now possible with My Maps Locations and it is really easy to achieve, you won’t have to do some complicated things to connect them and you are going to be able to do it without the developer help.
Maps are an essential part of the civilization in this era where we use the technology for all our diary tasks, maps help us to find the exact location of an address where we want to go and Bing Maps has become one of the bests maps providers for all kind of system and here, you are going to be able to connect Joomla with Bing Maps in a really easy step to step tutorial.
Start Using this Bing Maps Joomla Extension
For this example, we are going to use a localhost Joomla client and My Maps Location.
First of all, after we have installed the extension, we are going to go here
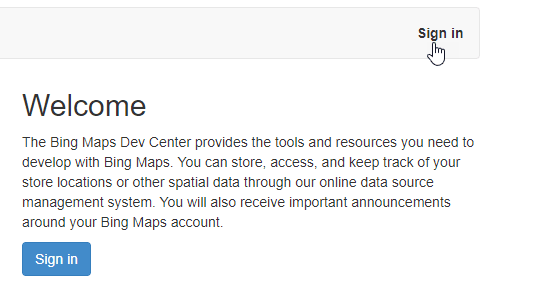
Now that you are on the page, you will have to create a free account, for that just click on “Sign in”.
You are going to be able to use your Microsoft account.
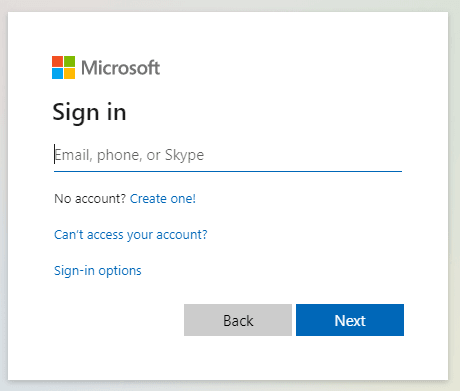
You can also create an account by clicking on “Create one!”.
After you finish your account creation, just go to My account > My Keys.
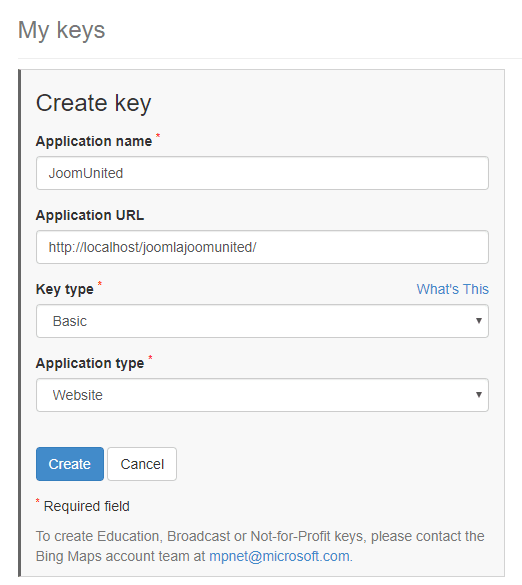
Now just fill all the parameters, set a name, on the key type you can use the “Basic”, Application type, set it as “Website” or if you want to use for another purpose, you can set it in that section, and on application URL, you can add the URL of your site or just leave it blank.
Finally, click on “Create”.
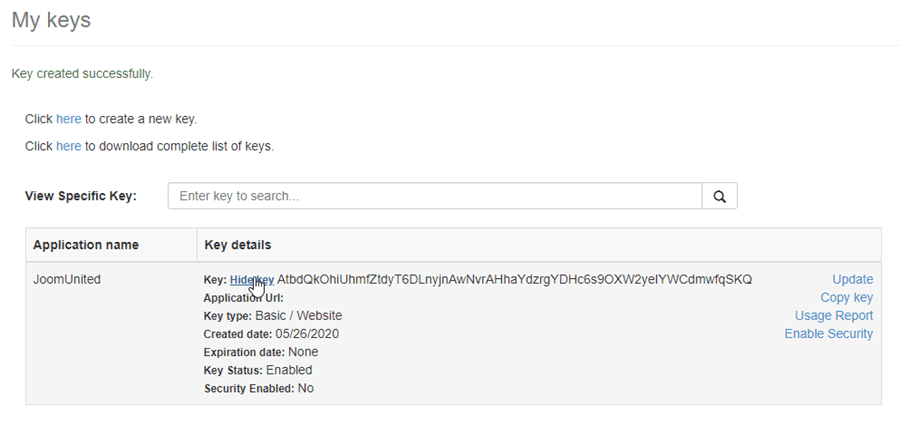
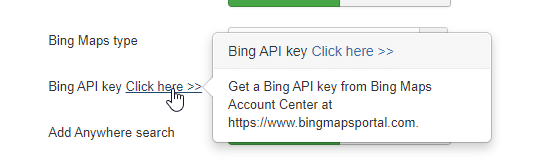
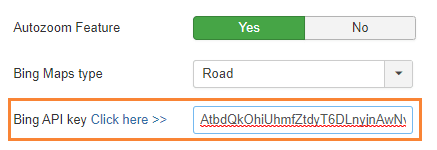
You are going to be able to see that table, just click on “Show Key” and the Key that is a long code will be shown, now just copy it and go to Components > My Maps Location > Configuration, look for the Bing API Key option and paste the Key that you have copied in the box.
Now we have finished the hardest part and it was easy to accomplish.
The next and final step in the configuration is set all the parameters to Bing, the parameters are these:
Map Provider
Autocomplete Search

The last step is to set the map type that you want to display, options are:
- Road.
- Aerial.
- Bird eye.
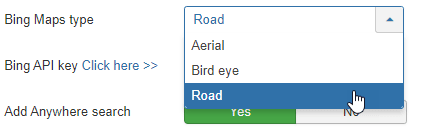
For this example, we are going to use the “Road” type.
To finish the configuration, click on “Save”.
Use this Joomla Maps Extension to its best
Now that we have set Bing Maps as the map provider, we are going to be able to use this Joomla Maps Extension to its best.
First of all, we are going to create a category that is how the locations are classified, categories are shown in the frontend as filters or used as a predefined parameter in a menu item to load some categorized locations.
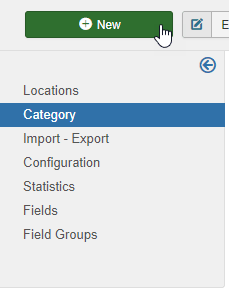
It is recommended to use these categories when you have a lot of locations, it is possible to create categories and subcategories. To create a new category go to Components > My Maps Location > Category and click on New.
Now, you have to fill the title, and, if you want to set that category as a subcategory, you will have to select a parent folder in the right section.
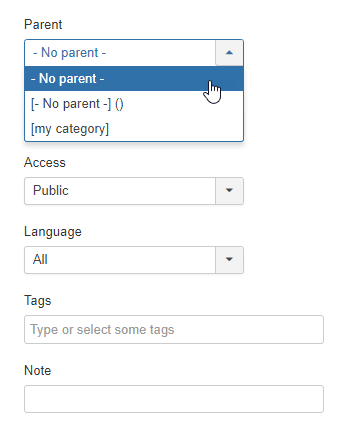
Take in mind that in this section, you can set this category as published/unpublished and add other parameters like the privacy, language, tags, and a note.
You can also define a default marker for location in the category in the “Please select a marker tab”, go to that tab and click on SELECT, finally select the marker that you want to use and click on “Insert”.
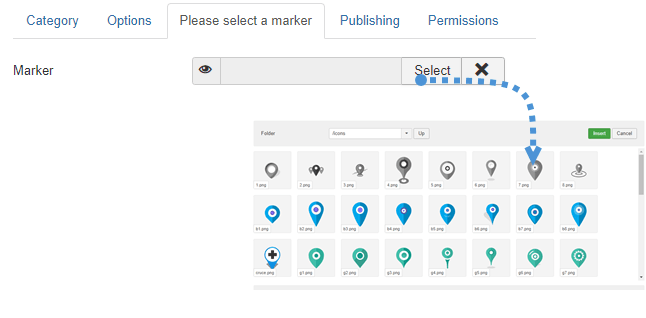
Now that the marker is defined and the category finished, just click on Save and everything is going to be finished for that category.
The next step is to create a new location in order to display it in the frontend.
To create a location, go to Components > My Maps Location > Locations > New.
There are 3 fields that have to be completed:
- Name of the location.
- Category of the location.
- Location details(address).
There are 3 options to add the address:
- Use the search field.
- Navigate onto the map and use the cursor to point a location.
- Fill an address.
There are other fields that you can fill but these are the one that is required, for this example, we are going to fill these 3 fields.
We are going to use Niagara Falls as the address.
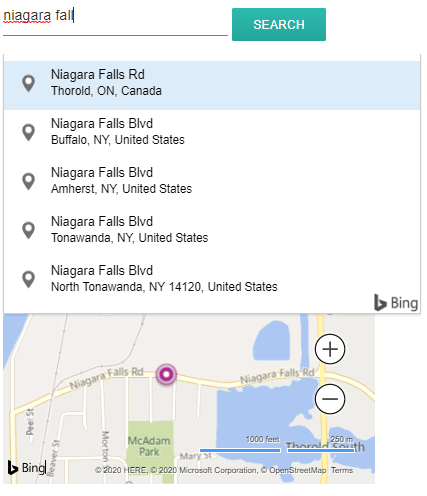
You can also move on the map and put a marker directly, the result will be the same and you’ll get a latitude and a longitude automatically filled.
All other information about the location (description, hours,...) are displayed in the detailed view of the location.
The contact link in the location detail edition is the possibility to add a contact link, mailto, or URL per location. On the frontend, it will a contact button that will open the URL or execute the mailto action.
Finally, click on Save, the location is going to be created.
The last step is to finally display the location, for this example, we are going to add the location by using the editor button that is really easy.
The button will be loaded in your Joomla Editor at the bottom.

Just click on the checkbox of the locations that you want to add and finally on “Add Single or Multiple Location”.
The last step is just to save the article by clicking on “Save” and your map will be shown in frontend on that article.
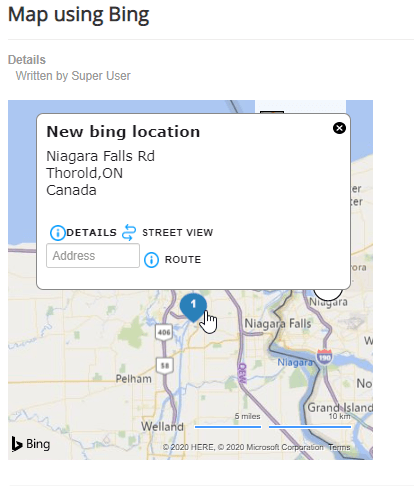
Now the map is going to be shown with all the details that you have added to the location, really easy, isn’t it? :).
Start Adding Maps with the Best Joomla Maps Extension
Everything is set to use Bing Maps as a map provider and you can now start to add maps wherever you want, just go ahead and do it, if you don’t have My Maps Locations yet, go here and purchase your membership now! :)
When you subscribe to the blog, we will send you an e-mail when there are new updates on the site so you wouldn't miss them.


Comments