


Create a file repository for WordPress users using WP File Download file access

A file repository is, for a lot, one of the most valuable tools that you can offer to your users as it provides a safe way to share files with your users and at the same time, allows them to save important files on their account, we will see how easy is to create and limit file repository with WP File Download.
We do have many options with WP File Download when limiting the access, we will be able to use WoCommerce to only allow users to download a file after purchasing, set a limitation per user role to allow download/upload only for certain of them, and also create personal user repositories so the users can only see their own files.
In this tutorial, we will see how to create a repository and limit it per user, and role.
Looking for a powerful file management solution for client websites?
WP File Download is the answer. With advanced features like file categories, access
restrictions, and intuitive UI.
Impress your clients with top-notch file organization!
Limit files access per WordPress user and user role
In order to be able to follow this tutorial we will need WP File Download.
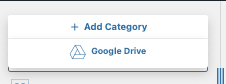
First of all, let's create the category, for this, go to WP File Download > WP File Download, on this page click on Create a file repository for WordPress users using WP File Download file access +Add to Category.
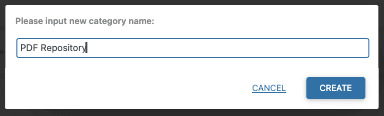
This shows a pop up where we can type the name of the category that we will use to create the repository, for this tutorial we will call this category PDF Repository.
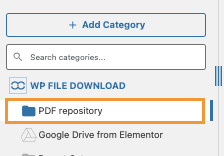
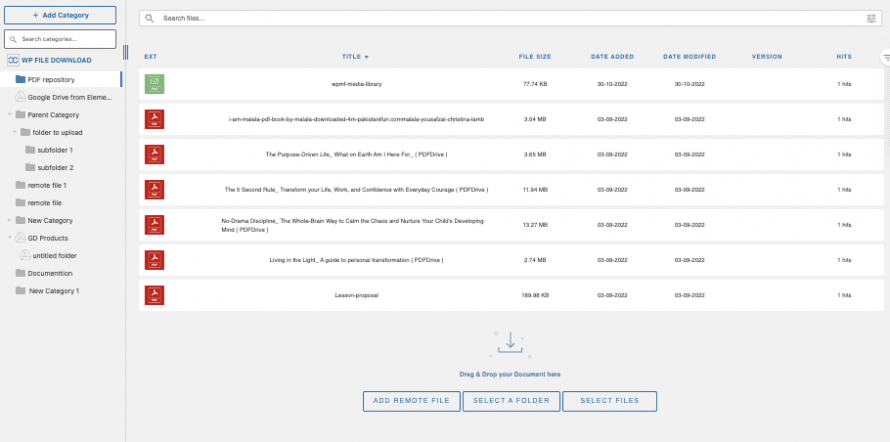
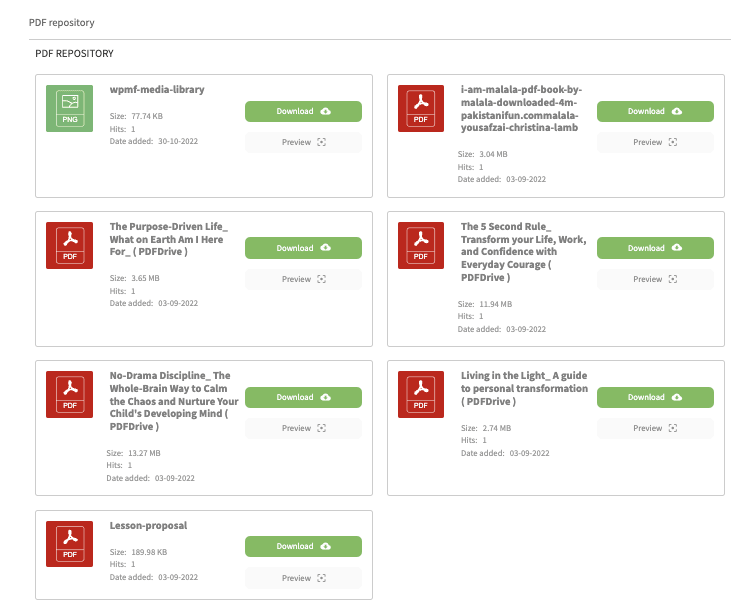
The new category will appear on the left side bar, click on it and, on the right panel we will be able to upload the files that we want to add.
To upload the files, select them from your PC and drag and drop them to the right panel that opens after clicking the category.
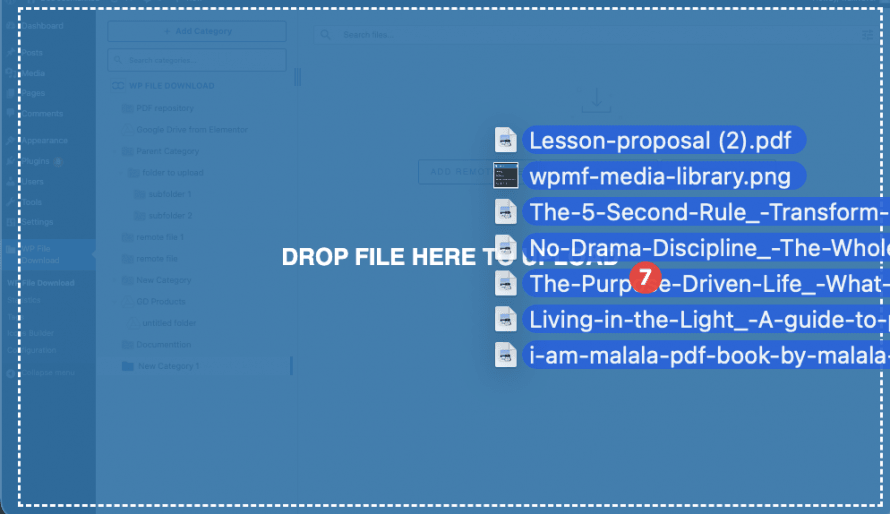
The files will appear inside the category available to be downloaded if we publish the category.
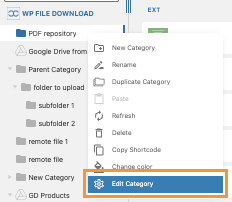
Now that we have our category with files inside, in order to make it available only for a certain role, we will need to do a right click on the category name and click on Edit Category.
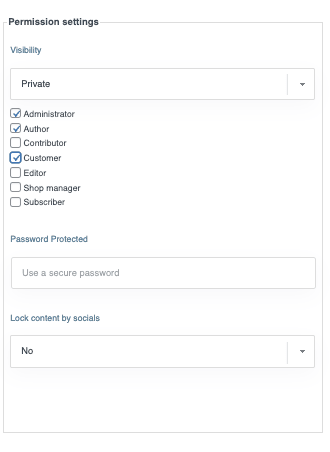
The settings for the category will be shown on the right panel on this page, there is a Permissions Settings block where we will be able to see a Visibility option with a dropdown, click on it and then, click on Private.

A box will appear so we can select the roles that we want to be able to see and download the category, this will also protect the download link meaning that the file won't be downloadable if the the user is not logged in with an allowed role.
Custom roles will also appear on this box.
We can use the other available settings to customize further our category like changing colors, setting margins, and also selecting the theme.
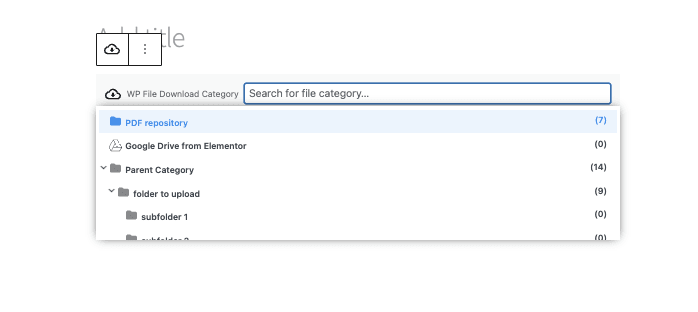
After finishing it, we can save the settings and then go to the post/page where we want to show it using the WPFD box available on all major editors.
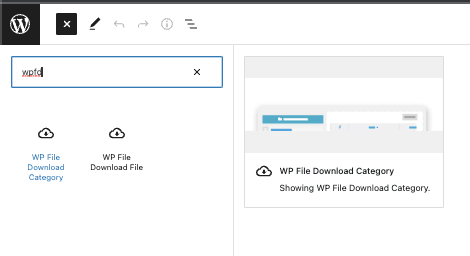
This will show the option to add the category, click on the one you want to add to your content, and finally publish or update your post/page :)
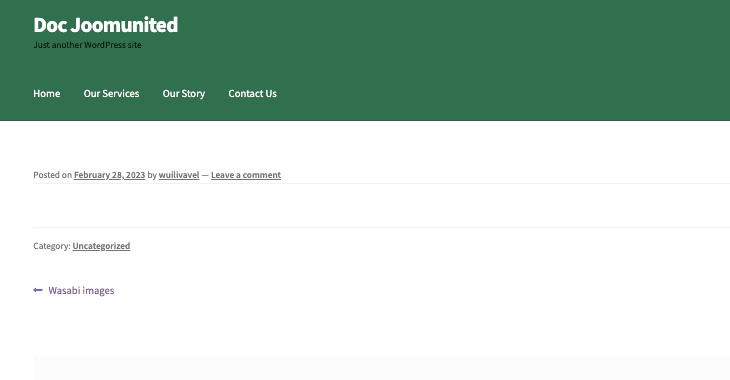
The files in the frontend, will be available only for these roles that were added to the visibility option.
If you access to the category page on a browser where you're not logged in or using a different role, the category won't appear at all.
A private download repository created in just a few clicks, awesome! Isn't it?
Creating a personal user file download repository per WordPress User
Now that we saw how to create a category based on user role privileges, let's create a personal user repository so each user can have and manage their own files.
It could sound really tedious to do but the true is that it is not, we will be able to create this with just a few clicks on the permissions settings from WP File Download.
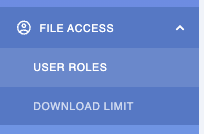
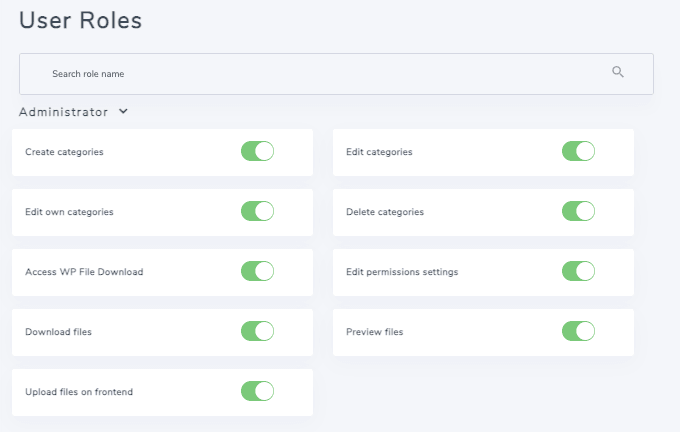
In order to find the permissions settings for WP File Download, go to WP File Download > Configuration > File Access > User Role.
We will see all the permissions available per user role including the custom roles that we could create in our site, let's explain what each permission does:
Create Categories: The option to create categories on their own.
Edit Categories: This option will allow the user to edit any category available to change the theme, colors, and margin for example.
Edit Own Categories: Similar to the past permission, will allow editing categories but with the condition that the user should be the category owner (this option should be enabled from the main admin settings, explained in this tutorial).
Delete Categories: The option to delete categories.
Access WP File Download: This will allow the user to access the WP File Download Dashboard in order to manage the categories from the wp-admin.
Edit Permission Settings: Allow the user to edit the file or category permissions.
Download Files: It does give the option to download the files in the front for the user role.
Preview Files: Allow the users with this role to preview files in the category published.
Upload Files in the Frontend: Allow the users to use the file upload form that can be enabled from the category settings so they don't need to access the wp-admin in order to upload a file.
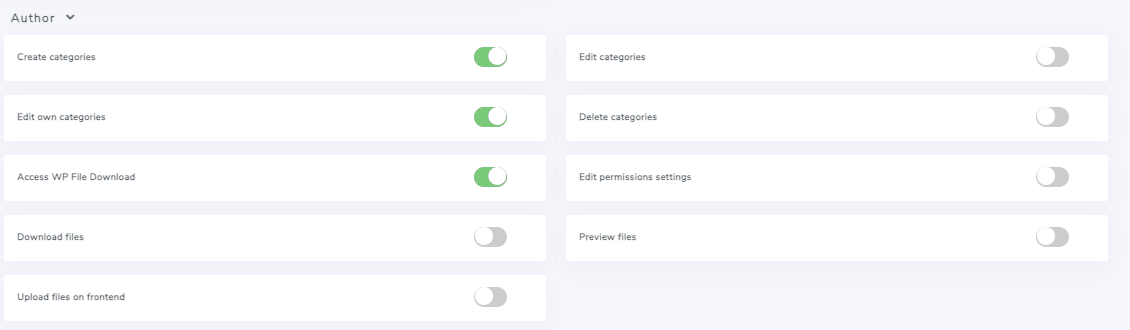
In this case, we will set the Author to be able to edit their own file repository, for this, we need to focus on a main permission which is, Edit own category, and enable this permission so they can only edit their own categories.
After this, we can enable other permissions like Create Category if you don't want to create the categories for the users and Access WP File Download so they can access the wp-admin and create categories on their own as well.
After setting this, the author will be able to access the wp-admin and create/manage their own file repository, you can access it as an author to confirm how it would look like.
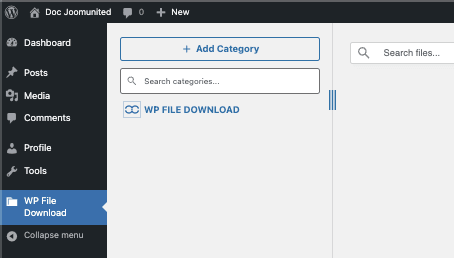
If we compare the image with the past WP File Download dashboard, we can confirm that there are fewer options on the left sidebar menu and the categories don't appear there at all, allowing us to confirm that this Author user is only seeing the categories that belong to the user.
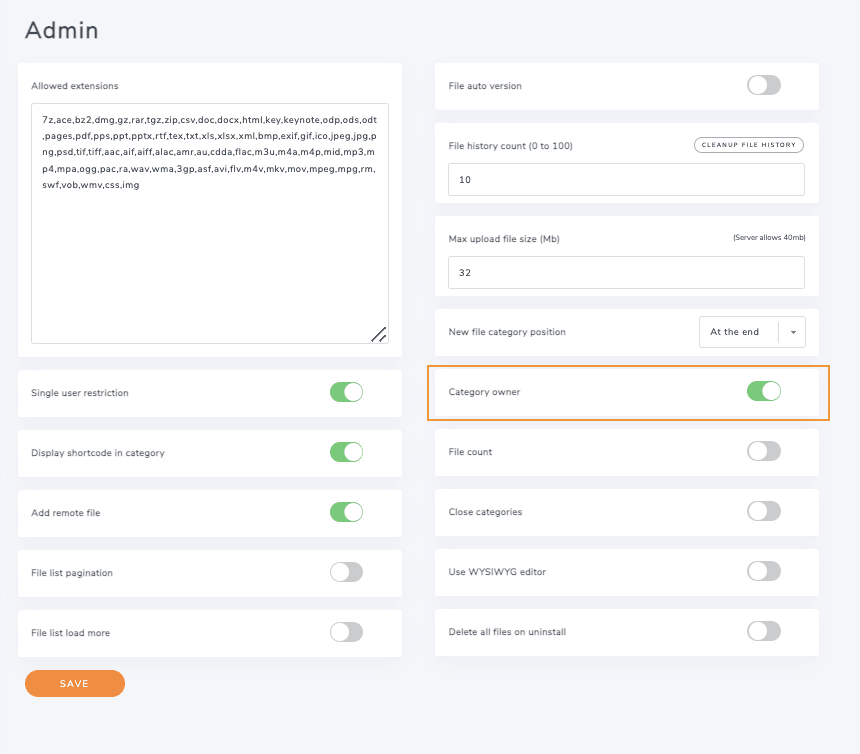
But what happens if we don't want the Authors to create categories and we do want to assign them manually? In this case, we would go back to the WP File Download > Configuration > File Access > User Role and deactivate the Create Categories option, after this, we need to go to WP File Download > Configuration > Main Settings > Admin and enable the Category Owner available there, this will allow us to set an owner on the categories that we want.
Now go to WP File Download > WP File Download, do a right-click on the category that we want to add to the specific Author user (keeping in mind that it can be any role that we set on the permissions), and click on Edit Category just as we did before.
We will see now an option for User Category Owner under the Permissions settings box, click the user icon and a modal with all the users will appear.
We can select the user here that we want to assign and done! The category will be shown only for that user so the user can manage it.
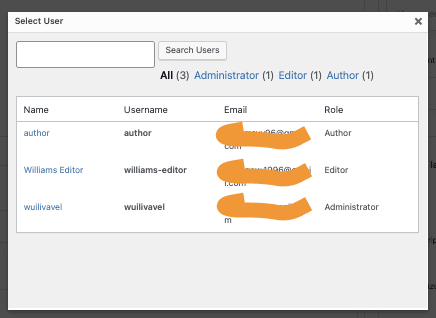
The user will be shown in the User Owner Category input so all we need to do is save and the changes will be reflected on our Author user.

Awesome! Isn't it? Just a few clicks and the personal user repository is created.
Limit number of WordPress downloads
Sometimes it is also important to limit the number of downloads, maybe to save bandwidth or just so our users can check our content before downloading another file.
This is totally possible with WP File Download, let's see how!
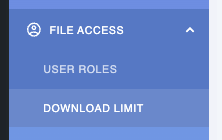
In order to access this feature, go to WP File Download > Configuration > File Access > Download Limit.
This will show us an option to enable the Download Limit, click on it and all the user roles that we have in our site including the custom roles will appear.
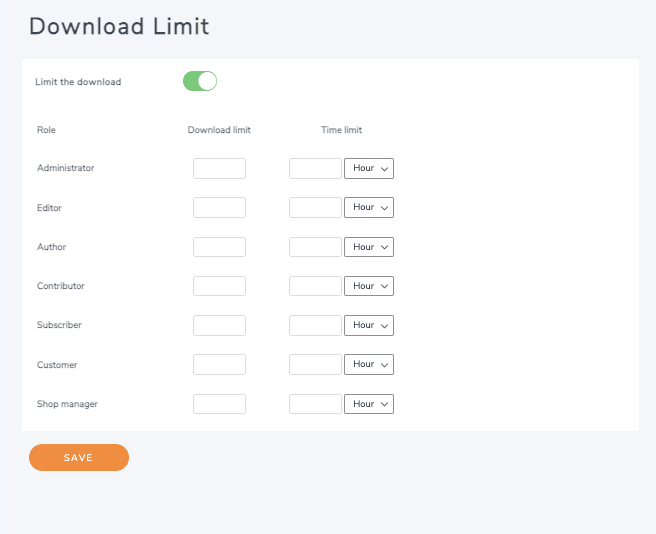
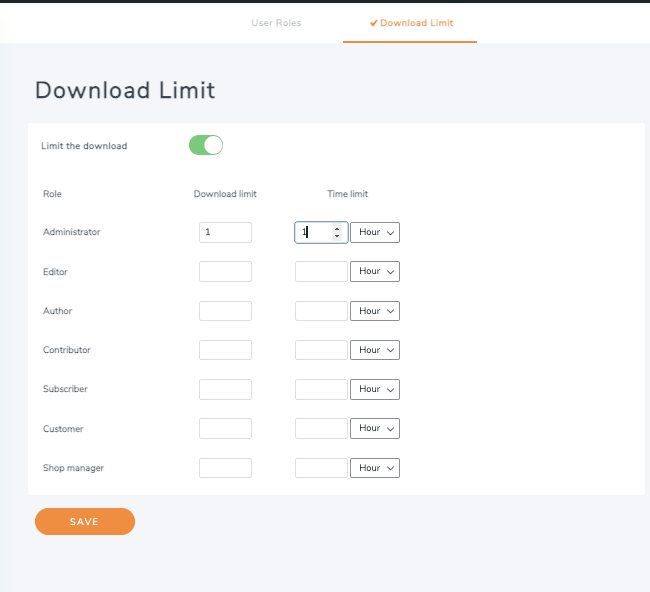
All we need to do on this screen is type the number of downloads we want each user of that user role to be able to do and then set the time frame that this user will need to wait for it to be available again so for example, let's limit the administrator to 1 download in order to test it, the block will be for 1 hour.
You can use the time that you want just keep in mind to click on Save after setting it.
Now if an admin, in this case, try to download 2 files or the same files 2 times, the admin will see a message letting them know that the max download was already reached letting the user know that will need to wait in order to download another file.

Calling all webmasters!
Enhance your client websites with WP File Download. Create secure and customizable file
repositories, allowing clients
to easily access and manage their files.
Upgrade your web design services today!
Another awesome tool set with just a few of clicks! What else we can ask for? ;)
File repository access management in video
The best user repositories created in time record
As you were able to see, this is the best option when creating repositories, doesn't matter if these are for a group of users or if it is for just a single user, the options are just unlimited!
There are also more options like cloud and WooCommerce integrations where we can serve files from a cloud service and attach the files to a WooCommerce product allowing us to improve our ecommerce and make it go to the next level! What are you waiting for? Go here and get your own!
When you subscribe to the blog, we will send you an e-mail when there are new updates on the site so you wouldn't miss them.

Comments