WP Table Manager: Common Use
The main idea of WP Table Manager is to manage all the tables from the editor although you have a plugin view. WP Table Manager works on every WordPress WYSIWYG editor, both for frontend and backend. For example, you can use it in a custom WordPress module.
1. Manage tables from article
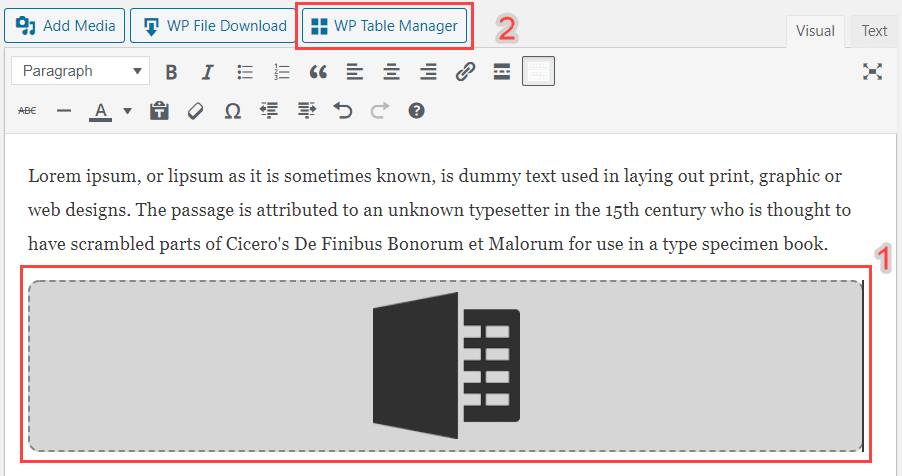
When WP Table Manager is installed you have an editor button displayed on your editor. Click on it to open the main WP Table Manager view.
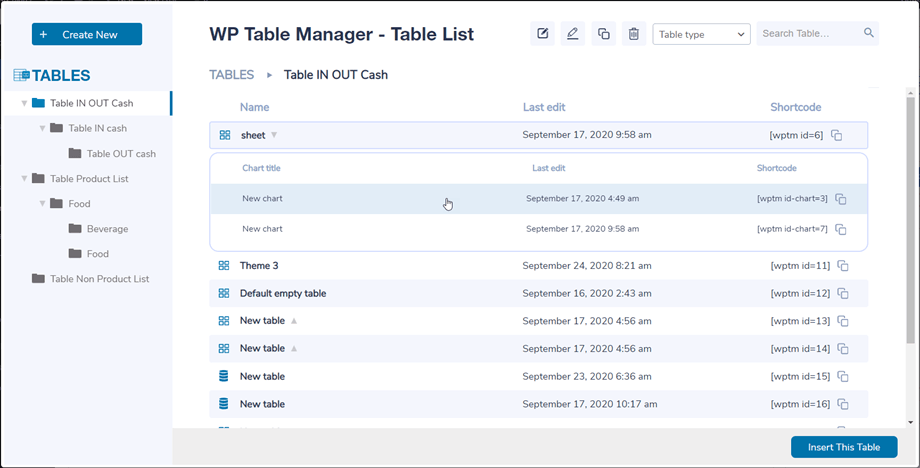
Table manager in a lightbox opened from a post/page, you can press on the title to view the content of the table/chart or just click on the space beside to select one then hit the Insert This Table button
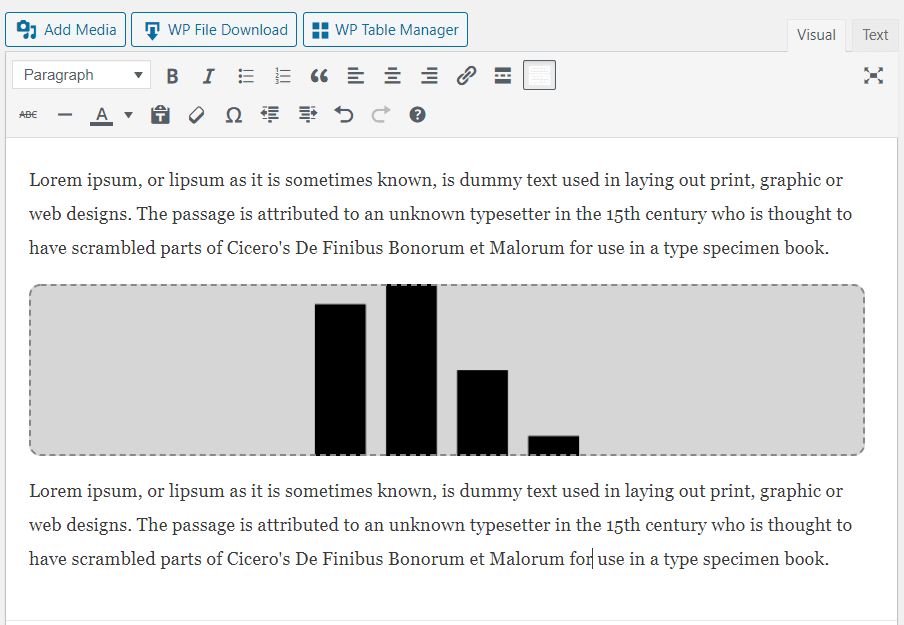
Then, the table will be materialized with a grey area and an Excel / a chart like an icon corresponding.
If you click on the area then on the WP Table Manager button again the table previously added will be loaded.
However, Gutenberg is the default editor in WordPress now, so you can take a look at 7. Blocks in Gutenberg
2. Manage tables and categories
Tables are classified inside categories. You can have as many tables as you want inside categories.
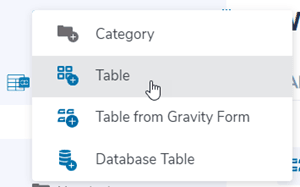
In order to create a table category, click on Create New >> Category button on the dashboard header. To create a new table click on Create New >> Table button.
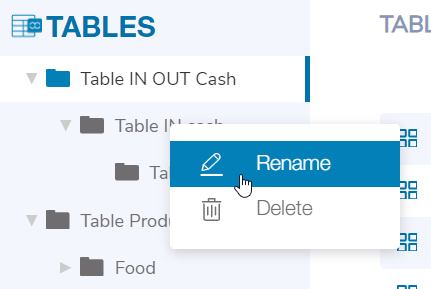
On the left panel, the category can be managed by putting your mouse on it, you’ll be able to edit the name or delete it by right-clicking on the category.
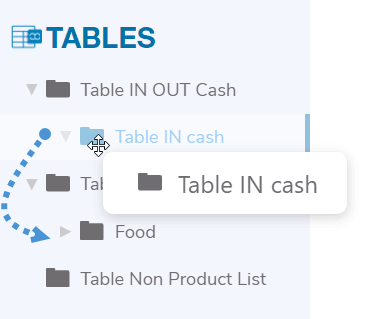
To order the categories you can use drag’n drop feature.
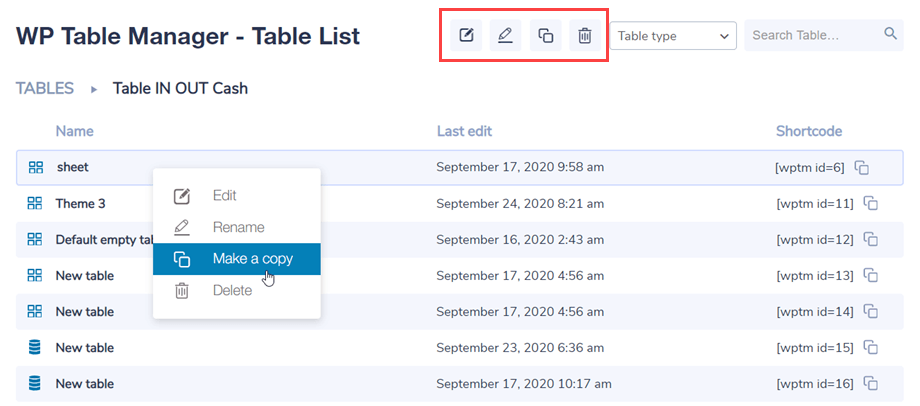
On the right main panel, you can edit, duplicate, rename and remove table. The icons are on the top of dashboard when clicking on a table. You can also find them if right clicking on a table.
3. Table edition
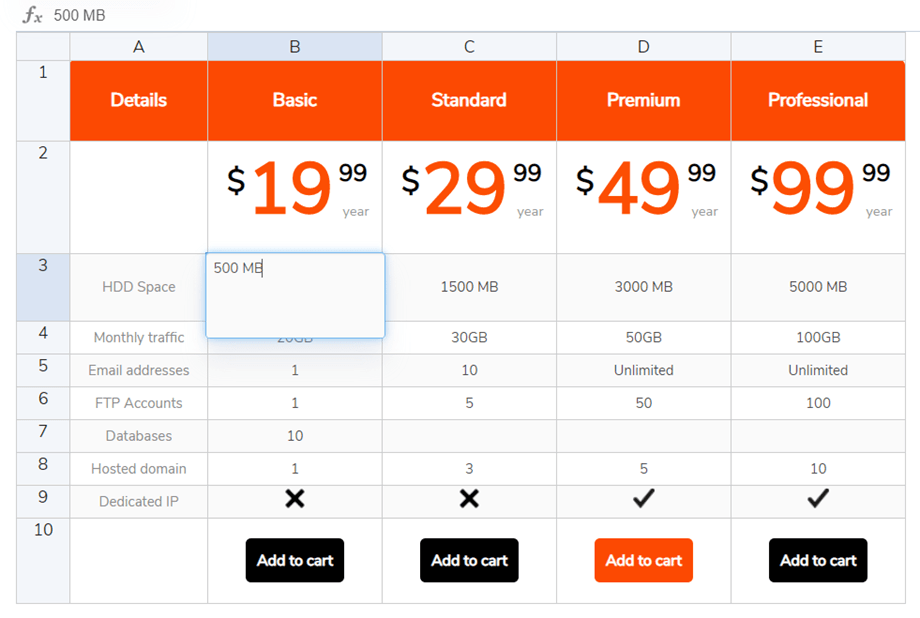
To add data in tables you have to act like you are in a spreadsheet. Double click on a cell will bring you the possibility to update content, a single click to select one/some cells (and to apply style for example).
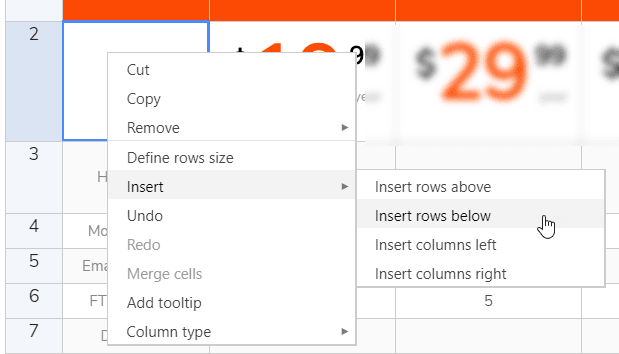
To add lines or columns, use the right click. Then you can insert rows/columns on the left or right.
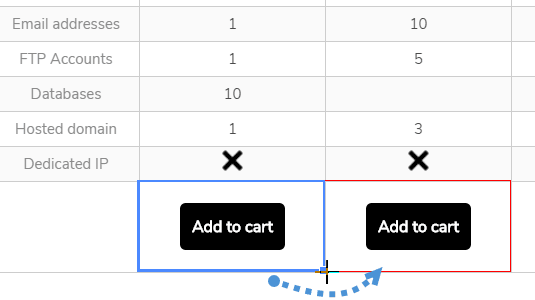
To copy cells you can use CTRL+C / CTRL+V (or the apple stuff that does the same J) or you can also put your mouse on the bottom right corner of the cell and bring it into the direction you want.
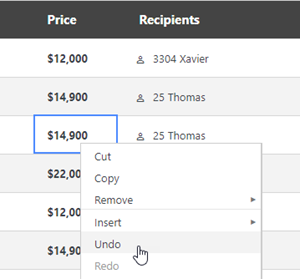
You have an option to undo/redo the latest modification.
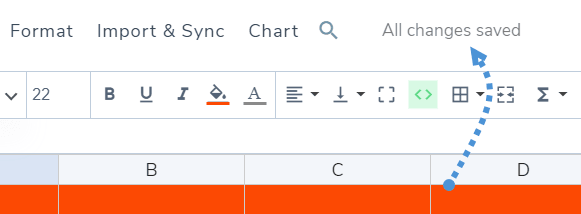
WP Table Manager keeps a backup of the modification you’ve done with the cells content edition and can restore it.
4. Advanced content edition
HTML cells
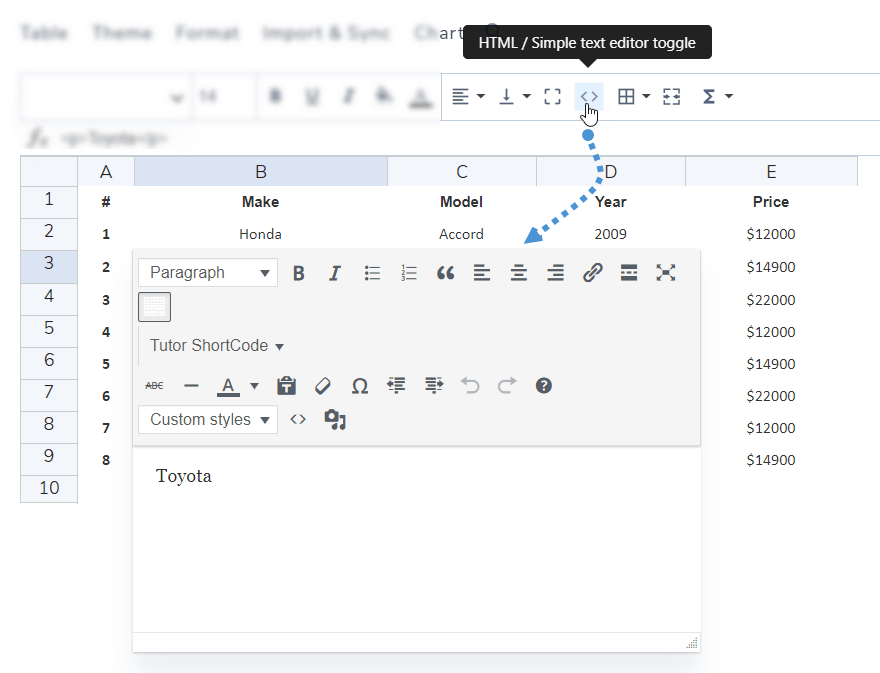
You can add HTML content with a WYSIWYG editor inside each cell. Select a cell, on the toolbar click the < > icon.
Now when you edit the cell, you’ll have HTML editor inside. Image and HTML are available.
Merge cells
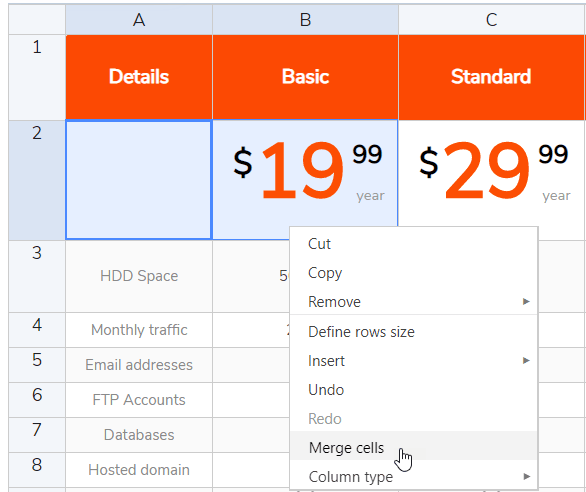
The cells can also be merged. Select 2 cells or more then do a right click, a menu will allows you to do the merging.
Or you can use Merge cells icon on the toolbar.
Columns options
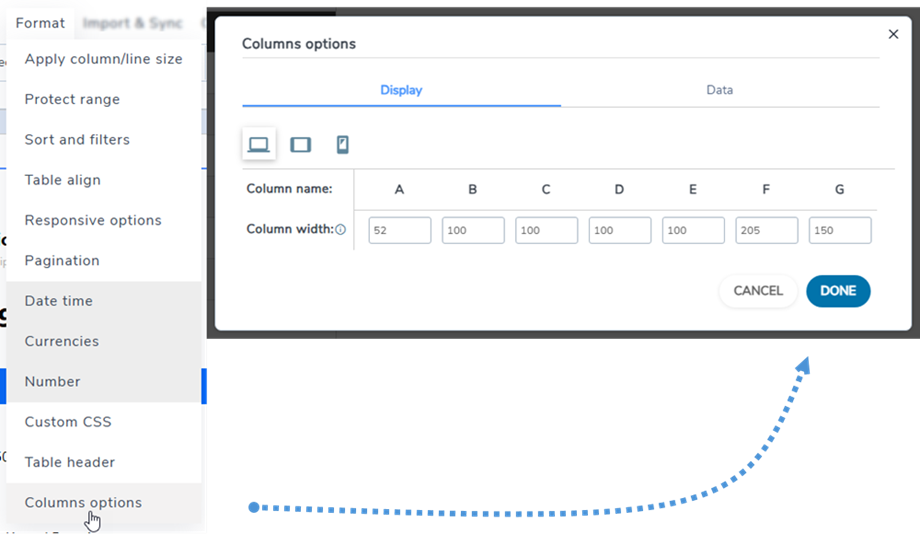
To customize the width of table columns, navigate to Menu Format >> Columns options >> Display tab and select your target screen size (Desktop, Tablet, or Mobile).
Enter the desired width for each column using the appropriate format. For percentages, include the % symbol (e.g: 25%). For pixels, enter the number only without "px" (e.g: 150).
Data tab
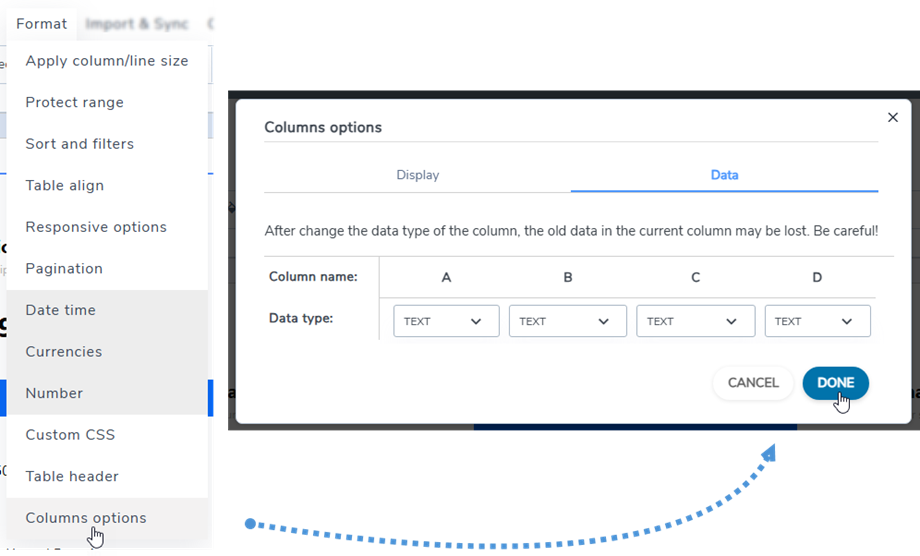
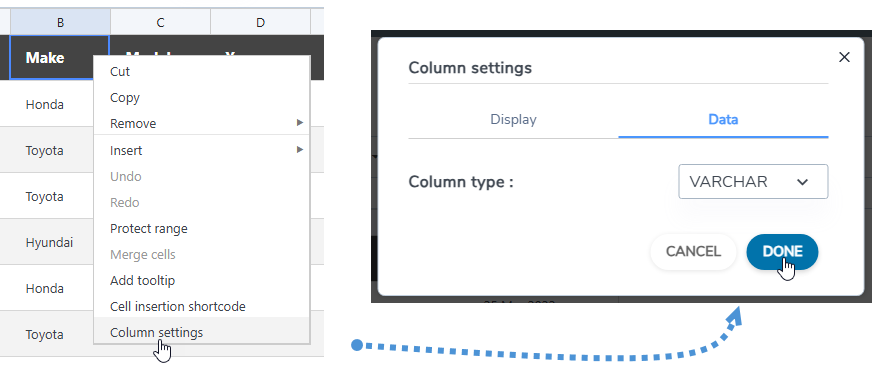
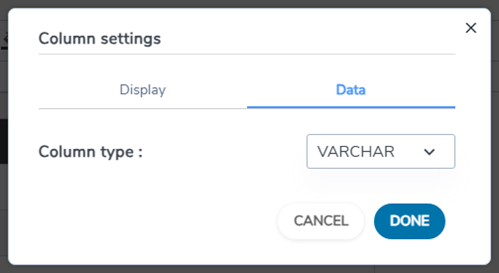
In order to change the data type of columns, you can go to Menu Format >> Columns options >> Data tab. Then pick a type for a corresponding column.
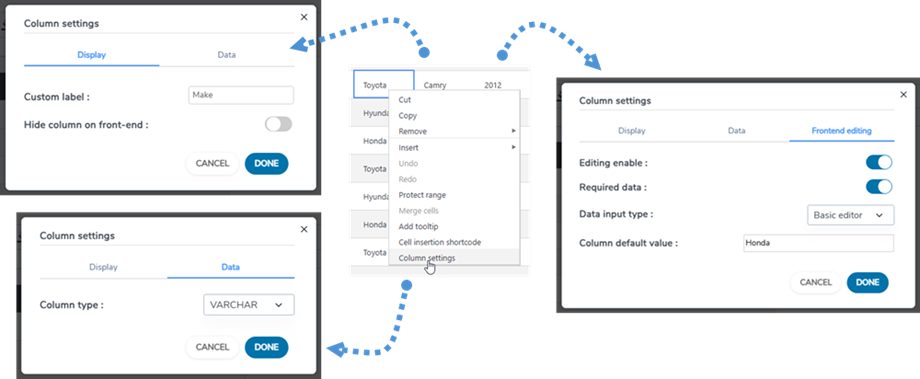
Or right-click on any cell, select Column settings option then on the Data tab you can select type for the
Hide columns on front-end
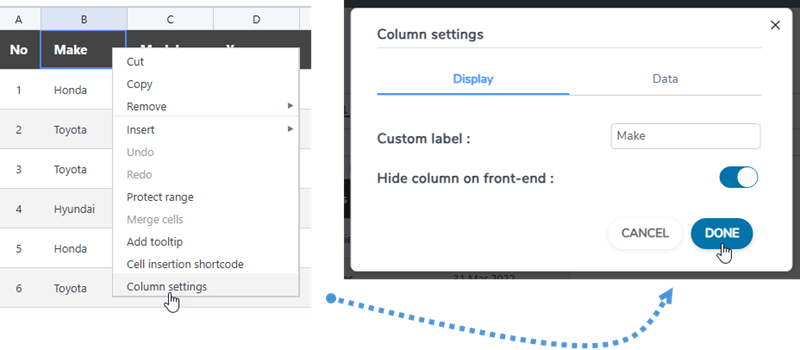
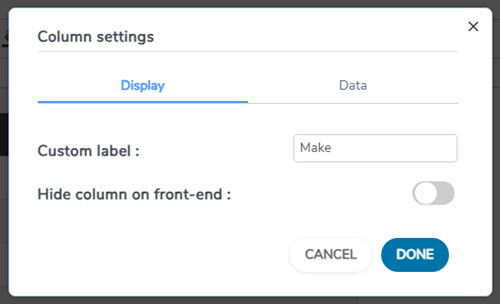
To hide a column of a table on frontend, you can right-click on a cell or column header, select Column settings option, and then on the Display tab, enable Hide column on front-end option.
5. Excel and spreadsheet export
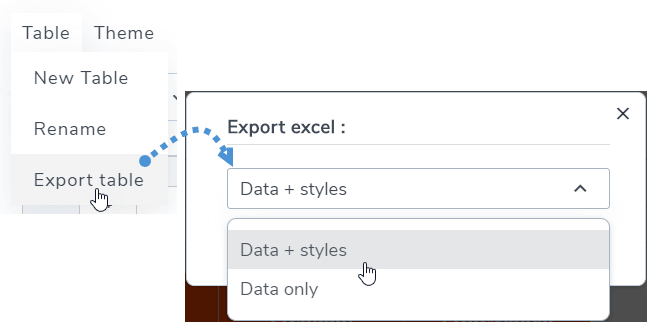
You can export spreadsheet in WP Table Manager by using our dedicated tool. Navigate to Menu Table >> Export table, select Data + styles or Data only. Then click on Export Excel button.
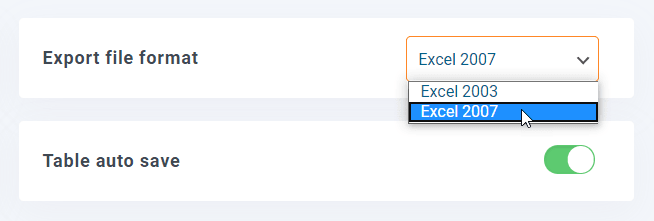
The export can be done in Excel 2003 or 2007 format. You can find at plugin Configuration >> Main Settings.
6. Shortcode
Table shortcode
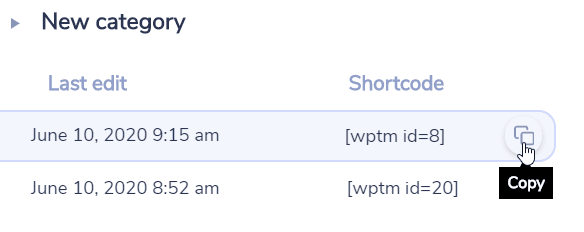
On the dashboard, you can see the shortcode of each table. The copy buttons are next to the shortcode, you can use it to share the tables easily, e.g: [wptm id=8]
Cells shortcode
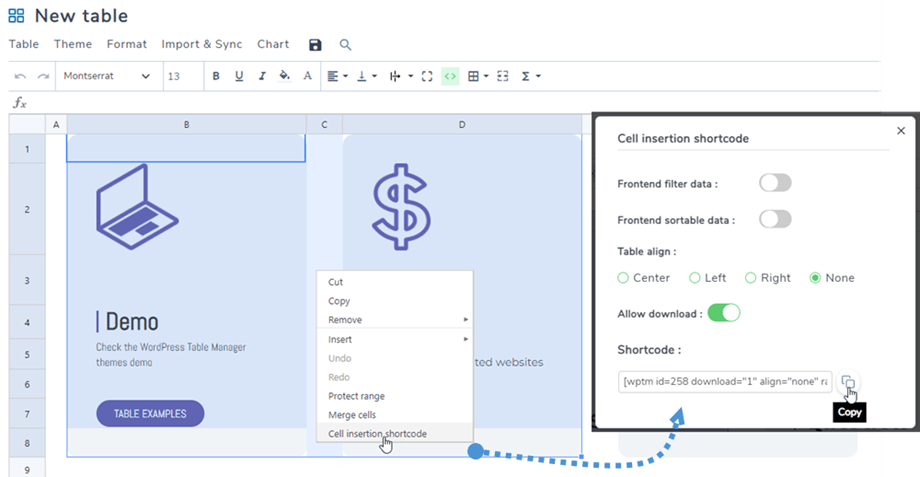
User can insert several rows and columns using a shortcode instead of a whole table. First, you should select cells that you want to insert. Then right click on that and select Cell insertion shortcode option in the context menu.
After selecting the options on the popup, click on Copy icon. Then you can paste the shortcode to your posts/pages.
e.g: [wptm id=258 download="1" align="none" range="B1-D8"]
Chart shortcode
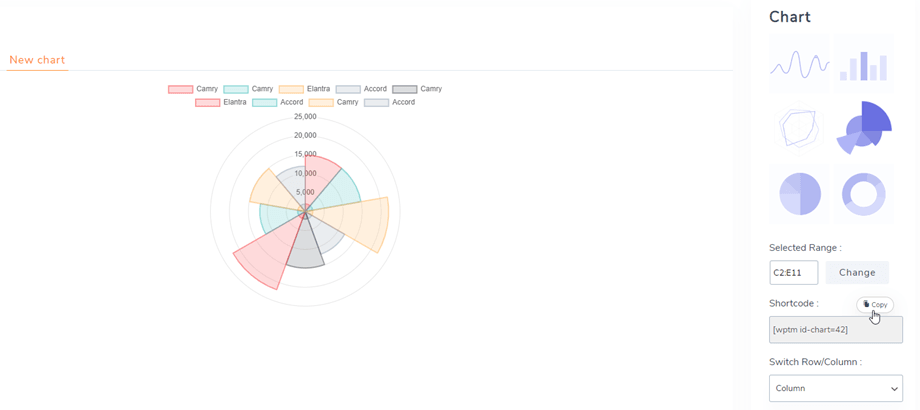
After creating a chart, you can find the shortcode of chart on the right panel, then you can Copy it and paste to your posts/pages.
e.g: [wptm id-chart=42]
7. Blocks in Gutenberg editor
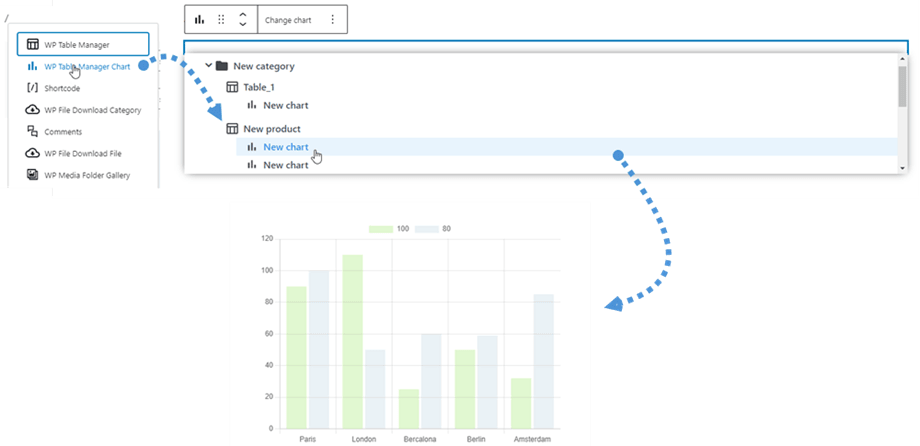
You can show your tables or charts on your site using Gutenberg editor now. These two WP Table Manager blocks are WP Table Manager and WP Table Manager Chart.
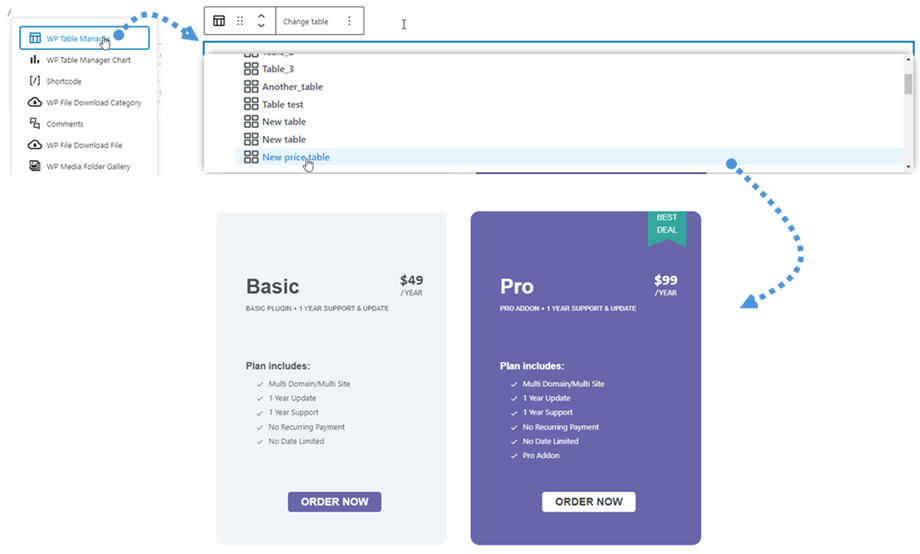
In order to add a table in Gutenberg editor, search and then click the WP Table Manager block in the Widgets category. Once located, click on the field and there will be a table list you created that appear, then you select a table you want to display on the frontend. After selecting the table, a preview table will show immediately.
It's similar to adding a table, by searching and then clicking the WP Table Manager Chart block in the Widgets category. Then you pick one chart on dropdown list.
8. Frontend editing
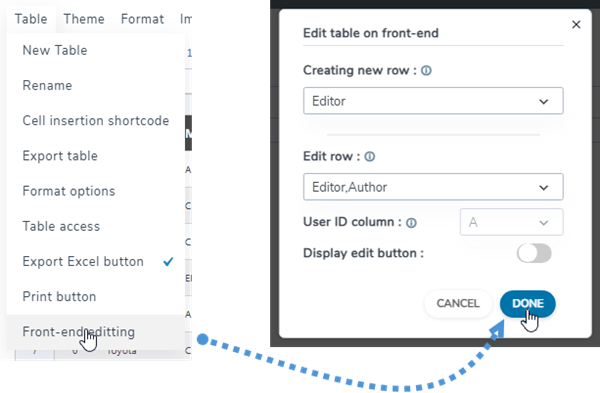
In the table editor, please navigate to Table > Front-end editing.
It contains these features:
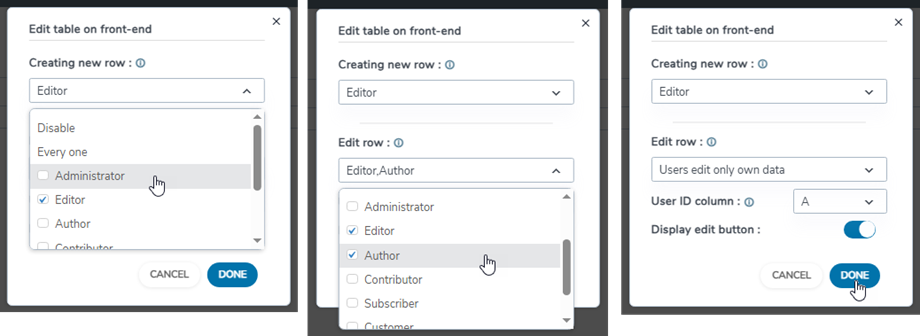
- Creating new row: Allow users without login or only specify groups of logged in users to have permission to create new rows on front-end. Note, that style will be applied by column, background will be set to alternate colors for the entire table.
- Edit row: Allow users without login or only users logged in to have permission to edit rows on front-end.
- User ID column: Choose the column values from which will be used as User identifiers. References the ID from WordPress Users table (wp_users), MUST be defined as an integer on MySQL side.
- Display edit button: Enable/disable using toggle button.
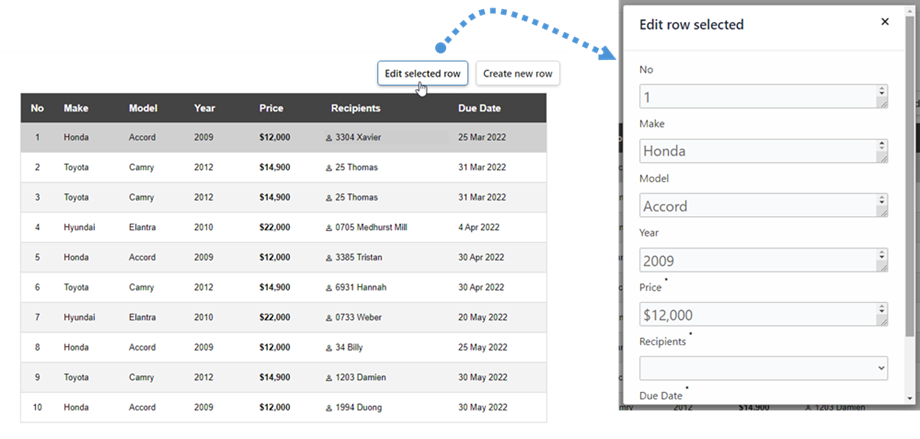
You can create a new row or select a row to edit on the front end.
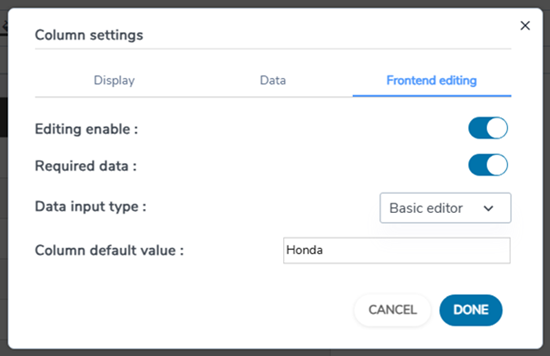
While the Edit table on the frontend feature is enabled, you can see the Editing tab in the column settings. Just right-click on any cell and select Column settings option.
There includes 3 tabs in the column settings popup:
Display tab
- Column label: Name for column.
- Hide column on frontend: hide/show the column using the toggle button.
Data tab
- Column type: Select a type for the column: Text, Varchar, Integer, Float, Date, Datetime.
Editing tab
- Editing enable: enable/disable using the toggle button.
- Required data: enable/disable using the toggle button.
- Data input type: select type of data:
- Basic editor
- HTML editor
- Selectbox
- Date
- Column default value: set default value for the column.
- Values list: Enter the possible values for this column in this list, separate by pressing ENTER. Values will be used in editors for the column.

