Team Chart: Edition
1. Add a person
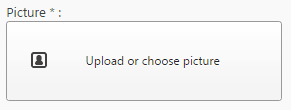
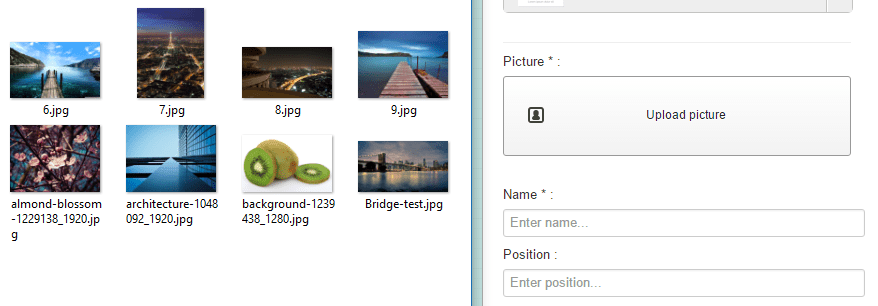
To add the first person you have to select an image first, use the button Upload or choose picture
You can then upload new image. Then select an image and clickon the Insert image button to add this picture like any other Joomla image.
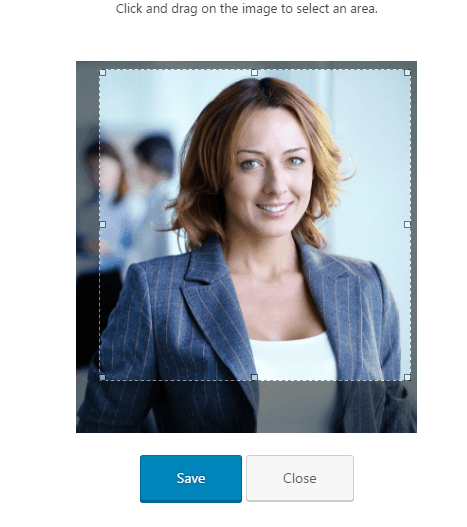
You have the opportunity to crop your image using a specific tool for example if you want to center the image on the person face. Click on the green arrow to do that.
Then, you’ll be able to crop and save the image.
2. Add information
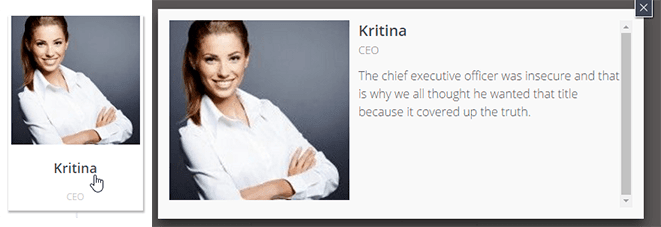
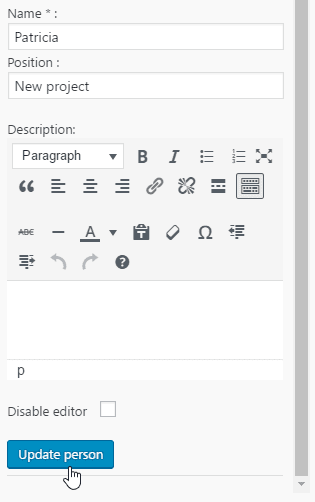
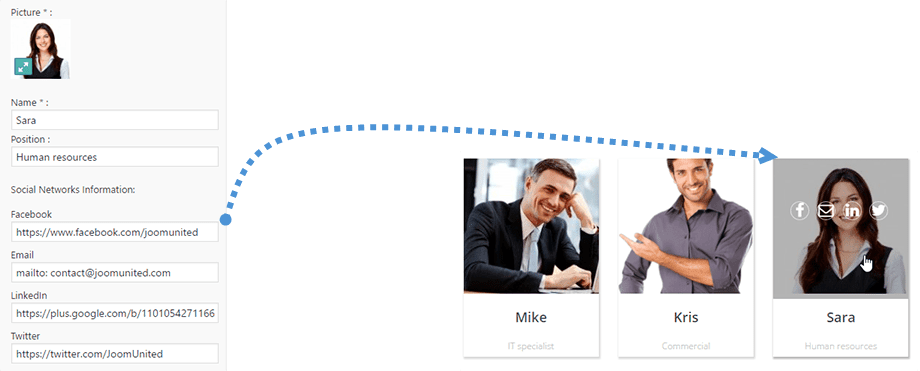
On the public part there are some information displayed like the name, the position in the company and a description. Name and position are displayed on global view, description in detailed lightbox view.
On the admin part just add some of those information, the name is mandatory, and click on “add a person” to save it.
3. Organize the flow chart
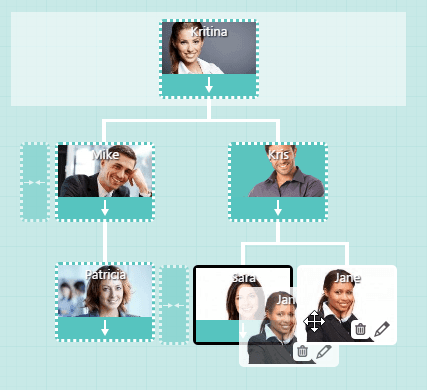
Once you’ve added a person, he will appear on the center part of your flow chart, then you start organizing the hierarchy. You have to use drag’n drop to organize the people.
When you start dragging a person some arrow will appear to move that person. Put the photo on a new zone to move them vertically or horizontally.
4. Edit an existing person
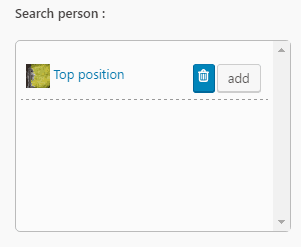
When you’ve added a person they are registered in your database in order to be re-used. On the bottom right column you’ll see those person appear with an Add button. Select another flow chart, click on it to add again this person.
Person are “transferable” through flow charts! To edit or remove information of an existing person, click on the pencil/trash icons over the photo.
