Droppics: Single Image Management
1. Single image display options
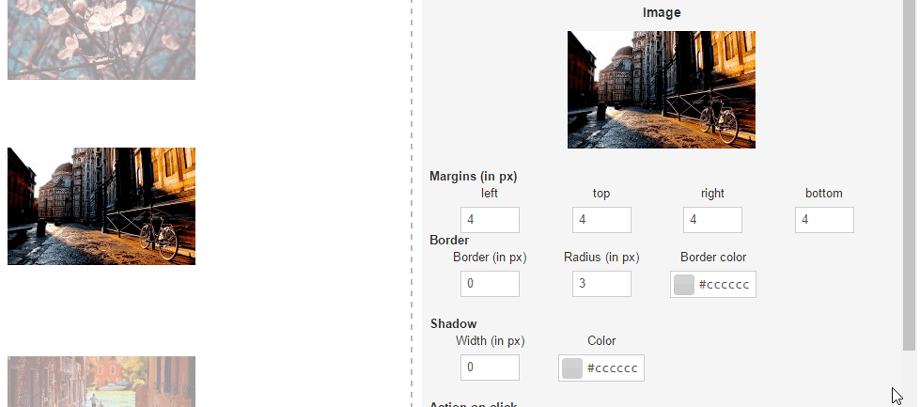
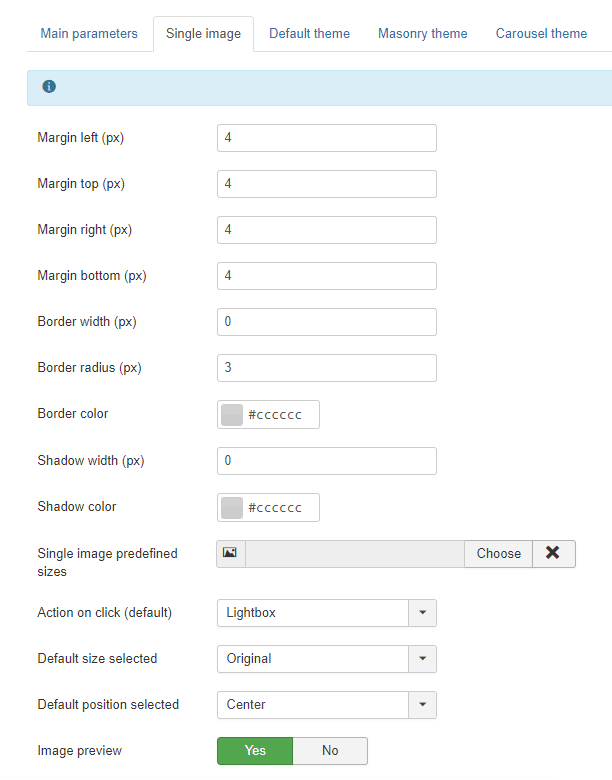
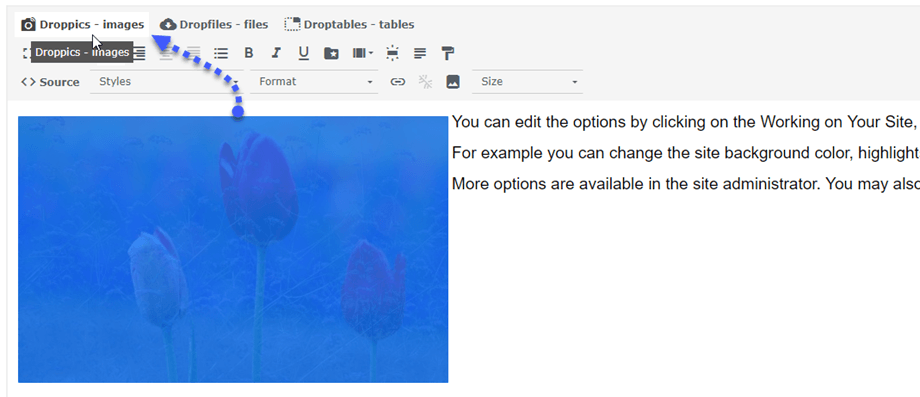
With Droppics, you can use the same images in your galleries or as a single image in your content. Open Droppics, click on an image, and the right panel will change. From the top part you can define:
- Border radius
- Margin
- Border size
- Border color
- Shadow size
- Shadow color
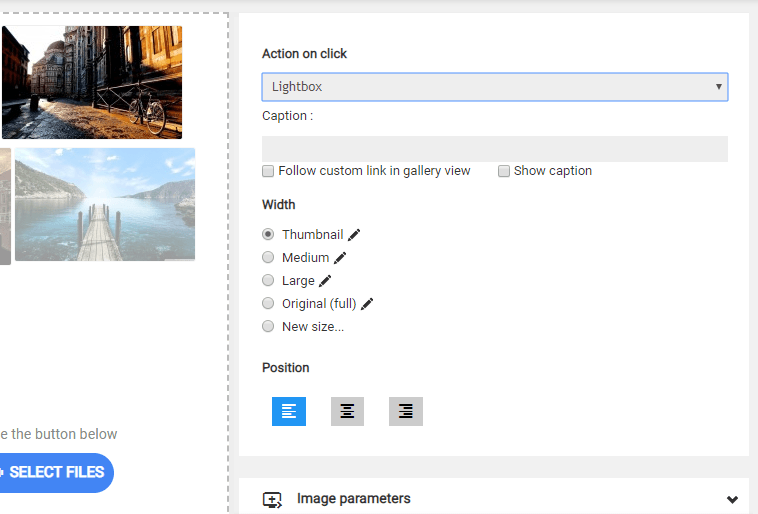
- Alignment
Don't forget to hit save once you're finished with your modification.
Then, you can define an action on image click with an optional external link and a caption (text under your image):
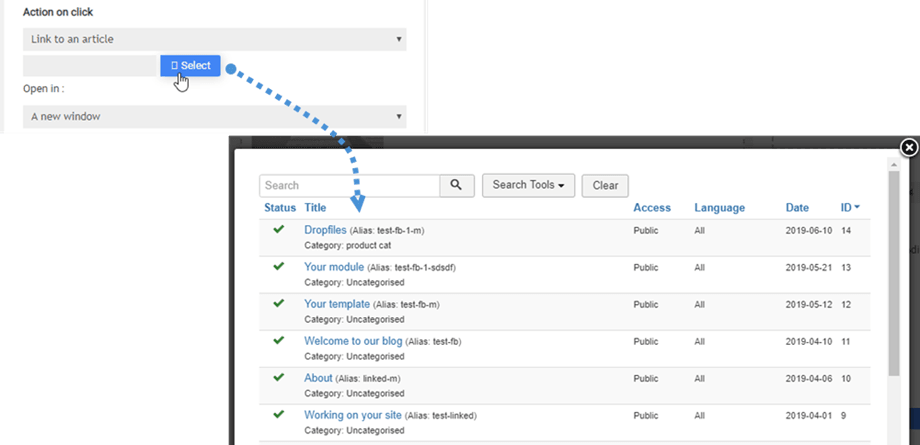
The action on click will determine if the user will:
- Open the image in a lightbox
- Follow a link to an article or a menu
- Follow a link to a custom URL
- Do nothing
Caption of the image:
- Follow custom link in gallery view
- Show caption
The checkbox option "Follow custom link in gallery view" adds link behavior to a single image, but it also works in the gallery view if you insert the whole gallery in your content. This feature is frequently used for portfolio pages.
The link to menus and articles is completed by a tool to help you to find your content easier in a list.
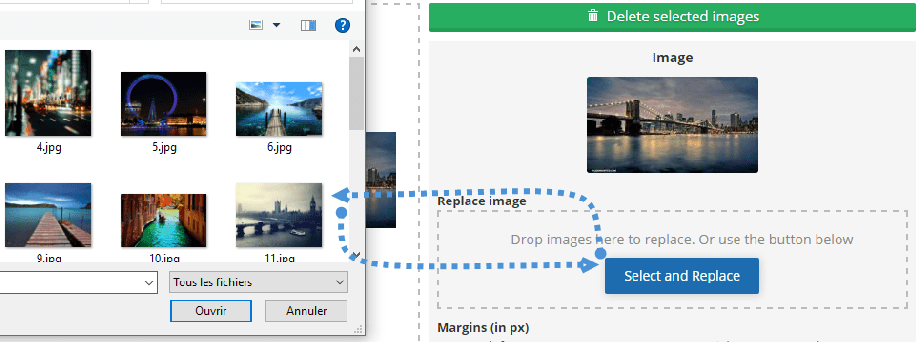
When clicking on a single image, you have an option to replace the image all over your Joomla website. Upload a new one and Droppics will regenerate all image sizes including custom sizes, and replace it in your content!
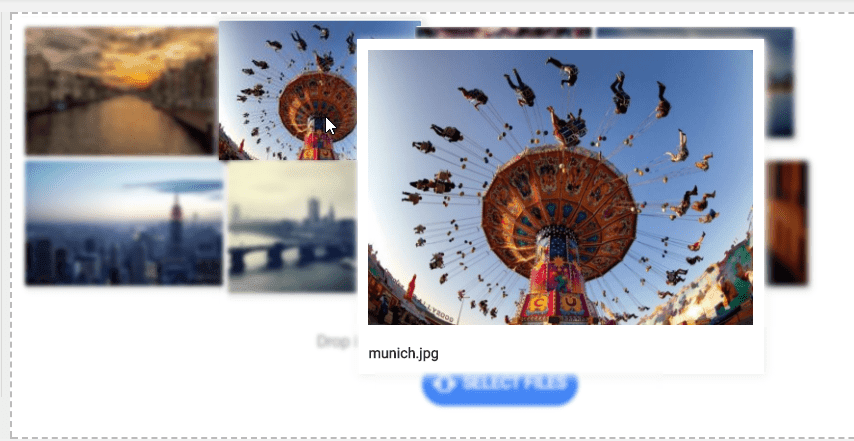
If activated the Image preview parameter in the settings, you can even activate a mouse hover image effect.
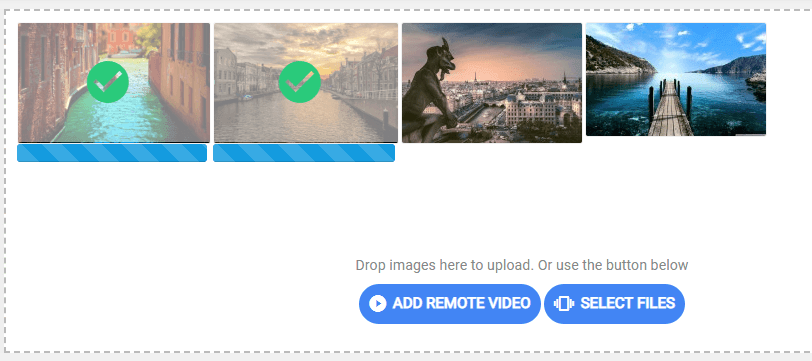
And the uploading process as well.
2. Create custom image sizes
You can create some custom sized images using the original files, and the original image will remain untouched. Click on the new size radio button, define at least a width and a file name to generate a new image. The image file's new name and size will be added to the list.
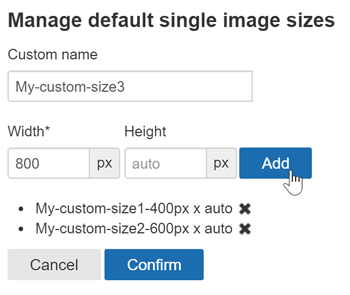
The custom image sizes can also be generated automatically on upload. To define the custom sizes use the menu: Component > Droppics > Options > Single images > Custom sizes.
Then you can add the image custom sizes you want to be created by default on upload.
Once the custom image is generated you’ll have it in your image listing. Then simply click on insert this picture to add in in your article.
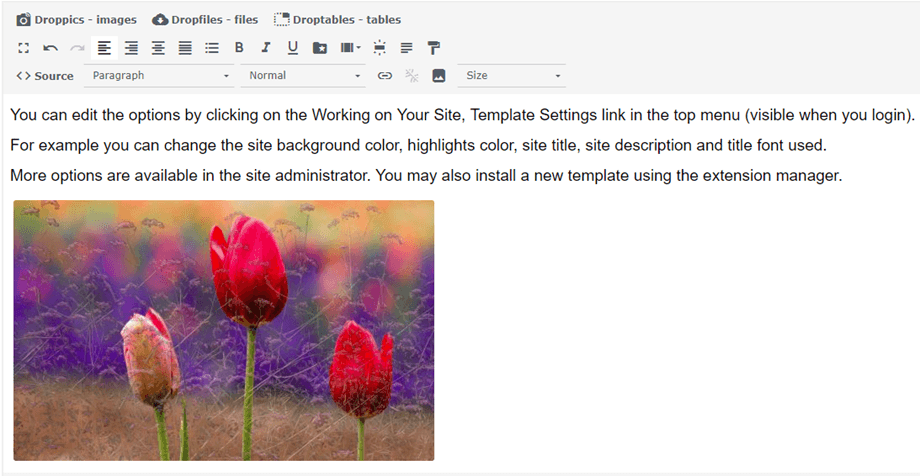
By clicking back on the image and on the Droppics button, the image will be opened again with all its parameters.
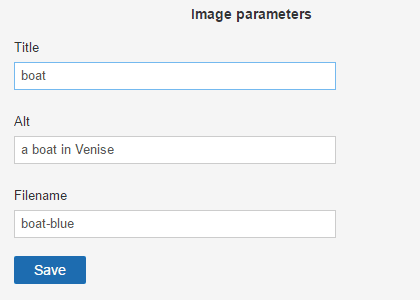
For SEO purposes you can define title, alternative text and change the original filename.
3. Applying effects on image
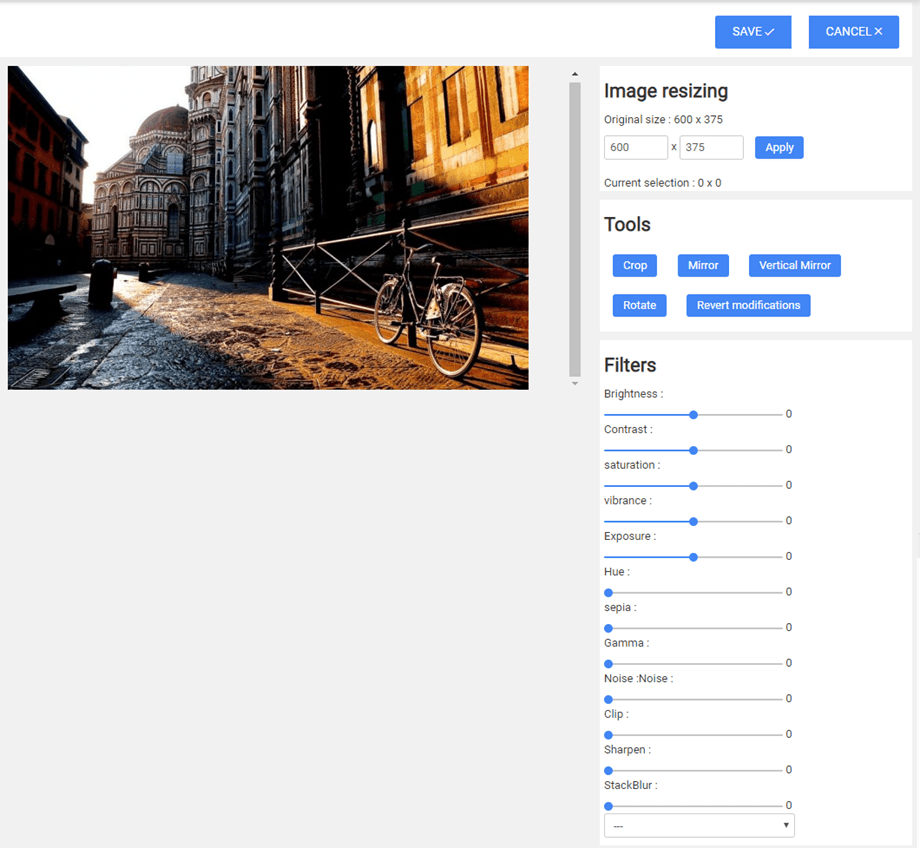
You can apply filters and effects on images. At the right side of the image size, click on the “edit” pen icon.
You will be shown a screen with effects.
You can apply modifications and effects:
- Crop
- Resize
- Mirror
- Rotate
- Apply some styling effects
