Linky Map: Region and Marker Maps
1. Create a region map
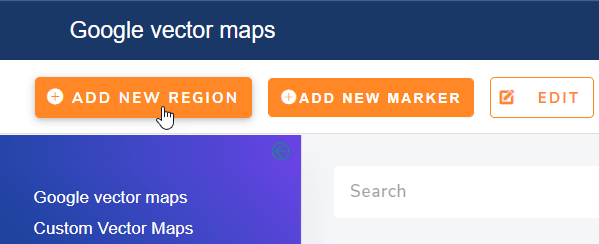
A region map fills entire regions (typically countries or country region) with colors corresponding to the values that you’ve chosen. In order to create a region map, from the menu Components > Linky Map > Google vector maps > Click on the appropriate button named Add New Region
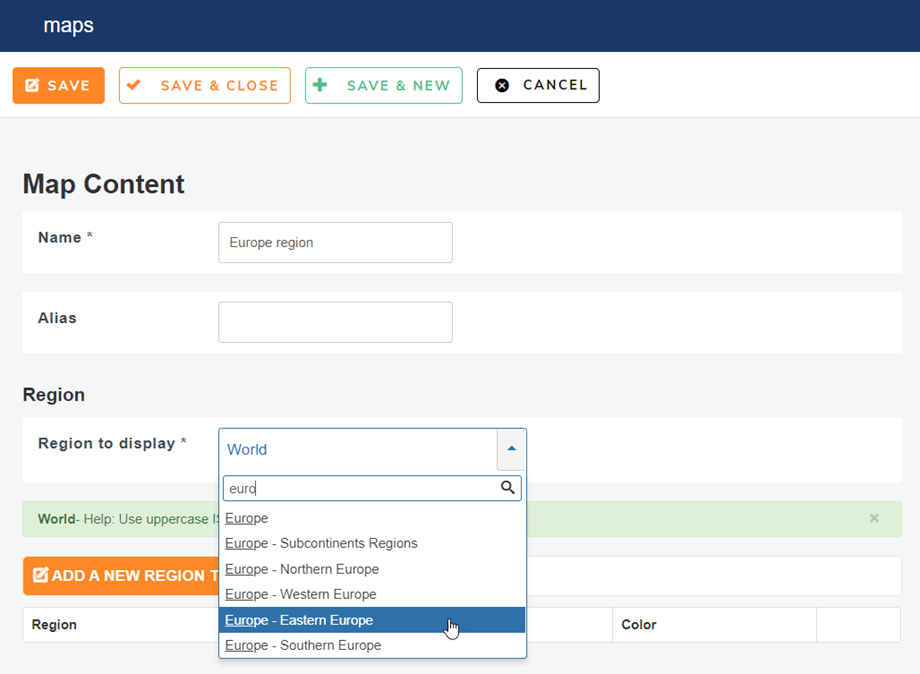
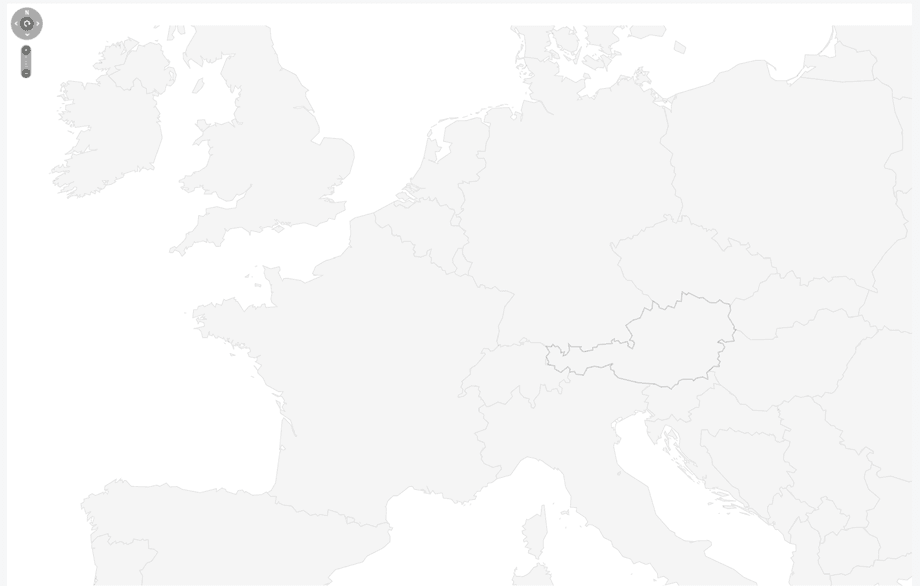
To start editing a region map, first define a title for your map and a region to display. When a region is selected, you’ll have a preview above the form with the colored regions.
Map preview for the Europe selection:
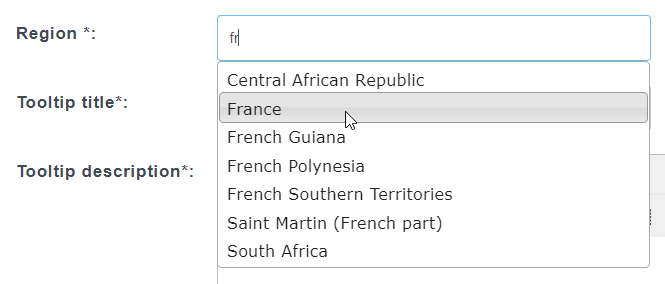
In order to add a region you have 2 solutions, using ISO code from Wikipedia (link generated in the component) or using predictive search.
For Wikipedia ISO code, just click on the link and take a reference from the region table.
Ex. FR for France. If you want to use our predictive search, just type the region name in the region field. You selection will be automatically transformed in ISO code.
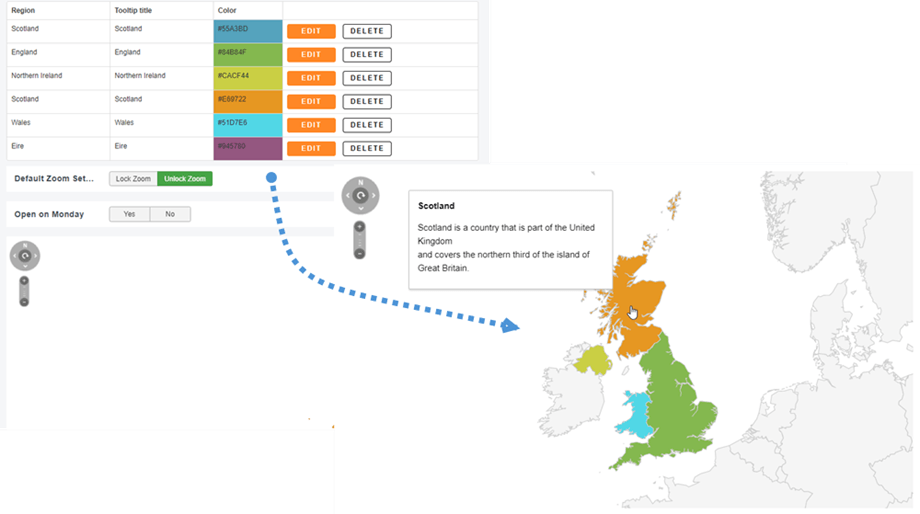
The title and description added to your region will be displayed in a tooltip by default. You can also choose to display the information as an HTML sidebar.
Here's the example of the UK Scotland region:
You can also add a link for the region and a color.
Finally your fist region is added to the region map, you can edit all information or delete it if needed.
2. Create a marker map
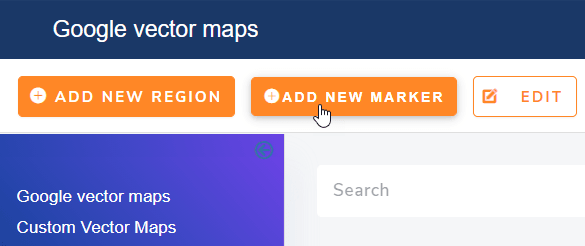
A marker map display specific location, it can be any address, with custom color. In order to create a marker map click on the appropriate button Add New Marker.
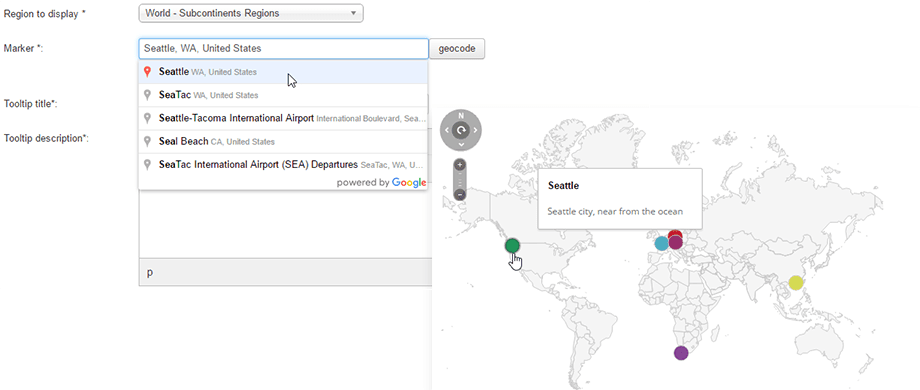
To start editing a marker map, add a title then use the field Marker to start enter your location. Based on Google when you'll type your address you'll get some suggestions.
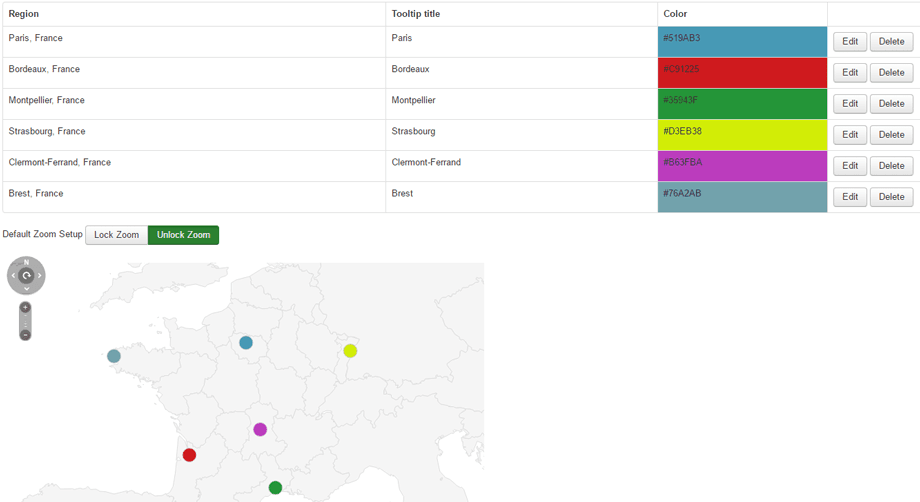
Then hit save and your location will be added to a table like for the region map.
You can also add a custom link for the location that will be followed on click.
3. Create a custom map
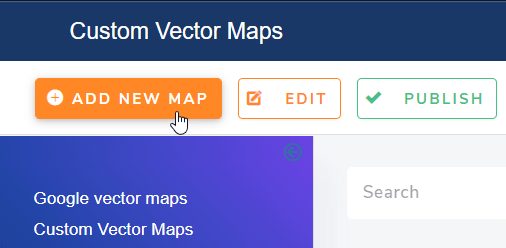
In order to create a custom map, you can go to Components > Linky map > Custom Vector Maps, then click on Add New Map button.
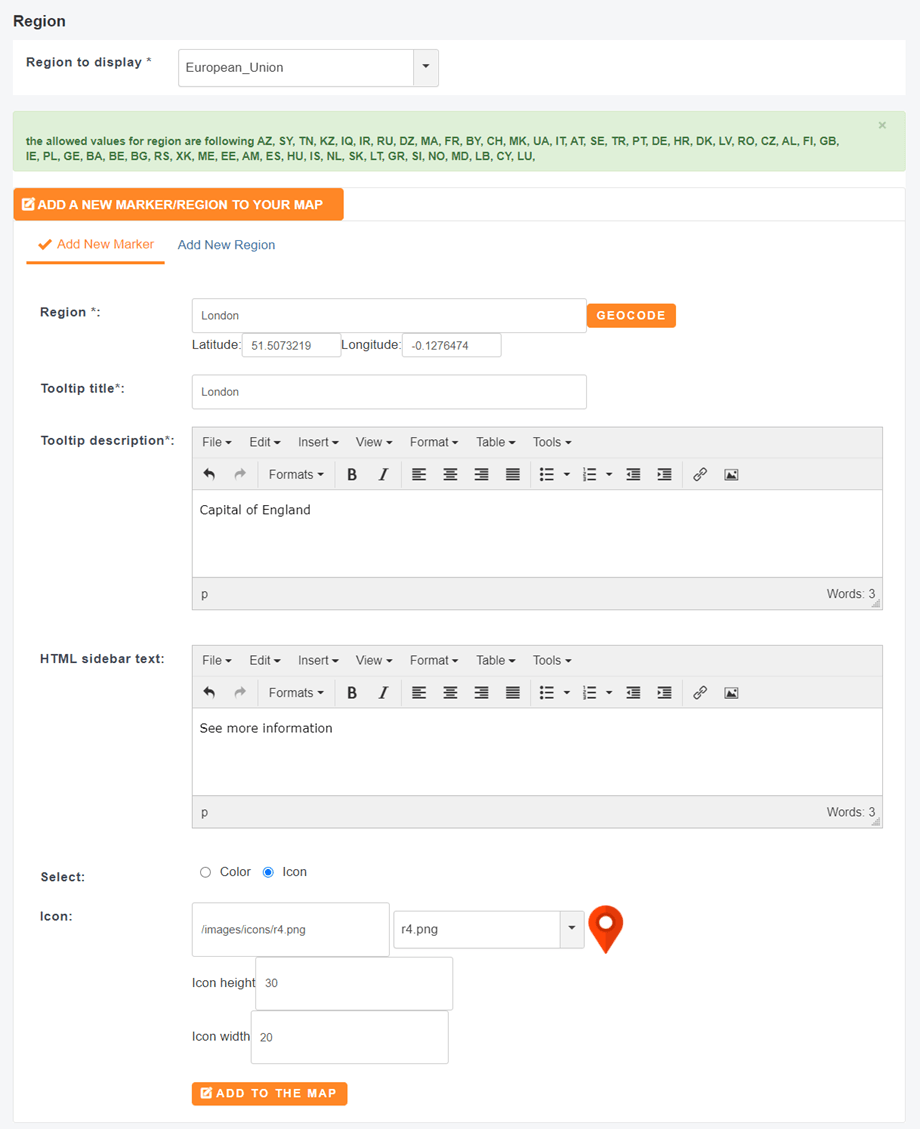
Then you can create a combine map with markers and regions.
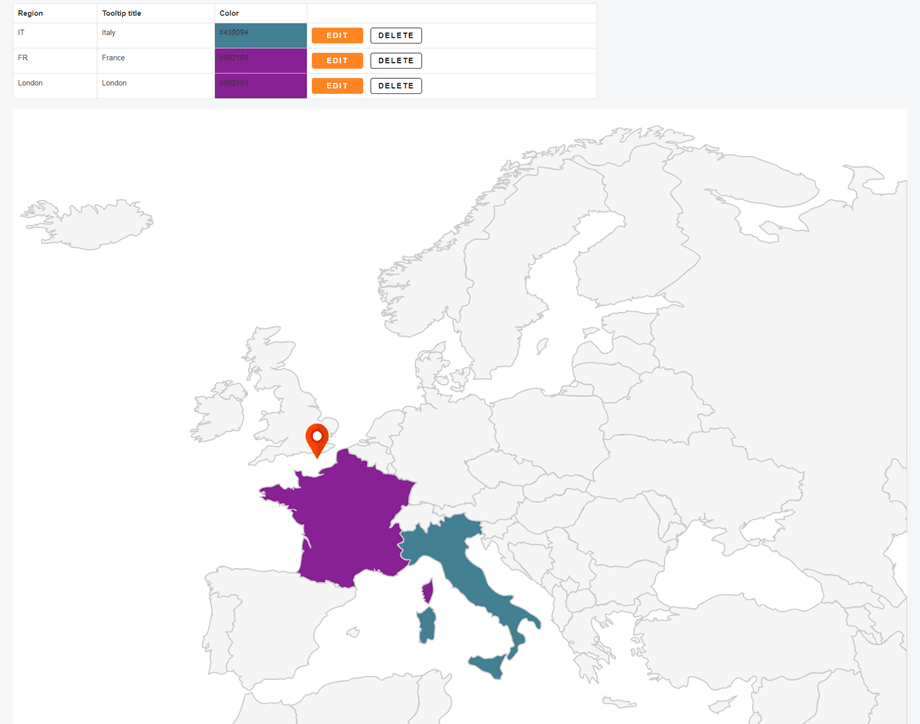
After that, you should scroll down to preview the custom map.
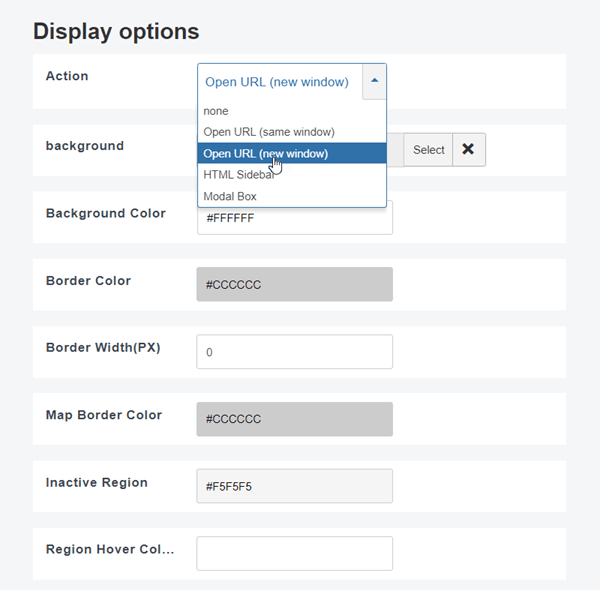
4. Configuration of the vector maps
Each vector map have its own configuration and can configured in its own way.
- Action: Open location custom links in the same/new window/HTML side bar/Modal box
- Background: Add a custom image background to the map
- Background Color: the color of background
- Border color: the border color that separate countries, regions... on the map
- Border width: the border color that separate countries, regions... width
- Map border color: the border color of the map
- Inactive region color: the color of the map regions not configured (no color assigned)
- Region Hover color: The color of the regions on mouse hover
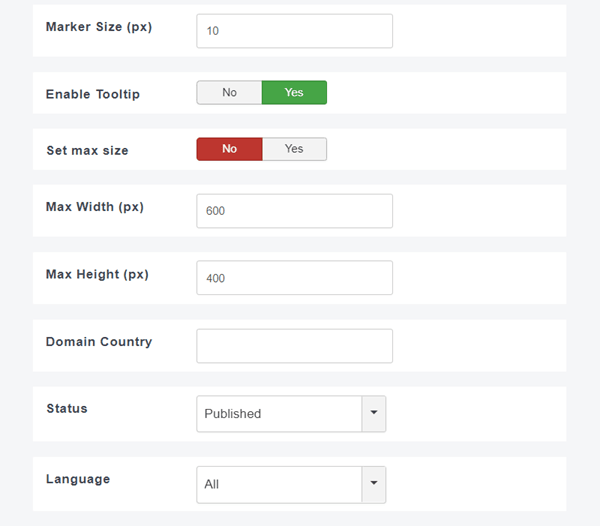
- Marker size: The marker point size in pixels
- Enable tooltip: Display/Hide tooltips descriptions
- Max Width/Height: The map size defined bellow apples or not. Width and height can also be fixed even if the map is responsive by default
- Domain Specific Country Code: Domain setting allow serve default country for example setting domain to IN will display Kashmir as belonging to India rather than as a disputed territory
- Status: Publication status
- Language: The map language
