


WP Media Folder: Installation
1. Install
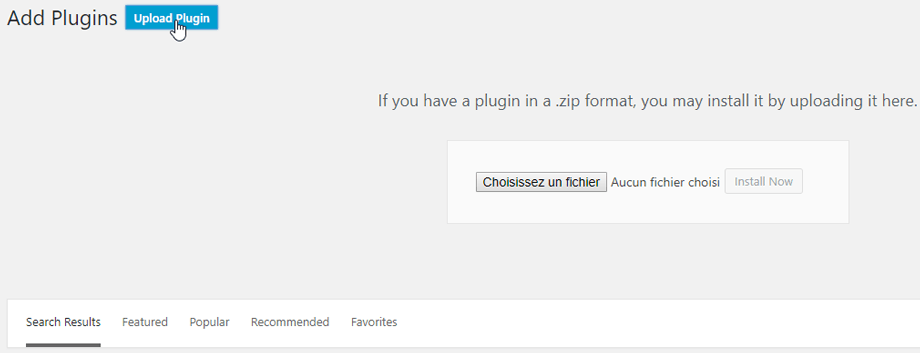
In order to install our plugin you should use the standard WordPress installer or unzip and put the whole folder in /wp-content/plugin.
Then click on activate plugin to see WP Media Folder menu appear on the WordPress left menu.
2. Update the plugin
In order to update the WP Media Folder, you can use the WordPress default updater. You can also remove and install the new version from a .zip file downloaded from www.joomunited.com. In any case you won’t lose any content because everything is stored in a database.

Be sure to always have the latest version to avoid security and stability problems.
To update the paid version, you need to login to your JoomUnited account from the WordPress settings: Settings > General
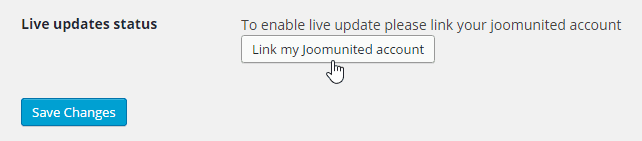
Then use your JoomUnited account login and password. After a successful login the button turns to blue with a text Disconnect my JoomUnited account.

Finally, you can update all the JoomUnited commercial plugins from the WordPress standard updater.

3. Notifications after installation
After installing the plugin you will get 2 notifications
- Do you want to import the post categories as media folders?
- Do you want to import NextGEN galleries as media folders?
Hit Yes to proceed or Dismiss to ignore.
