Як завантажити зображення WordPress з фронтенду за допомогою плагіна

Завантаження зображень є одним з найважливіших речей, коли мова йде про веб-сайт, оскільки зображення, в основному, надають стиль сайту без зображень, сайт може виглядати занадто старим або не може отримати кількість клієнтів/користувачів, яких ми хотіли б отримати.
Окрім цього, надання можливості вашим користувачам завантажувати зображення з фронтенду може дати вам багато переваг, таких як надання їм можливості завантажувати документи або будь-яке зображення, яке вони хотіли б використовувати, наприклад, для профілю.
У цій публікації ми збираємося оцінити кілька плагінів, які дозволяють нам досягти того, що ми хочемо зробити.
Попрощайтеся із заплутаною медіа-бібліотекою.
WP Media Folder дозволяє категоризувати файли, синхронізувати папки із хмарним сховищем, створювати чудові галереї та навіть замінювати зображення без порушення посилань.
Оптимізуйте свій робочий процес медіа сьогодні
Зміст
Як завантажити зображення WordPress з фронтенду за допомогою плагіна
Тут ми обговоримо кілька способів завантаження зображень WordPress за допомогою декількох типів плагінів.
Завантаження файлів у фронтенді за допомогою плагіна форми
Один з швидких і найдоступніших способів - використання плагіна форми, це корисно, коли нам потрібно створити, наприклад, форму зв'язку, де нам потрібно, щоб користувач завантажив документ або будь-яку корисну інформацію за допомогою зображення.
Є багато плаґінів, які дозволяють створювати форми з полем завантаження файлу, одним з таких є Contact Form 7, який дозволяє завантажувати файли на ваш сайт у фронтенді безкоштовно.
Отже, щоб використовувати форми, щоб дозволити користувачам завантажувати файли у фронтенді, нам спочатку потрібно створити форму, тому після встановлення плагіна перейдіть до Контакти > Додати нове.

На цьому екрані ви матимете деякі теги HTML із коротким кодом для кожного поля всередині, за замовчуванням створюється форма з основними полями.
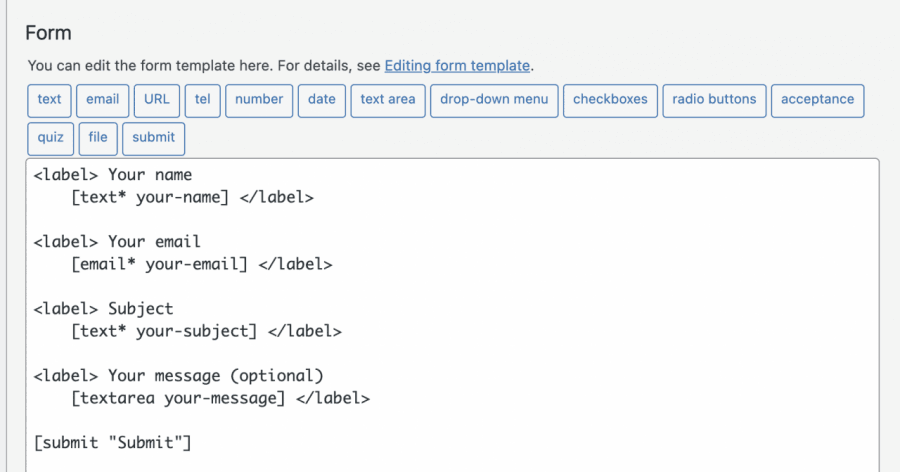
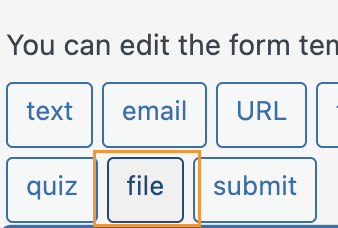
Оскільки ми хочемо додати поле завантаження файлу, натисніть на місце, де ви хочете додати поле, а потім натисніть на файл у доступних кнопках/опціях.
Це відкриє спливаюче вікно, де ви зможете встановити обмеження для завантаження файлу, додати всі потрібні обмеження і нарешті натиснути на вставити тег.
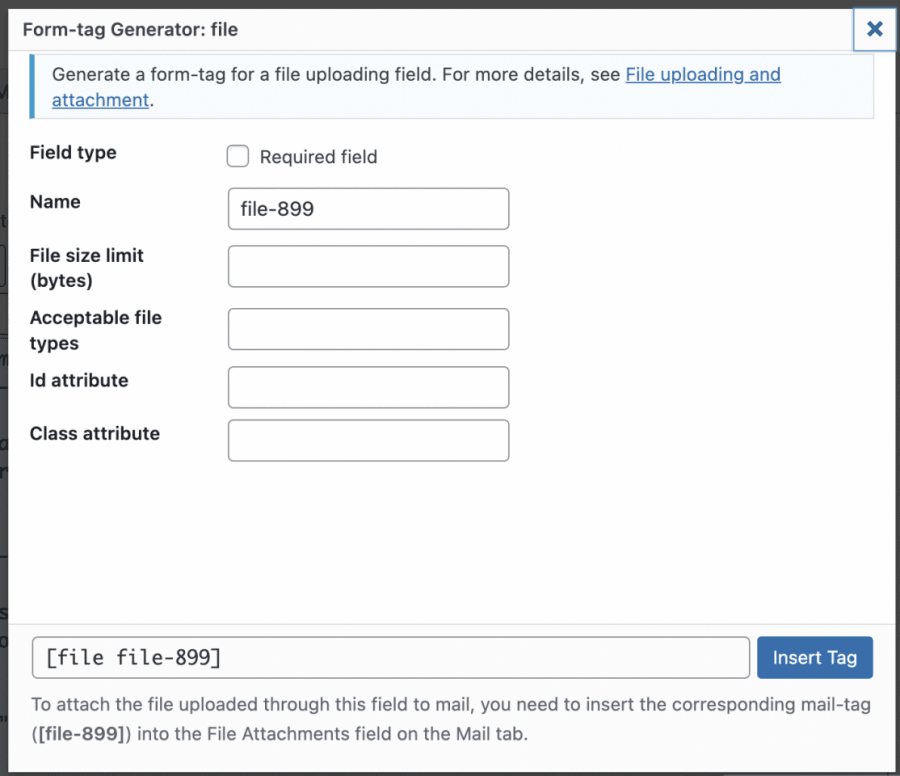
Це додасть шорткод для поля у вмісті форми.
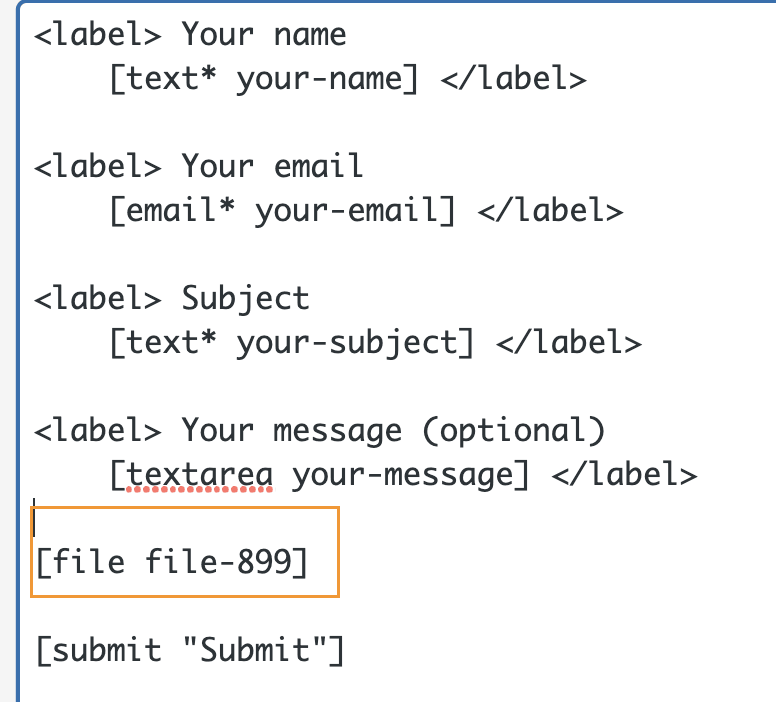
Тепер ви можете налаштувати вашу форму настільки, наскільки хочете, додати інші поля або додати HTML і також CSS, якщо хочете, оскільки форма допускає всі ці види налаштувань.
Коли все буде зроблено, ви можете додати заголовок і натиснути на Зберегти.

Це згенерує шорткод, який ви можете використати для вбудовування форми у свій пост або сторінку, скопіюйте та використайте блок, доступний у редакторі сторінки для додавання шорткоду, у цьому випадку ми побачимо, як додати його за допомогою редактора Gutenberg.
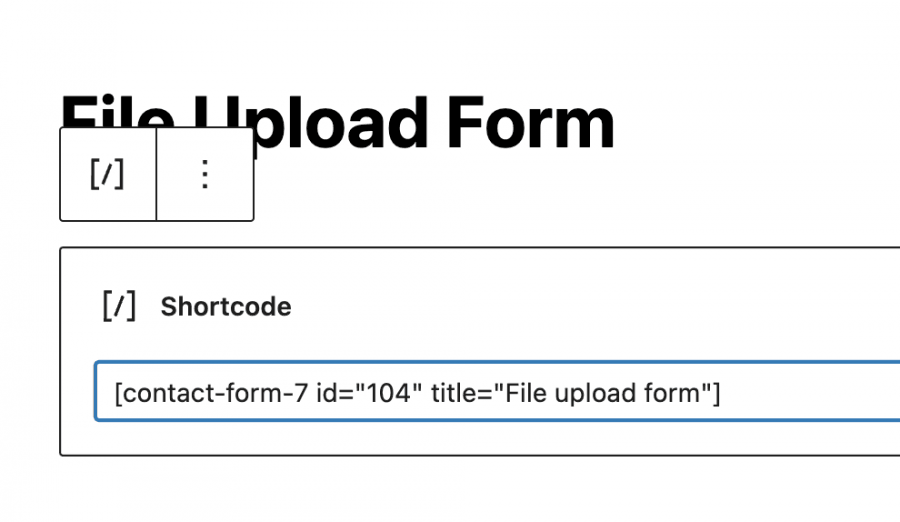
Тепер вам потрібно опублікувати це, і ви зможете побачити форму з полями, які ви додали, і кнопкою завантаження файлу.
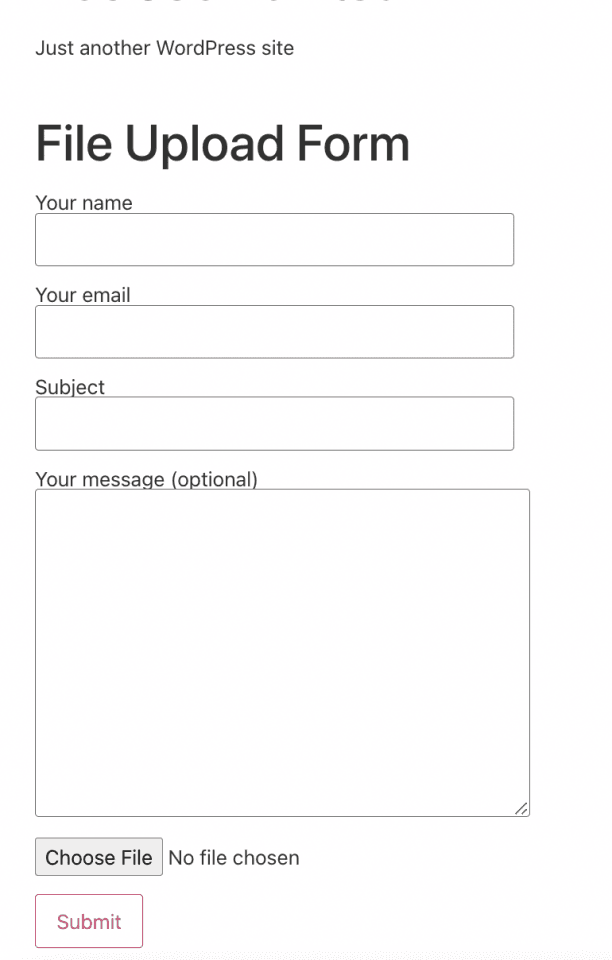
Все, що вам потрібно зробити, це натиснути на кнопку "Обрати файл" і вибрати файл, у цьому випадку ваше зображення, з ваших папок на комп'ютері.
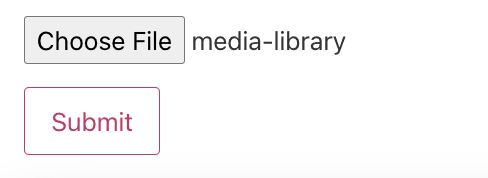
Після натискання на кнопку "Відправити", це має бути зроблено, і зображення тепер повинно бути на вашому сайті.
Таким чином, ваші користувачі зможуть завантажувати зображення на ваш сайт разом з деякою іншою інформацією, яку ми можемо потребувати, як ім'я або електронна пошта особи, яка завантажила за допомогою форми, дійсно просто і функціонально.
Використання плагіна завантаження файлів WordPress
Тепер, коли ми побачили звичайний "старий" спосіб, давайте подивимось, як завантажити зображення, але використовуючи цей плагін, який дозволить нам вбудувати опцію завантаження файлу на будь-якій сторінці або в записі без необхідності заповнювати іншу інформацію або створювати форму взагалі.
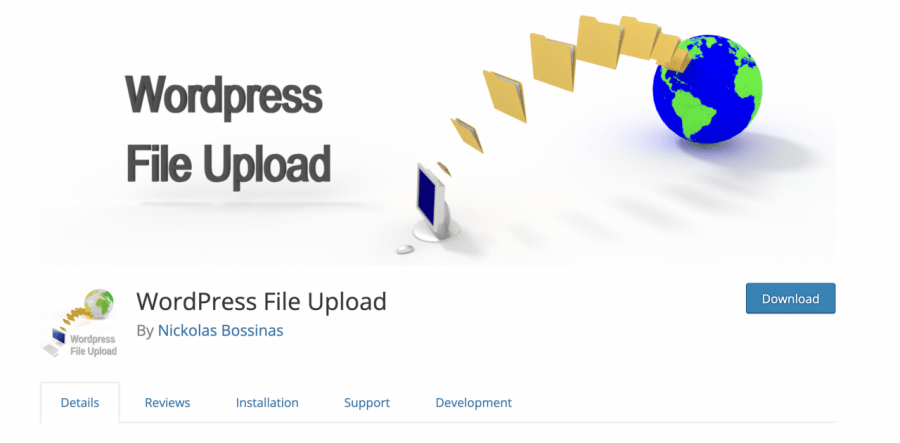
Перш за все, нам потрібно мати встановлений плагін "WordPress File Upload", оскільки це дасть нам всі необхідні опції для створення опції завантаження файлу.
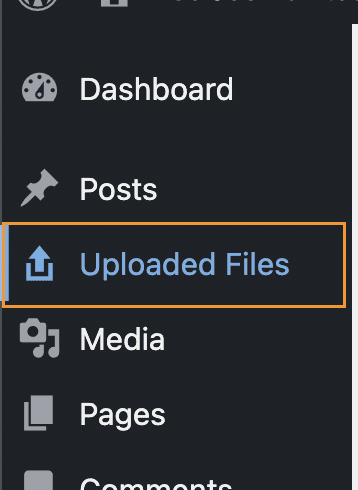
Після активації цього плагіна на нашому сайті ми зможемо побачити опцію меню, доступну для перевірки всіх файлів, які ми завантажуємо за його допомогою.
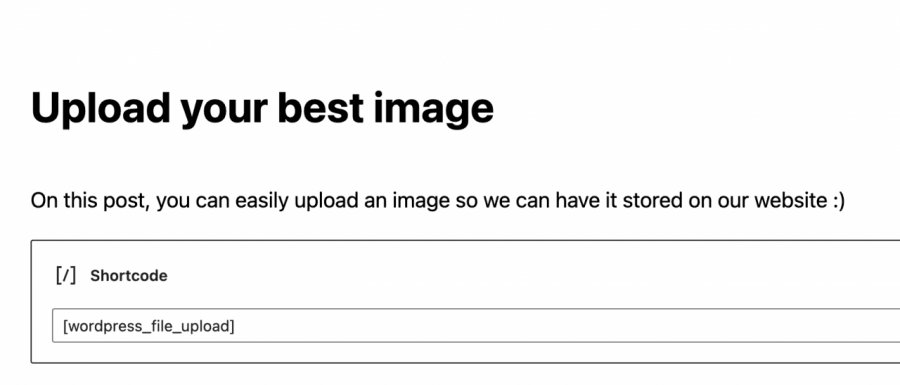
Щоб використовувати його, все, що нам потрібно зробити, це додати шорткод [wordpress_file_upload] там, де ми хочемо його відобразити, у цьому випадку у нас є пост з деякою підготовленою інформацією, де ми додали шорткод, щоб ви могли перевірити, як він виглядатиме у редакторі Gutenberg і на фронтенді.
Редактор Gutenberg
Фронтенд
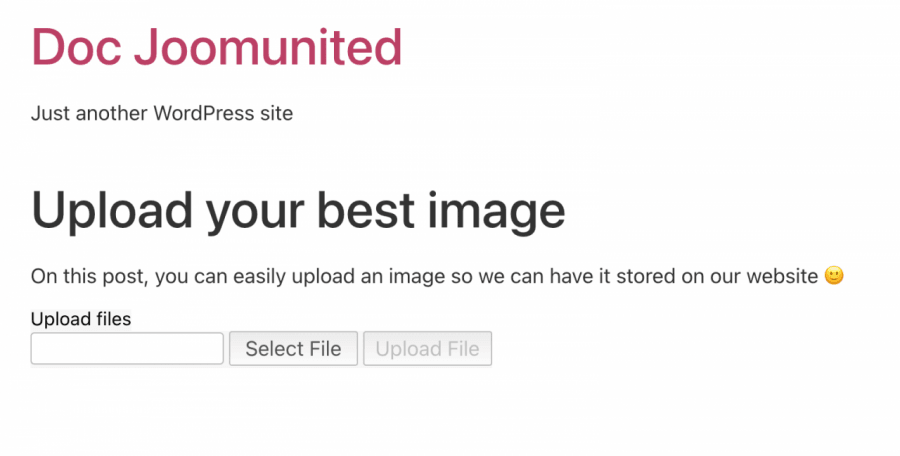
Тепер, коли наша форма завантаження додана, все, що вам потрібно зробити, це натиснути на «Вибрати файл», щоб переглянути файли на вашому ПК, і нарешті, натиснути на «Завантажити файл».
Натискання на цю кнопку дозволить вашому користувачеві завантажити зображення або файл на ваш сайт, і найкраще в цьому те, що ми можемо вибрати, куди на сервері ми хочемо завантажити зображення безпосередньо під налаштуваннями плагіна, а також те, як це виглядає, і багато інших налаштувань для форми.
Основне місце, де ми можемо перевірити завантаження, буде в розділі «Завантажені файли» в лівому меню адміністративної панелі, це основна сторінка для плагіна, де відображаються всі завантажені файли.

Як бачите, простий і функціональний плагін, який дозволить нам отримувати зображення від наших користувачів без особливих незручностей, більше ніж вставлення короткого коду у бекенді та очікування на завантаження файлу користувачами.
Керування медіа за роллю користувача за допомогою WP Media Folder
Як ми бачимо, існує багато способів дозволити нашим користувачам завантажувати зображення та файли у фронтенді, але проблема в цих випадках полягає в тому, що зображення можуть бути завантажені "випадково" і ми не можемо мати точний хороший контроль над тим, куди вони завантажуються, зовсім не хвилюйтесь! WP Media Folder прийде на допомогу.
WP Media Folder має спеціальний інструмент, призначений для управління доступом до вашої бібліотеки медіа, це може бути дуже корисно, коли ви хочете контролювати, хто завантажує зображення і куди, а також якщо ви хочете дозволити вашим користувачам керувати своїми власними медіа безпосередньо в бібліотеці медіа без можливості бачити інші ролі/користувачів медіа.

Перш за все, нам потрібно встановити WP Media Folder, це плагін, який дозволить нам використовувати всі доступні функції, щоб це працювало.
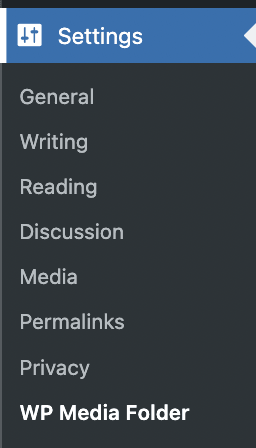
Тепер, коли ми його встановили, нам потрібно буде ввімкнути опцію обмеження доступу, для цього перейдіть у Налаштування > WP Media Folder, і ми зможемо побачити WP Media Folder .
У цьому розділі перейдіть до Доступ і дизайн > Доступ до медіафайлів.
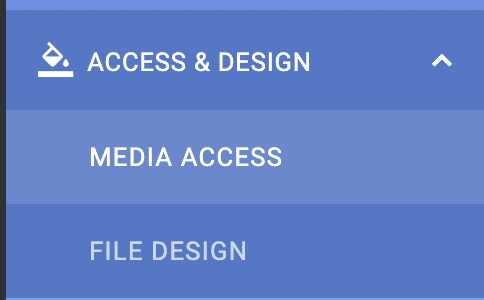
У цьому розділі, щоб обмежити кількість медіафайлів для кожної ролі користувача та автоматично створити папку, призначену для кожної ролі користувача, ми виберемо Доступ до медіафайлів за користувачем або роллю користувача та Ролі користувачів.

У нас також є більше опцій, таких як вибір папки шляху або надання дозволу ролі/користувачу бачити всі інші медіа користувачів/ролей.
Тепер, коли ми увімкнули опцію, щоб дозволити ролі користувача редагувати лише свої власні медіа, скажімо, у нас є роль редактора, і ми хочемо, щоб усі користувачі під цією роллю могли бачити та керувати своїми медіа для публікацій та сторінок.
За допомогою параметрів, які ми вибрали, все це повинно бути можливим, тому давайте подивимось, для цього все, що нам потрібно зробити, це увійти як Редактор і завантажити медіа, як вони зазвичай роблять.
Увійшовши як редактор, ви зможете побачити медіатеку таким чином.
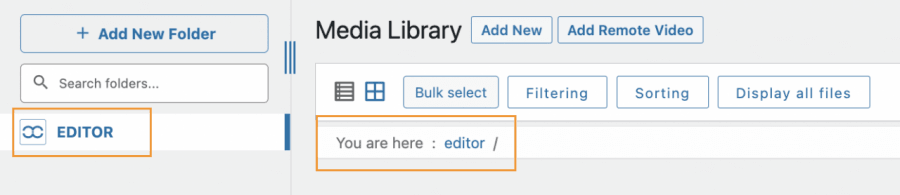
Як ви бачите, є два розділи, де Медіатека повідомляє вам, що ми знаходимося в папці під назвою «редактор», тому давайте завантажимо деякі медіафайли, щоб перевірити, як це працюватиме.
Процес завантаження буде точно таким же, як ви зазвичай робите, це може бути використання інструменту завантаження з фронтенду або просто використання вашої Медіа Бібліотеки, все, що завантажує ця роль користувача, буде автоматично обмежено для цієї ролі користувача.
Однією з переваг використання WP Media Folder є те, що ця роль (і всі інші з доступом до wp-admin) зможе створювати папки за допомогою кнопки +Додати нову папку
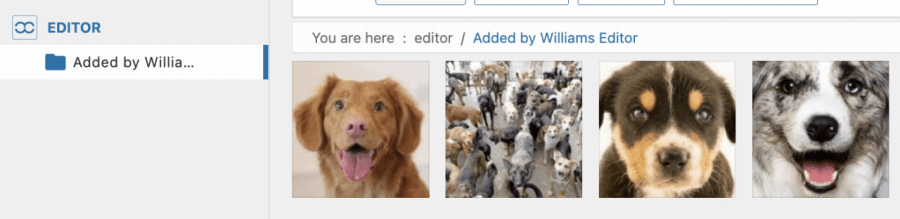
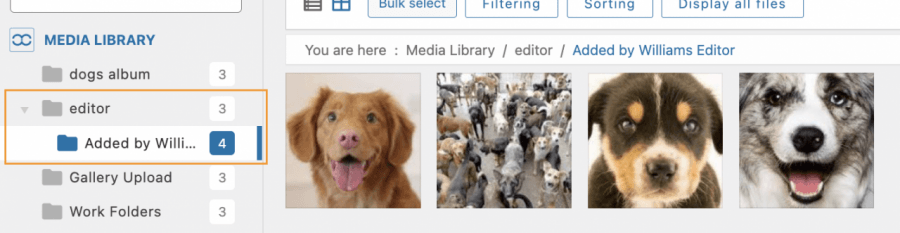
Ми можемо підтвердити, що під бібліотекою медіа було створено Editor папку, і всередині знаходиться папка, яку ми створили за допомогою ролі Editor, і це було так само просто, як натиснути кнопку!
Тепер, коли ми увімкнули опцію доступу до медіа , буде створено папку для кожної ролі, яка отримує доступ до вашої бібліотеки медіа та завантажує зображення, і зможе ділитися або не ділитися медіа з іншими користувачами під тією ж роллю залежно від налаштувань, які ви виберете, ви також можете мати більше контролю над своїми медіа за допомогою фільтрів
Яка чудова функція і дійсно легка у використанні! Чи не так?
Дозвольте вашим користувачам завантажувати файли найпрофесійнішим способом
У цій публікації ми змогли побачити, як дозволити нашим користувачам завантажувати свої зображення найпрофесійнішим чином та адаптувати наш сайт до кожного випадку, наприклад, просто надсилати форму або дозволяти нашим редакторам створювати спільну папку, яку зможуть бачити лише вони в Медіатеці, і це ще не все! За допомогою WP Media Folder ви зможете робити більше інших речей, таких як підключення вашої Медіатеки до хмарного сервісу. Чудово! Чи не так?
Дізнайтеся більше про WP Media Folder і Обмеження доступу тут!
Коли ви підпишетесь на блог, ми будемо надсилати вам електронний лист, коли з'являться нові оновлення на сайті, щоб ви не пропустили їх.


Коментарі