


Add and edit image galleries like a pro in Elementor

While using Elementor helps a lot while creating a page or post, it is also true that we may need more tools to make it work perfectly, one of these tools that are important to mention would be a Gallery manager that could allow us to improve the already powerful page builder, let's see how easy is to add and edit galleries with WP Media folder directly in Elementor.
With awesome tools like a gallery manager and an integration with all major Page Builders, WP Media Folder allows us to create really awesome galleries as well as order our media library in just a few clicks!
In this tutorial, we will be creating a gallery from the scratch using the Gallery Manager and directly from Elementor.
Create a WordPress Gallery with WP Media Folder
First of all, we will see how easy is to create a gallery using the WP Media Folder Gallery Addon.
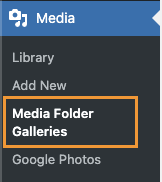
This Gallery Manager can be found after installing WP Media Folder and the Gallery Addon under your Media Library > Media Folder Galleries
On this screen, we need to hover over the + Add New Gallery and click on + Create New Media Gallery.

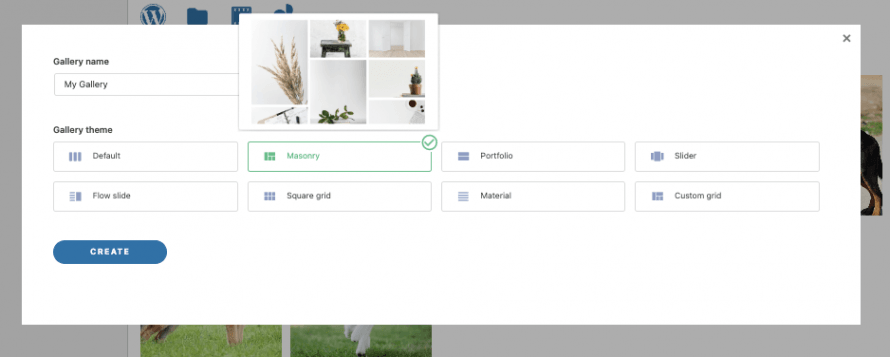
This will open a modal where we can type the gallery title and select a theme.
For now, we will name it "My Gallery" and leave the default theme.
This will lead us to the gallery creation dashboard with many options to set up and build our gallery, first, we will add images to our gallery.
We will notice many options to add media to the gallery, the main ones adding them from the Media Library or uploading directly from our PC File Explorer, let's see both of them.
First of all, we have the Media Library option which is the WordPress icon, click on it.

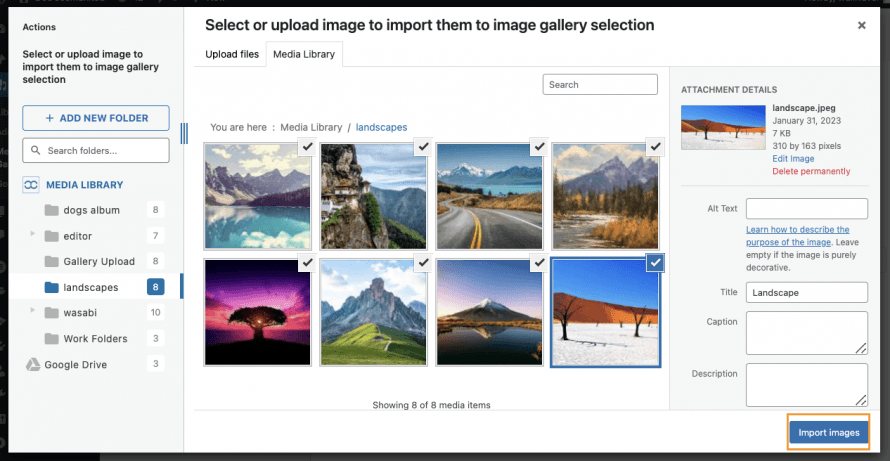
Clicking here will open the media library, you will notice that there are folders in my media library, this is thanks to WP Media Folder which allows me to order all my media in the best way possible with media folders and filters, you can see more about this here but that's for another post ;)
Now to add the images, all we need to do here is go to the media folder where we added the images that we want to add and select the images using ctrl + click to select them and finally, click on Import Images.
This will add all the images selected to the Gallery Manager allowing us to use them and adjust them.
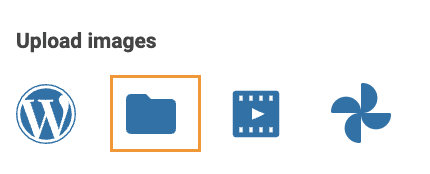
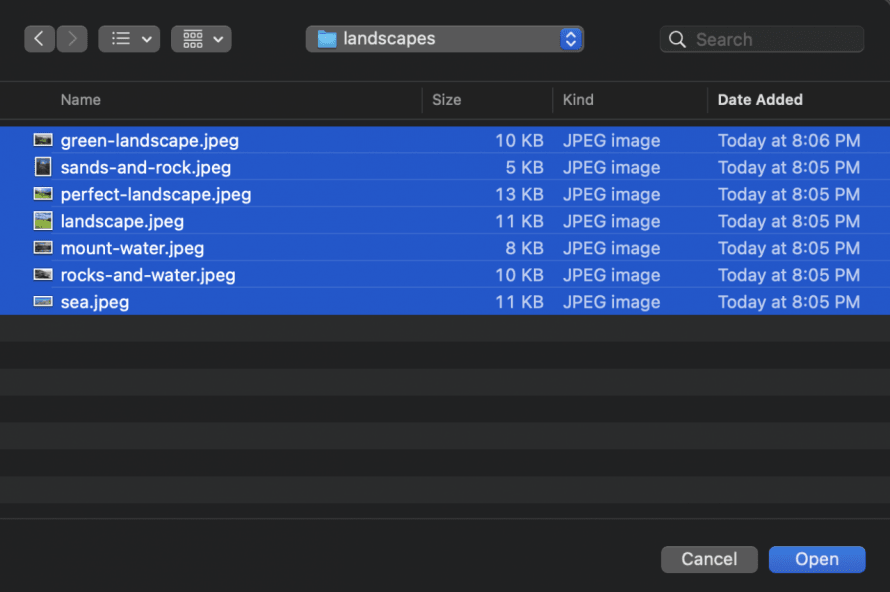
Now let's see the option to upload images directly from our PC File Explorer, for this, click the folder icon.
After doing this your file explorer will open instantly to allow you to navigate inside your folders and select the images that you want to add to the Gallery.
Select the images that you want to upload and then click on Open.
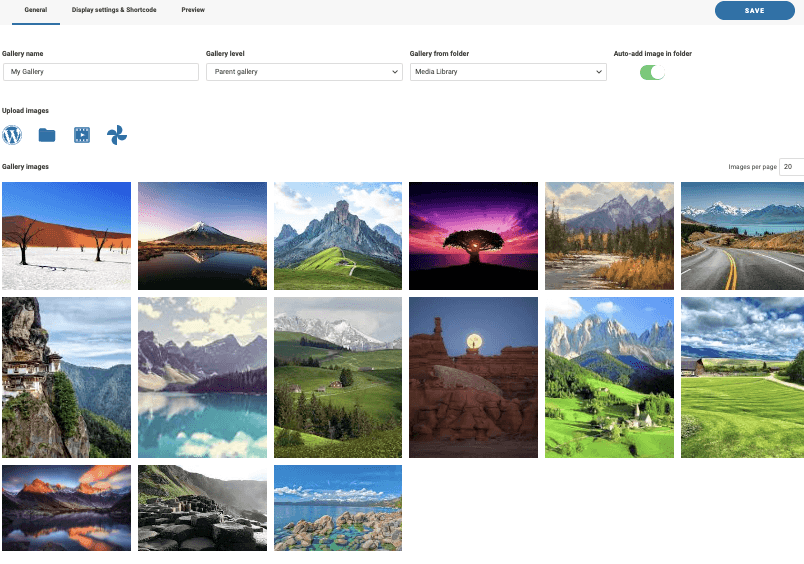
After doing this, we should be done! Now we have all the images in our Gallery Manager ready to be used for our gallery.
Now that we have all our images in place, let's check the gallery settings, for this, click the second tab Display Settings & Shortcode.

In the first instance, we can see that we have 8 galleries each gallery with its own settings.
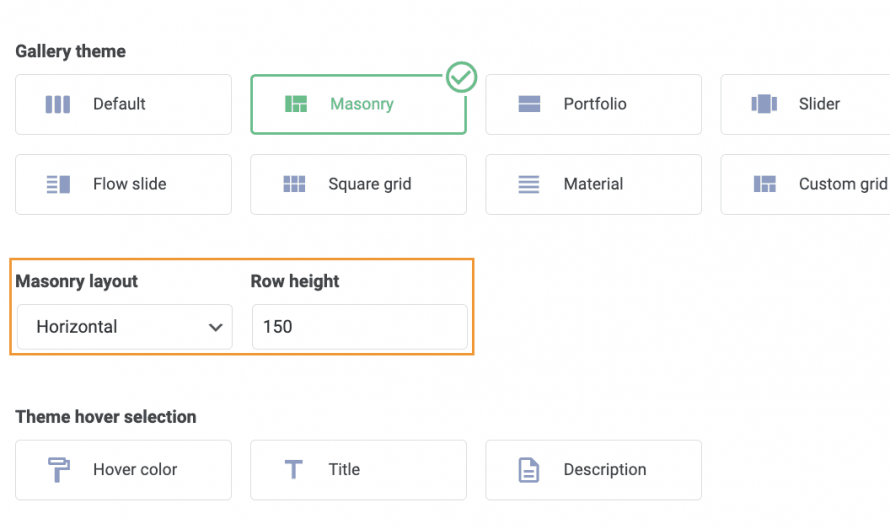
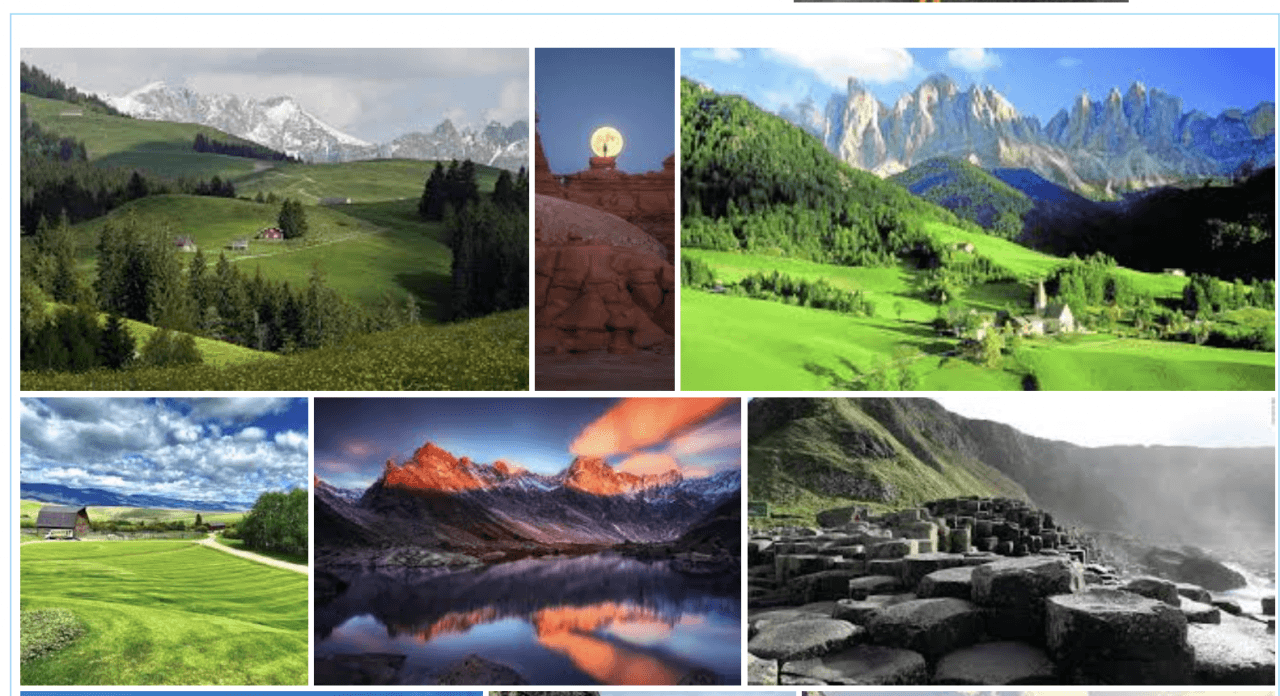
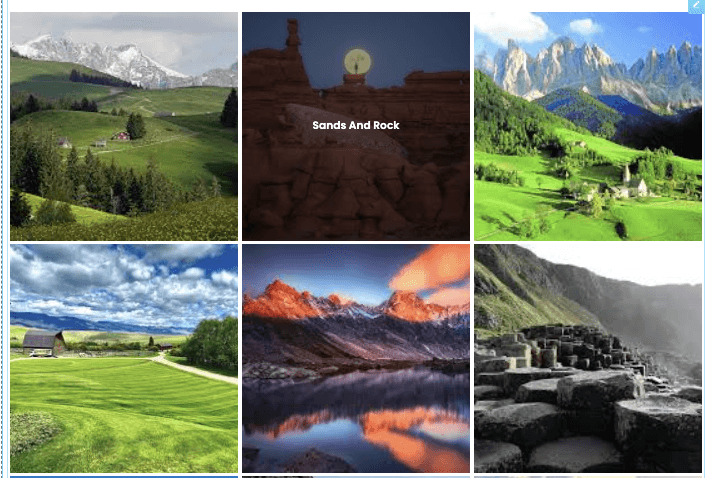
Let's see the Masonry, this is the classic wall with many images shown in different sizes, as we can see in the Preview tab.
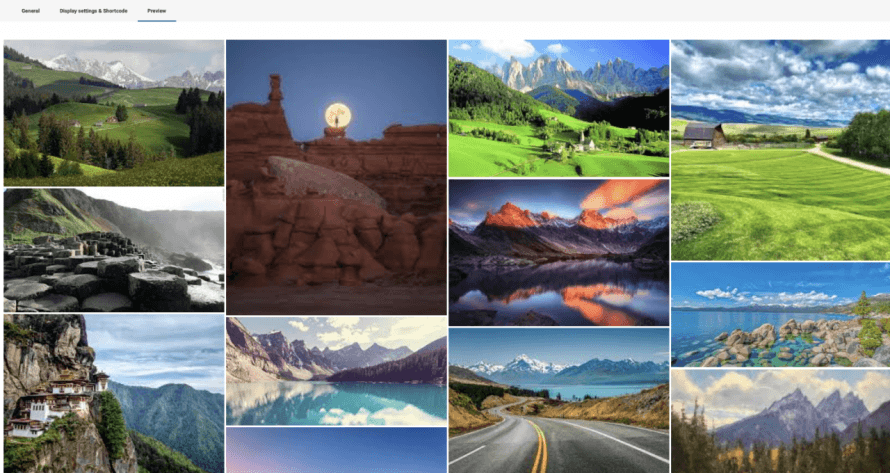
Under the settings, we can choose between all the options, for example, the image sizing and the masonry layout, let's edit it from the current vertical to Horizontal and make the images smaller.
Now checking the Preview tab to confirm how it looks like now.
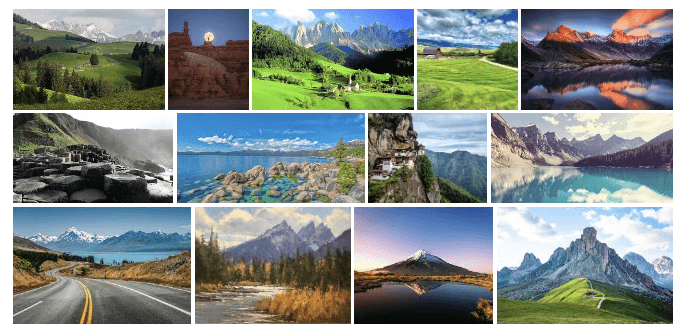
As you can see a really good tool with awesome features as it allow us to make changes and check how it looks like with a few clicks and in a few seconds! Creating a gallery hasn't been that easy before!
Adding WordPress Galleries in Elementor
Now that we saw how to create a gallery using the WP Media Folder Gallery Manager, let's see how to add it to our Post or Pages using Elementor.
In order to do this, go to your page or post (or create it) and click on Edit with Elementor the Page Builder will load.
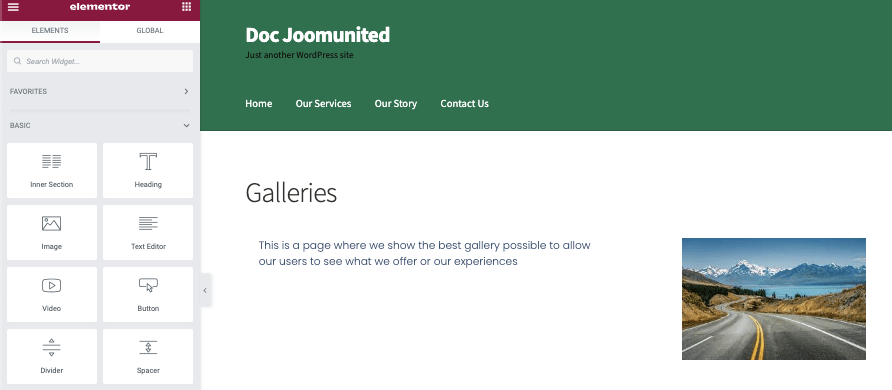
In the editor, look for the WP Media Folder Addon Gallery block, and add it to your content.
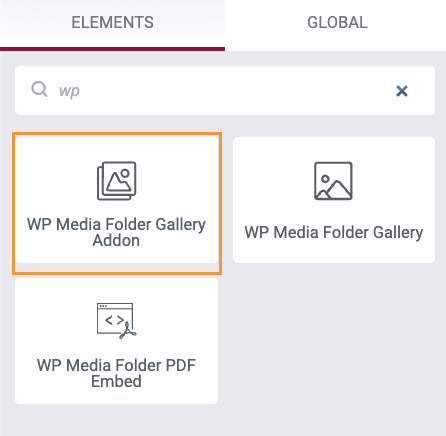
A block will load letting us know that the Media Gallery Addon Block has been added.
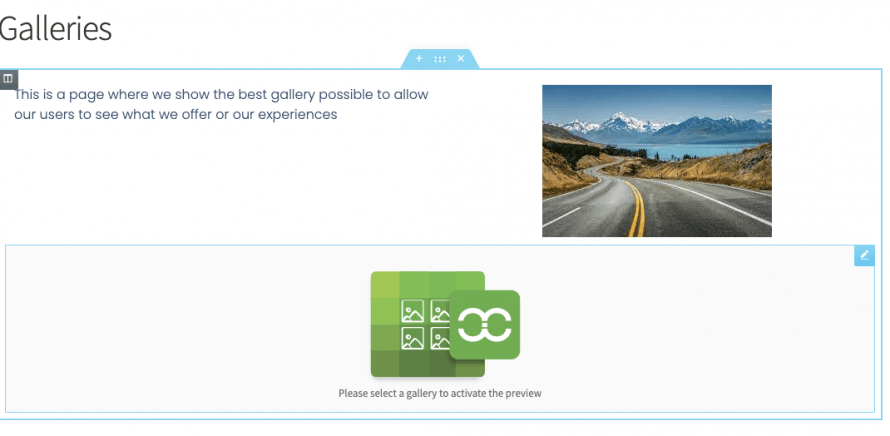
On the left tab, we will be able to select the gallery that we want and we will also able to adjust it.
First of all, let's select the gallery that we created under Choose a Gallery.
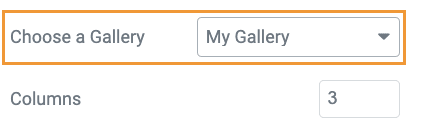
The gallery that we created earlier will automatically load on the page builder under the blocks.
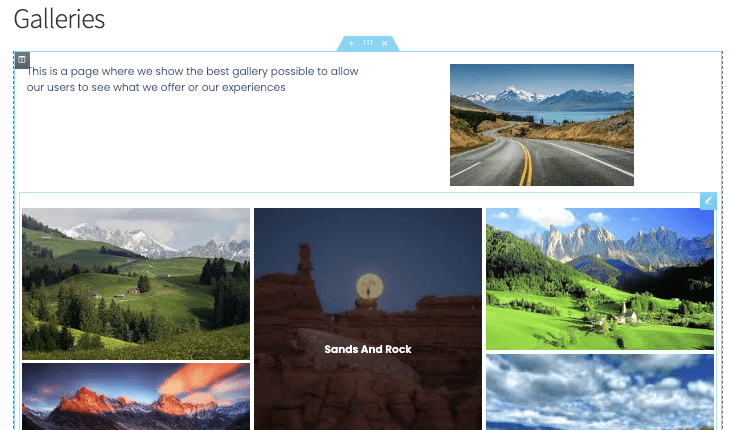
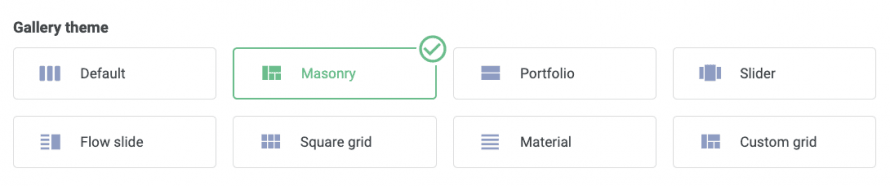
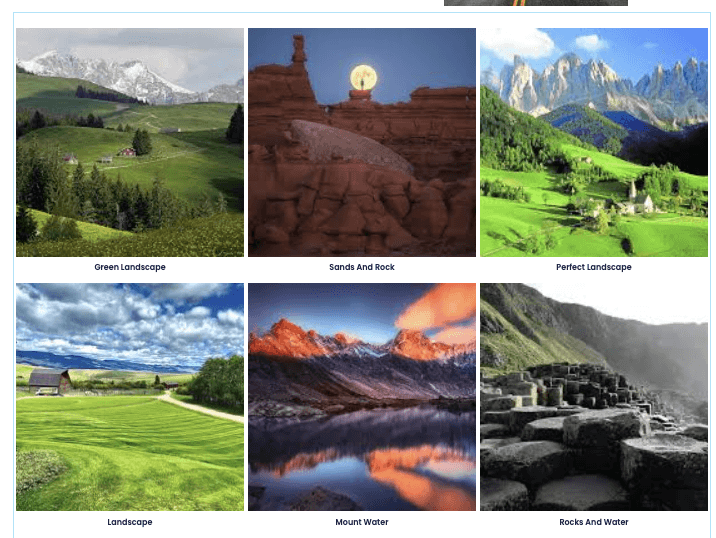
This is showing the Masonry theme that we selected in the Gallery Manager, let's check all the options available in the themes that can be selected directly from the block settings.
Masonry
A really good theme that could fit perfectly on almost every page allowing us to show many images.
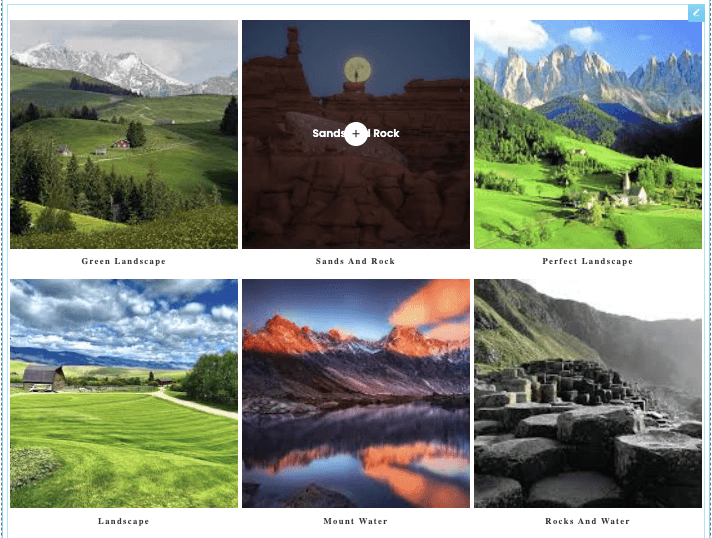
Default
This theme allows us to show the images in a classic way with the title of the image as well.
Portfolio
This allow us to show our images similar to the Default theme but using another font, perfect to show art.
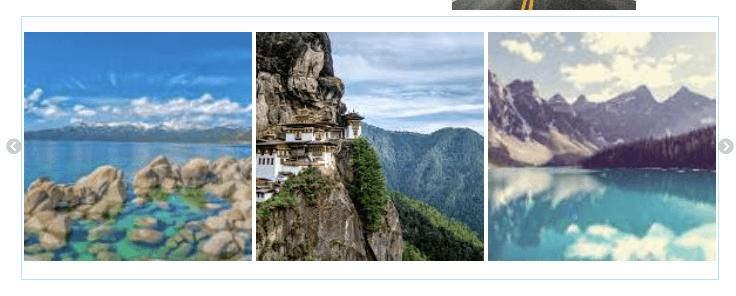
Slider
The classic slider that allow us to focus a few number of images per slide.
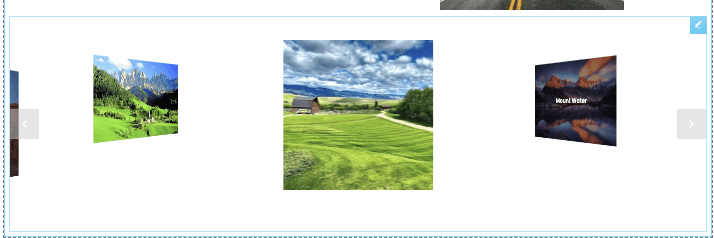
Flow Slide
Similar to the Slider theme but with another animation, focusing on one image per slide but allowing us to preview the other images.
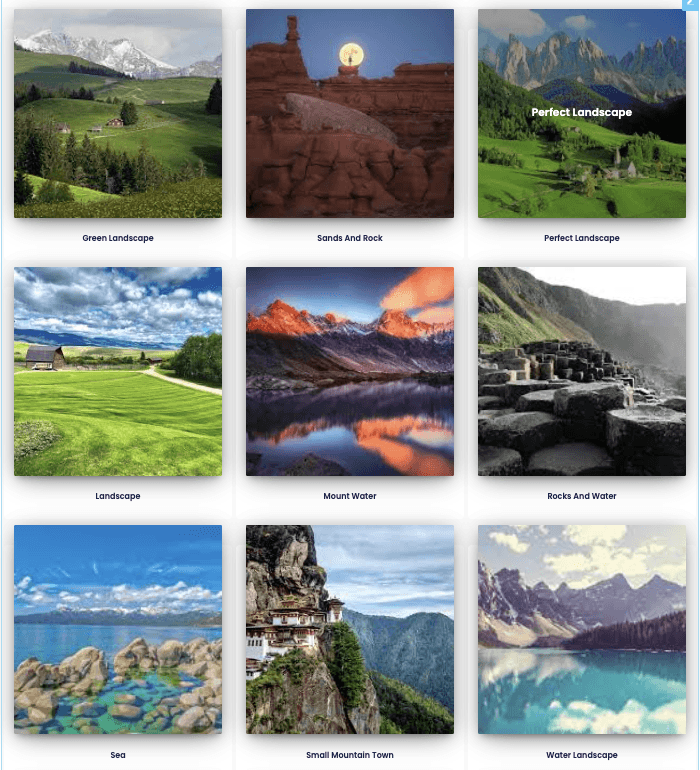
Square Grid
A classic gallery with square images that shows the image title when hovering them.
Material
A really awesome theme that allow us to show square images with a nice shadow and the titles.
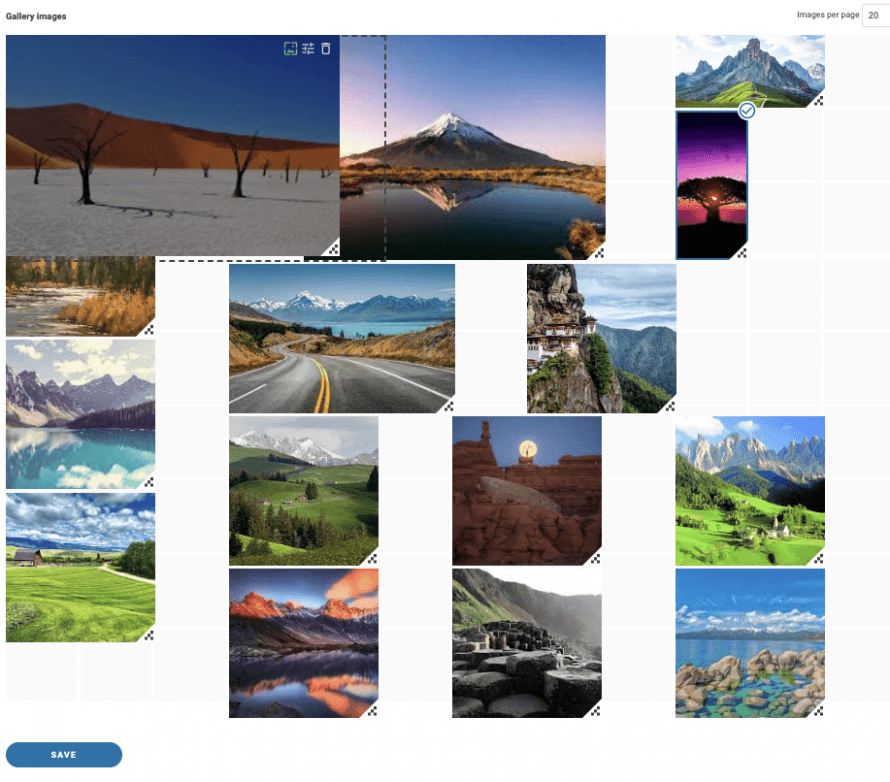
Custom Grid
A grid theme that allows us to resize the images to make them look how we want, is the best option when we want to create a gallery with our own image sizes/dimensions. Let's see how it works on the Gallery Manager quickly.
Now let's see the available options in the left menu for all the galleries.
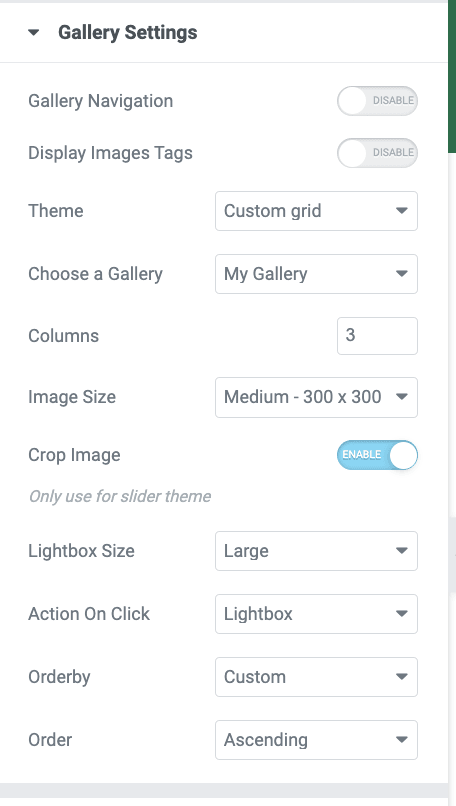
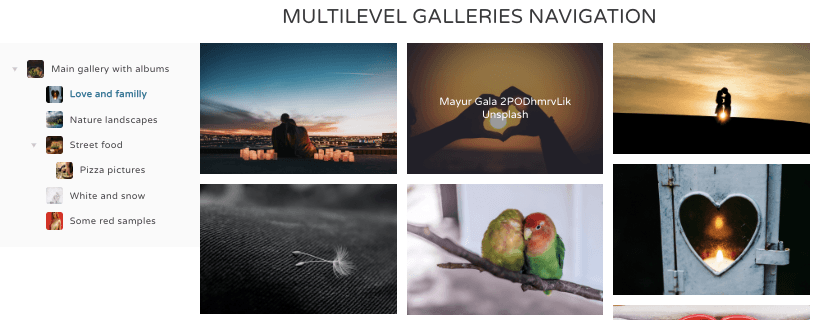
First of all, we have the Gallery Navigation, enabling this option will allow using the navigation galleries available on the WP Media Folder Gallery Addon which allows us to use parent galleries and sub-galleries as well, you can see a working demo here
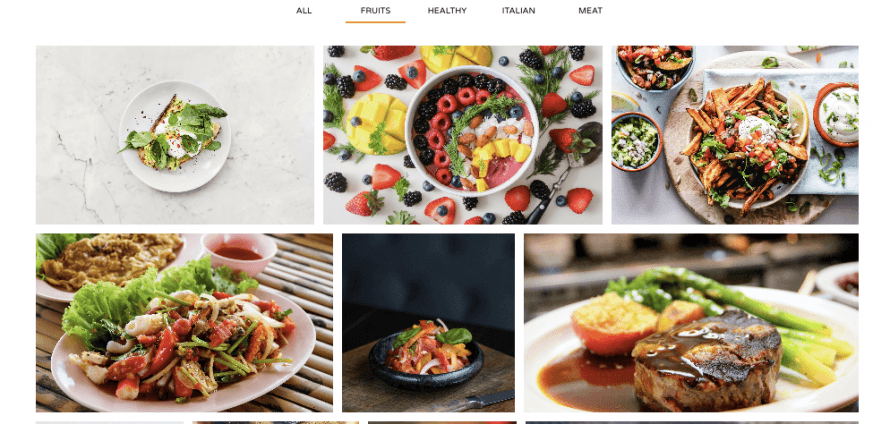
As a second option we have the Display Image Tag, useful when we have many images in a gallery and want to allow our users to filter them in the frontend using the tag system from WP Media Folder.
Then, we have the theme selector which allow us to select between the available themes (that we did show before) and will also show specifics settings depending on the theme selected like the layout and, for example, the slider transition duration.
We can keep checking and we will find the Choose a Gallery option that will allow us to select between all the galleries that we have created in our Media Gallery Manager.
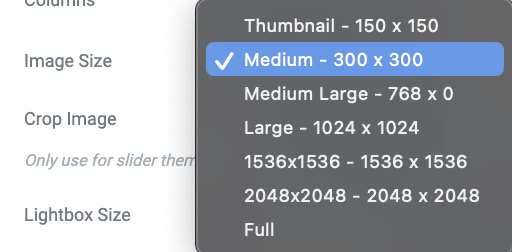
Image Size, this option allow us to select between all the available image sizes letting us adjust the images so these looks and fit perfectly our content.
The LightBox Size option will allows us, like the image size, select the size of the lightbox that will be shown if we select it as action on click.
We will also have the Action on Click that will allow us to select between showing a lightbox that is a larger version of the image, going to another page or just doing nothing when clicking on the image.
And the last option that is the ordering settings where we will able to see and select how we want to show our images in the gallery.
Of course, apart from these, we will have the settings for adding margin between images, change the hover color, add a border and a shadow.
As you can see, it is really easy to use Elementor to fine tune our WP Media Folder galleries and make it fit our page!
Create fast galleries using media folders
As an extra topic, we will show how to create galleries using the folders created by WP Media Folder in a few seconds.
This feature will also allow us to automatically add images to the gallery when these are added to the folder.
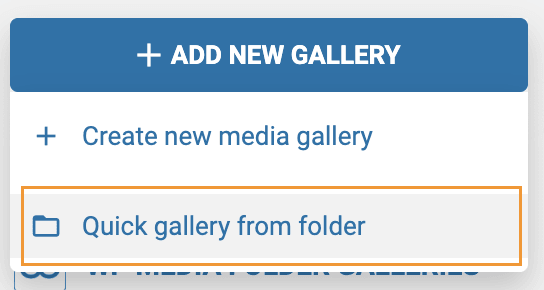
First of all, go to the Media Folder Gallery under the Media Library where we created the gallery before, on this page hover the mouse over the + Add New Gallery button and then, click on Create Gallery from folder.
A folder explorer will be displayed where we can select the folder that we will use.
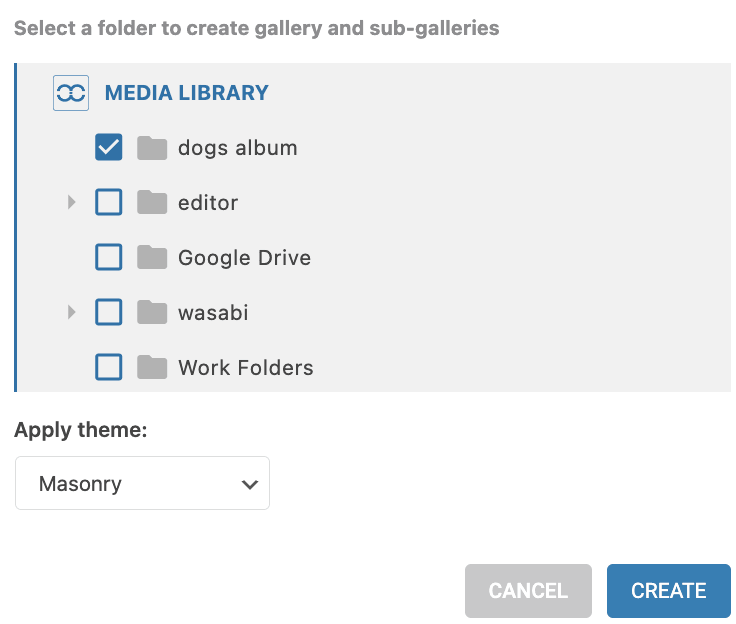
After clicking on Create, the images inside the folder will be automatically loaded into the gallery allowing us to create a gallery in just a few seconds!
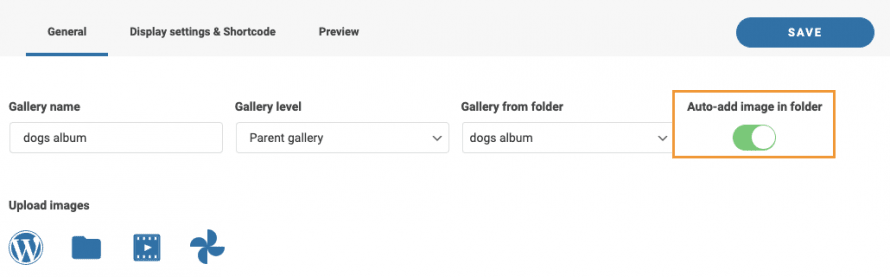
We will be also able to auto-add images when these are added to the media library in the same folder that we just selected saving us the time of going to the gallery manager and adding the image manually.
To use this option, the Auto-add image in folder should be enabled, available at the top right just below the Save button.
And the magic is done! Folders that are also images displaying automatically in the front end, what else would we ask for? :)
Start using WP Media Folder with your favorite builder
We do also have a video explaining everything step by step so you can see the plugin working in live, check it out!
A plugin with amazing features that will allow us to not just create galleries but also organize our media, import from Google Photos and offload it as well!
Compatible with all major builders will allow us to organize and show our media in the most professional way with just a few steps, so what are you waiting for? Go here and get it now!
When you subscribe to the blog, we will send you an e-mail when there are new updates on the site so you wouldn't miss them.


Comments