


Replace the DIVI gallery widget with WP Media Folder gallery addon

Page Builders are part of the most important tools that can be used when creating a website and it is true that DIVI is one of the best page builders but what about if we could improve an already awesome tool as it is DIVI?
With the WP Media Folder Gallery Addon, you'll be able to replace and improve the gallery block from Divi with many tools like using predefined themes and customizing them to make them fit your site content.
There is also a section specialized to manage your galleries, edit them, and also preview them but that's not all! You'll be able to manage your galleries directly from the Page edition, we'll see how easy is to do it on this post ;)
Say goodbye to messy media library.
WP Media Folder lets you categorize files, sync folders with
cloud storage, create amazing galleries and even
replace images without breaking links.
Optimize your media workflow today
Start using this essential Addon for your Gallery
In order to complete this tutorial, we're using WP Media Folder and the WP Media Folder Gallery Addon, these plugins contain the needed tools to manage and create the galleries shown in this post.
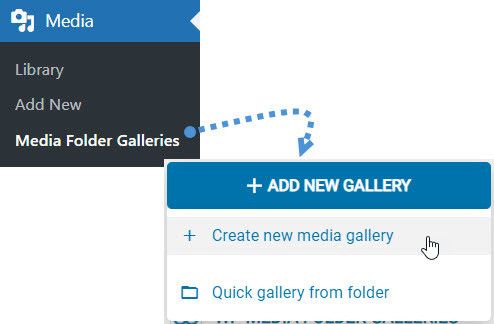
First of all, let´s start creating our first gallery with the gallery manager, for this, go to your Media > Media Folder Galleries on this section, you'll be able to manage all your galleries, now that we're here, click on +Add New Gallery > Create New Media Gallery.
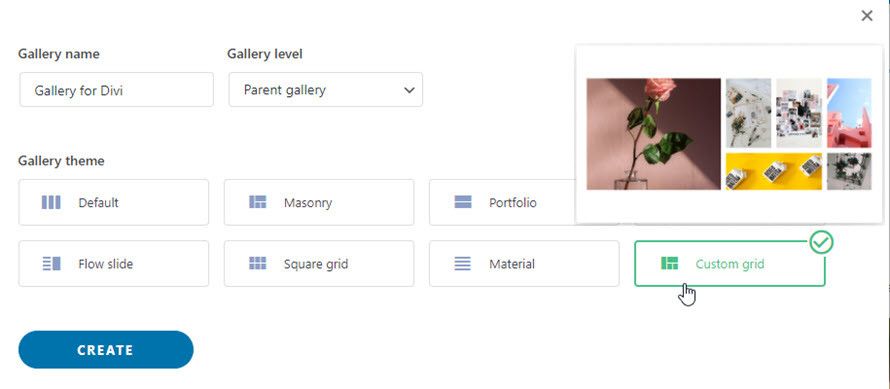
A pop up will appear where you can easily create a gallery by typing the title, selecting the theme that you want to use and if you ant to make this a subfolder, you'll be able to select the Parent Folder.
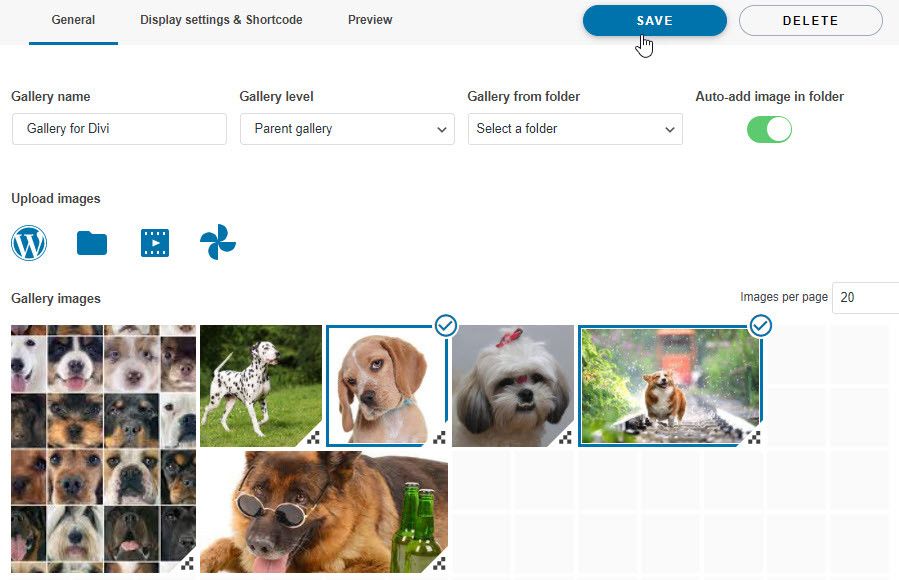
We'll add as the title "Gallery for Divi" and select the Custom Grid as the theme for this gallery, when it's done, click on Create.
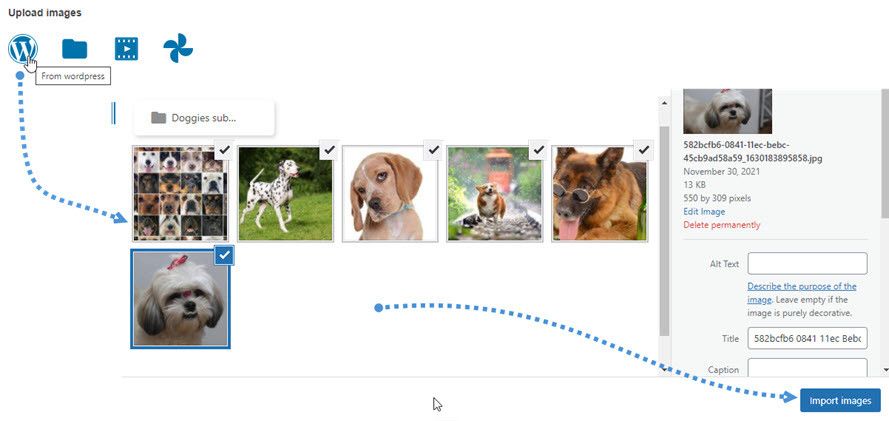
In this section, you'll be able to manage your galleries, first of all, let's add the images that are going to be used for this new gallery, you can use your media library, upload them directly from your PC or also use Google Photos to import the media to your new Gallery.
We're going to use the images directly from the Media Library for this tutorial, click the WordPress logo to load the Media Library and select the images that you want to use, then click on Import images.
This Custom Grid theme is special because it will allow you to make bigger and move the images with a drag and drop system.
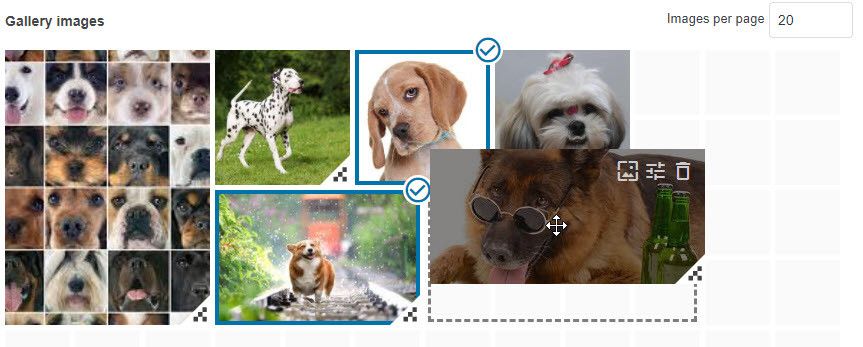
So let's set the images how we want them to be displayed, and click on Save.
There are many options we can change on this manager such as the display settings(like borders, margin, action on click and padding) but this can be also done directly from the Page Builder so as the gallery is already created let's see how to do it!
Create the Best DIVI Gallery
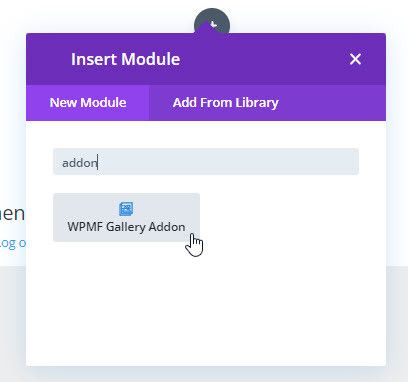
Now that the gallery is created, go to the page that you want to edit with DIVI and in the widgets after clicking on + and look for the block called WPMF Gallery Addon.
This will open a block with all the options to manage your gallery, first of all, look for the "Choose a Gallery" section and select the gallery that we created previously.
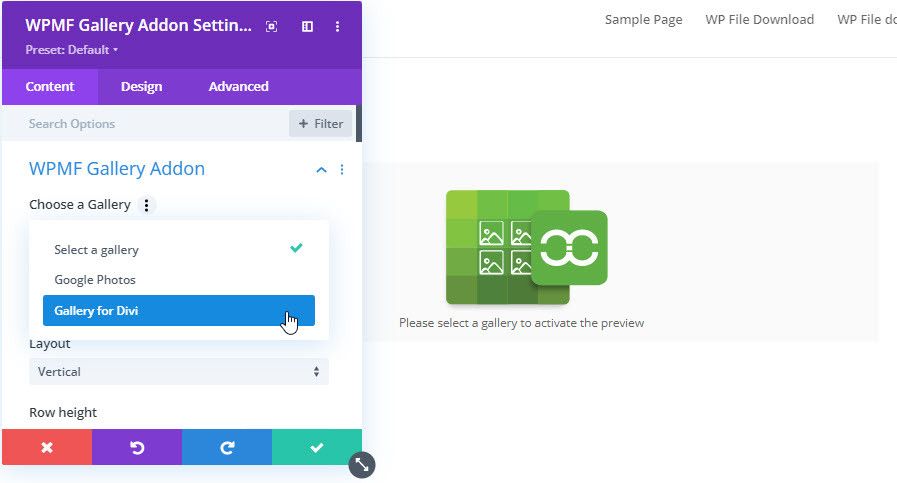
This will load the preview with all the settings available for the gallery theme in the block.
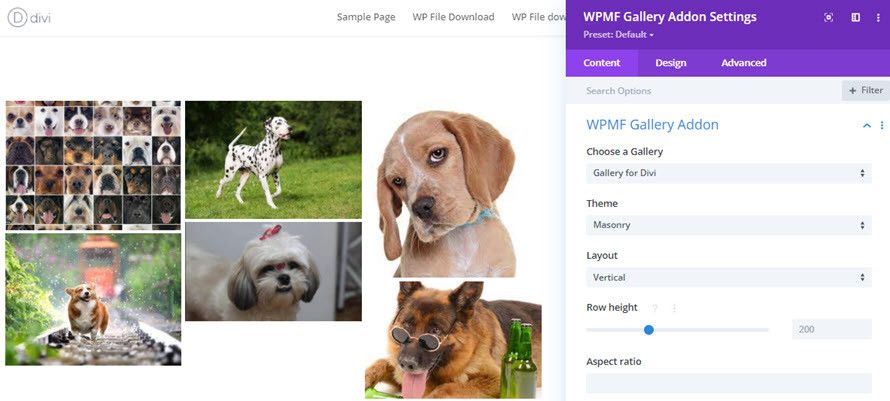
You can make the theme that you like fit your content using the theme settings, let's have a look at them.
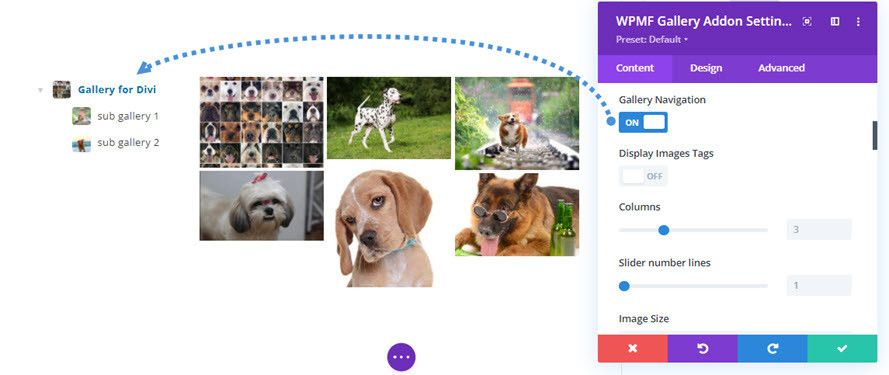
In the first place you have the option to change the theme, set another layout, make the rows to have more height and define an aspect ratio.
In case you want to show more than one gallery, you can select Gallery Navigation, this will allow you to add a gallery with its sub-galleries.
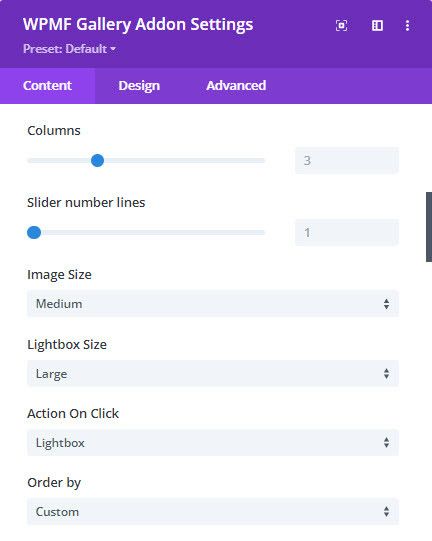
There are many other options that you can set like the Image Size, Lightbox Size, the action on click, and the order.
Other options like the border options to define a border for the images and make them curved for example are also available.
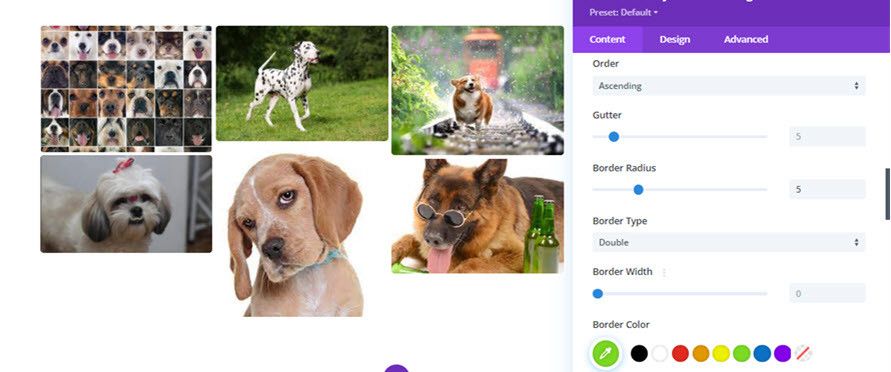
With these options and other advanced options available, you can adjust your gallery as a professional with simple options ;)
Create a shadow and customize it as much as you want.
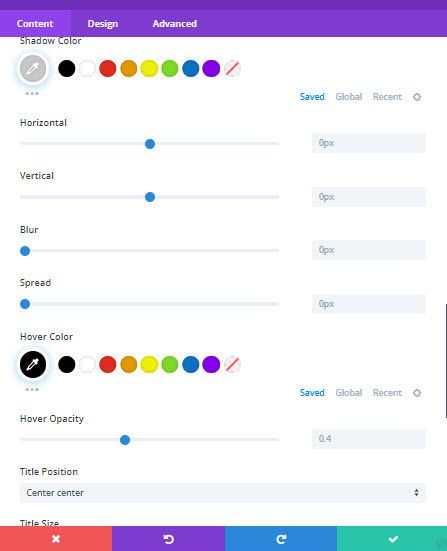
And finally, customize the title and description of your image as much as you want! There are themes like Portfolio and the default that will allow you to show the title, for example, you'll be able to set it from here and also preview the changes immediately in the page editor.
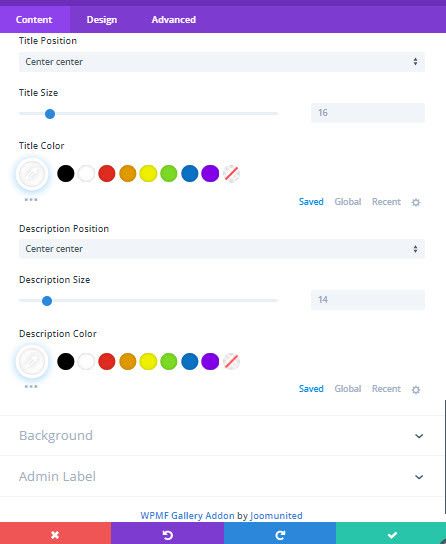
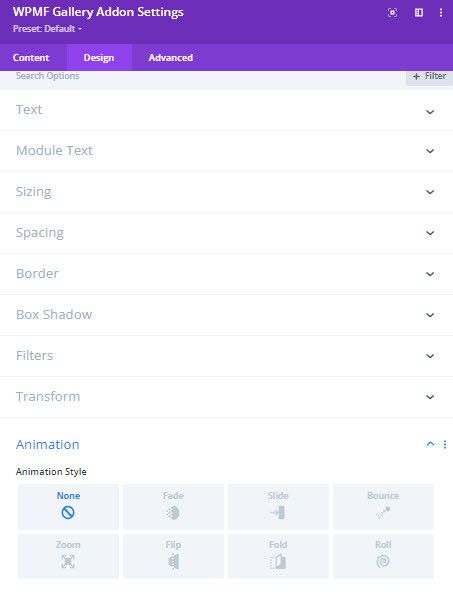
Finally, there are also the design options that will allow you to define all the advanced options(that usually require CSS knowledge) margins, borders, sizings, and animation if you want everything just with a few clicks.
Now that we saw a summary of all the theme settings, let's have a look at the themes available:
Default

Masonry

Portfolio

Slider

Flow Slide

Square Grid

Material
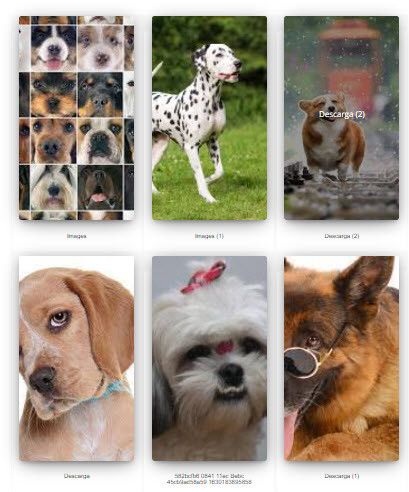
Custom Grid

As you can see there are many themes that you can choose and you can also modify them to make them fit any theme and site content.
Calling all webmasters!
Save time and boost productivity with WP Media Folder. Effortlessly organize client media
files, create custom
galleries, and provide a seamless user experience.
Upgrade your website projects now!
Start using this professional combination
As you can see there are many tools that you can use combining DIVI and the WP Media Folder Gallery Addon and that's not all you can, for example, use Google Photos to import albums directly from there to your galleries as well as all the other options that WP Media Folder offer you to improve your Media Library to the max!
You can check all these features by going here and obtaining your own copy to start creating galleries now!
When you subscribe to the blog, we will send you an e-mail when there are new updates on the site so you wouldn't miss them.


Comments