


My Testimonials: Common Use
1. Create testimonials
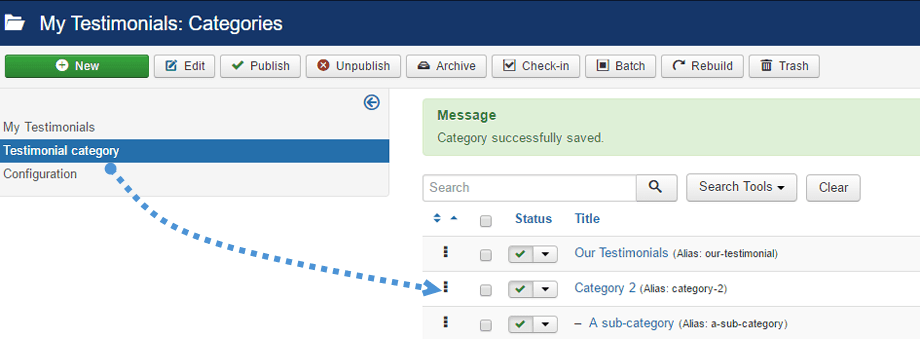
My Testimonials allows you to create testimonials from Joomla backend and from frontend (next chapter). From backend, you can use the default category or create new ones. Nested categories are allowed.
To access to the testimonial category management, use the menu Components > My Testimonials > Testimonials categories
Then, to add testimonials, use the menu Components > My Testimonials > My Testimonials
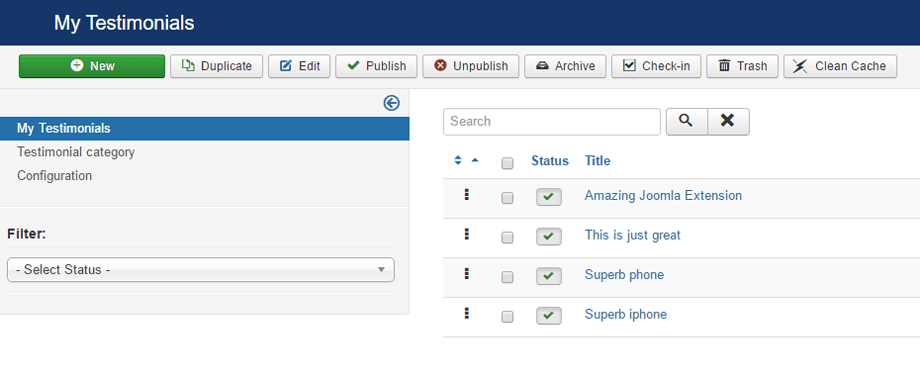
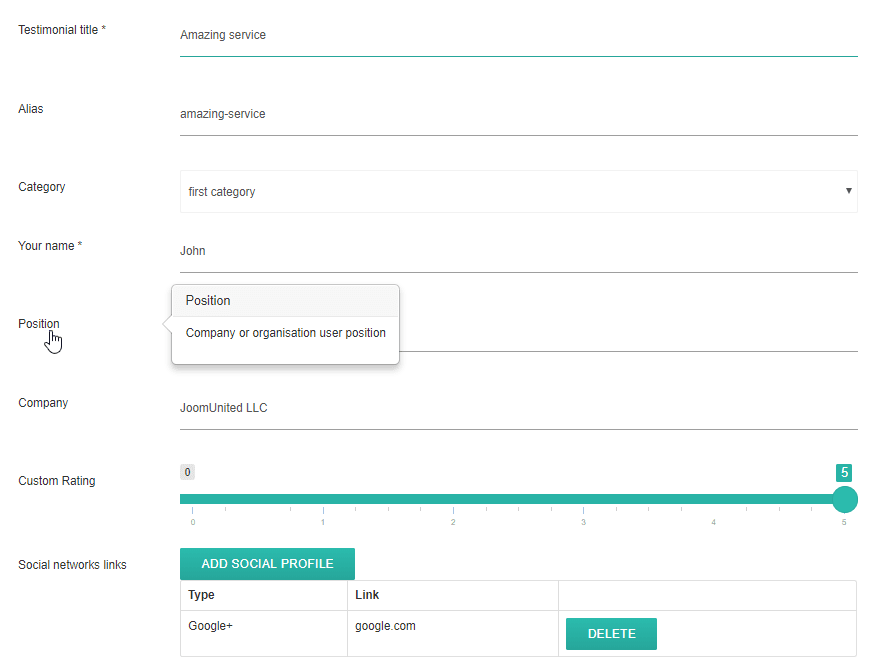
Then click on New and start editing a new testimonial. The first elements editable are:
- Title and alias: used as testimonial title and page title
- The category of the testimonial
- The mane of the reviewer
- The Company
- The rating: from 1 to 5, use by the extension as rich snippet rating (display star and review in search engine)
- Social networks links
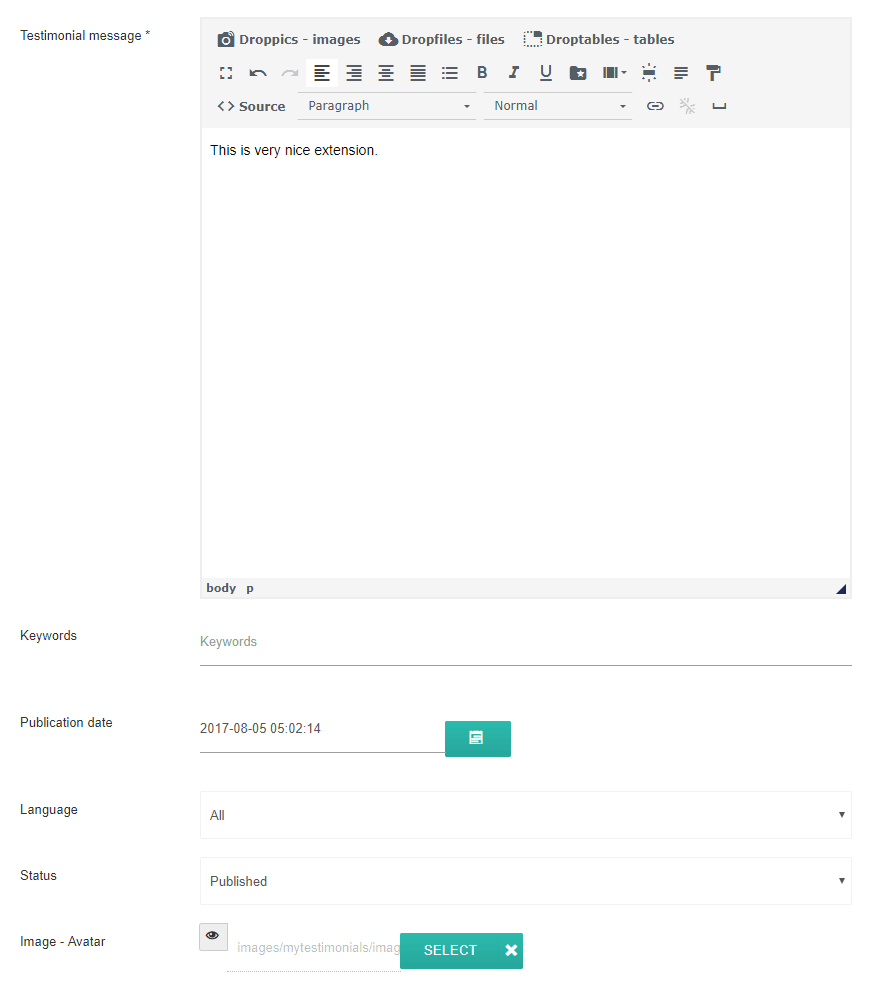
Then you'll find:
- The testimonial, review text
- The keywords (native Joomla teg system)
- The publication date
- The language
- The status of publication
- The avatar of the person (can be a custom image or use Gravatar integration)
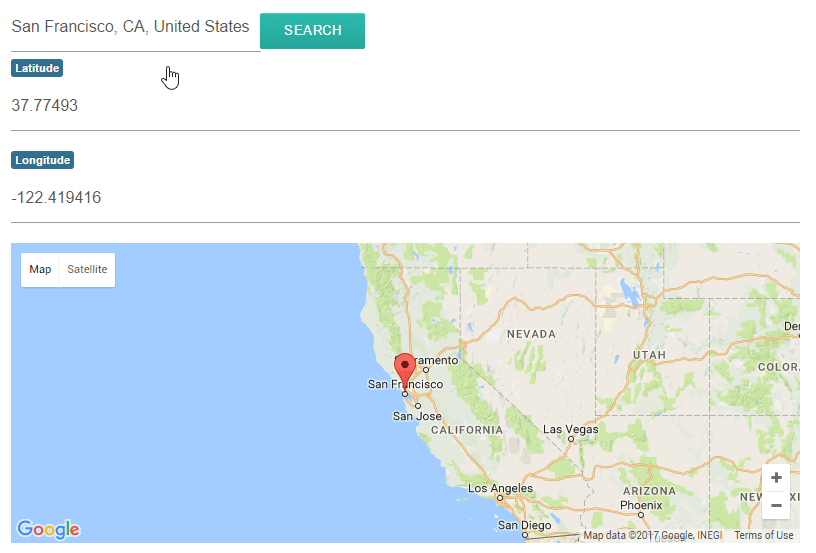
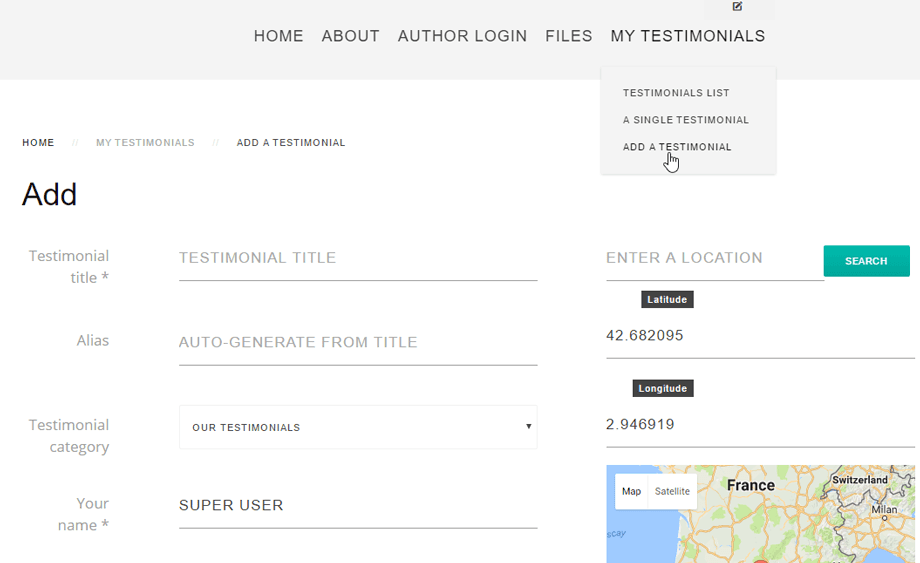
On the right part you'll find the testimonial geolocation information. To add a location you can:
- Type a place and use Google Maps suggestion
- Click to add a pin on the map
- Type an address
2. Get and edit testimonial from frontend
You can get testimonials from your users on frontend. From the settings you can activate this feature.
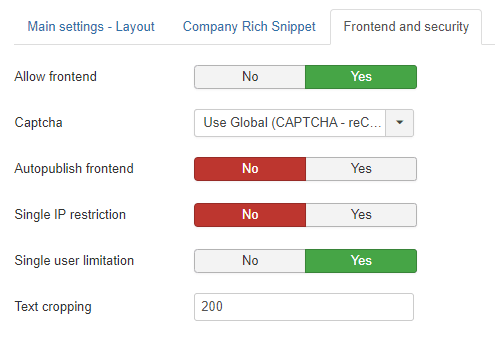
The setting comes with some additional restriction configuration.
- Allow frontend: Set to Yes to allow frontend submission (otherwise limited to super admin only)
- Captcha: Select the captcha plugin that will be used in the registration, password and username reminder forms. You may need to enter required information for your captcha plugin in the Plugin Manager.If 'Use Global' is selected, make sure a captcha plugin is selected in Global Configuration.
Please go here if you do not know how to setup Google reCaptcha: https://docs.joomla.org/J3.x:Google_ReCaptcha
- Autopublish frontend: will publish right away the user submissions, if not the submission will be set as unpublished
- Single IP restriction: limit 1 submission per user IP
- Single user restriction: Limit the user submission to 1 per Joomla account
- Text cropping: limit the text length on testimonial submission
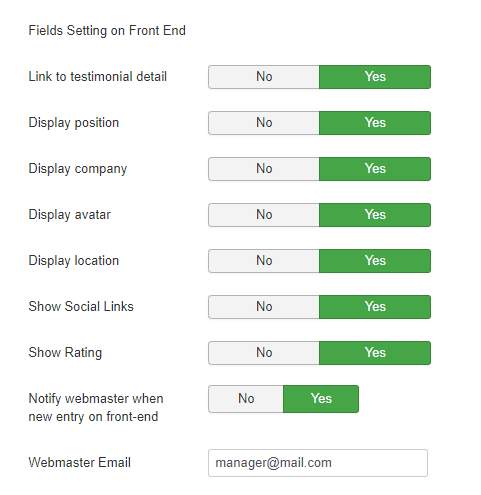
- Link to testimonial detail: Add a link to testimonial detail page
- Display position: Display position on front end form submission
- Display company: Display company on front end form submission
- Display avatar: Display avatar on front end form submission
- Display location: Display location on front end form submission
- Show Social Links
- Show Rating
- Notify webmaster when new entry on front-end: Webmaster will be notified by Email when a new entry is sent from front-end
- Webmaster Email: Add a webmaster Email to receive notifications
To complete those settings you can configure user group permissions
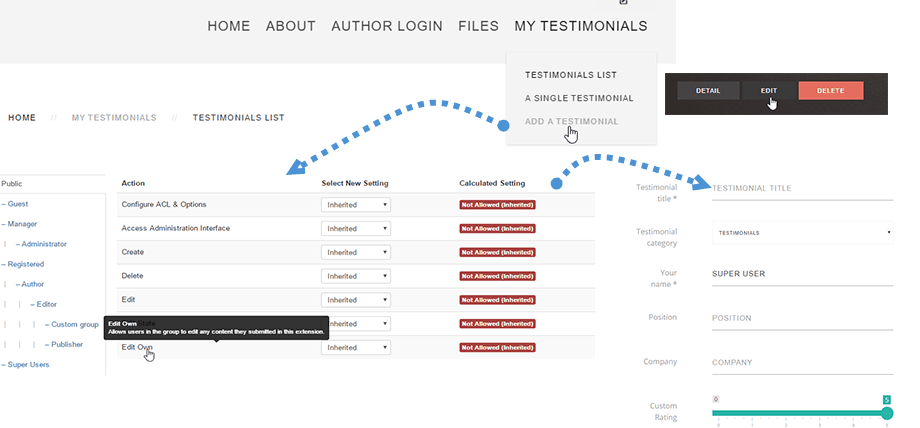
The group permissions allows you to restrict, per user group, who will be allowed to:
- Create testimonial
- Edit all testimonials
- Edit own testimonial
- Delete testimonials
Depending of the permission, some buttons will be displayed on frontend.
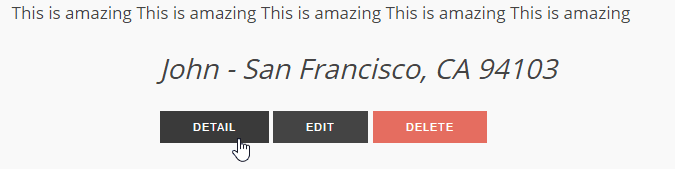
Then create a new menu element: Menus > A menu > Add > Menu type: Testimonial Form
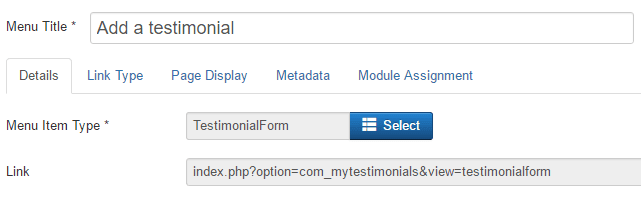
And you're done, you should get a frontend testimonial submission form
3. Testimonial menu display
The testimonials can be displayed using menus, module and you can setup your own design. From the menu you can display a single testimonial, a testimonial list or a geolocation based testimonials.
Create a new menu element: Menus > A menu > Add > Menu type: Testimonial List
You can setup the testimonial category to display on frontend.
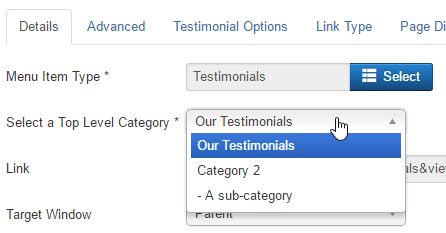
The testimonial ordering and count can be setup in the Advanced tab

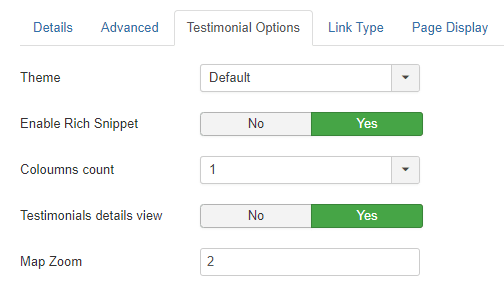
Finally, in the Testimonial Options tab you can activate the rich snippet output (to display ratings in Google search results), the column count and display/hide the testimonial details view.
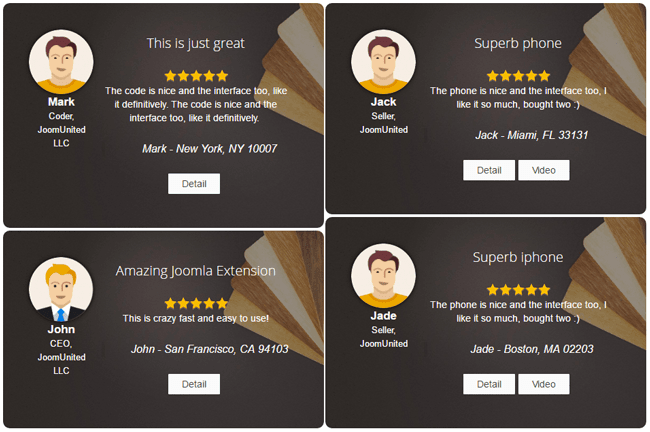
The frontend rendering will be a testimonial masonry wall, respecting the number of columns you've chosen.
4. My Testimonial module
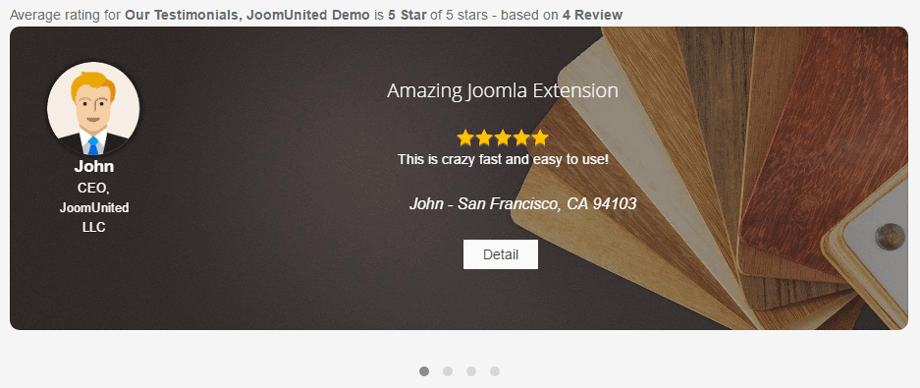
The testimonial module allows to use the Joomla module display flexibility to display a testimonial list masonry wall (like the menu) as slideshow.
Open the menu named My Testimonial
First, select a category of testimonial and a listing type.
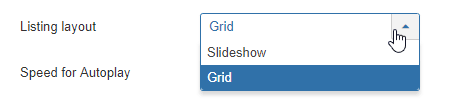
- Grid: Masonry layout with number of column selection
- Slideshow: will display a testimonial slideshow
The other module settings are:
- Theme: Select your theme
- Columns count: Number of columns for the testimonials listing layout
- Testimonials details view: Display/hide the testimonial detail view.
- Enable Rich Snippet: Activate the rich snippet output (to display ratings in Google search results)
- Override Rating and Count: Generate a rating score not from all the testimonial from the category but from the testimonial current selection (like last 10 testimonials)
- Source of review: You can select the source of review: My Testimonials, Google review or Yelp review
- Speed for Autoplay
- Category Filter: Show ajax category filter in module
- Testimonials count: Number of testimonials to load
- Ordering: Testimonials and ordering
- Direction: Sort order. Descending is highest to lowest. Ascending is lowest to highest.
- Text cropping: crop text
