


Droptables: Manage Tables
1. Manage tables from article or component
When Droptables is installed you have a component entry, menu Components > Droptables and an editor button that is displayed in your editor. Click on it to open the main Droptables view.
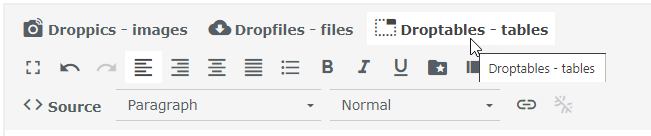
Table manager interface is opened in a lightbox from the editor:
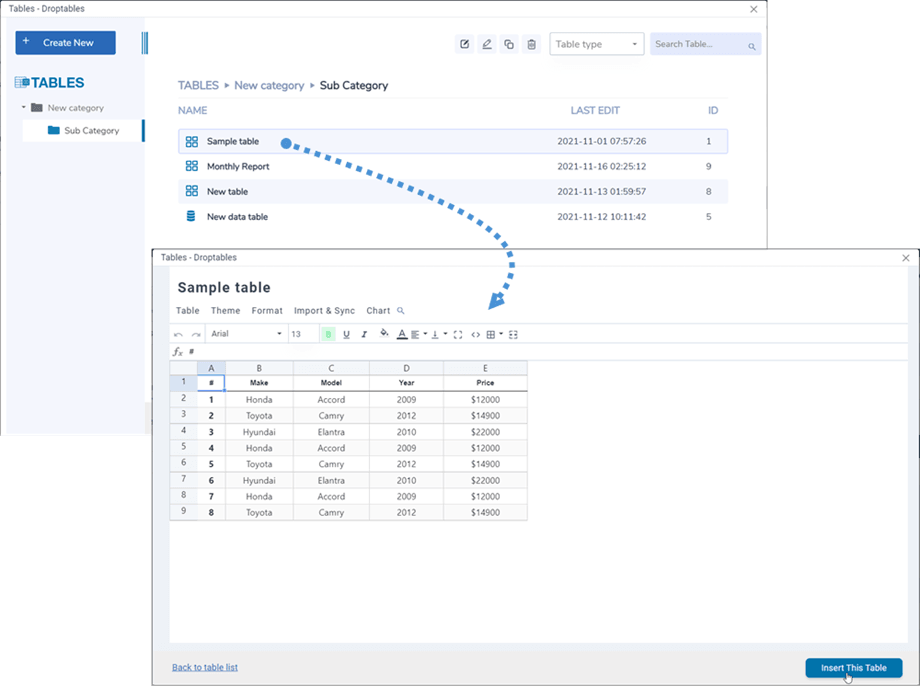
When you want to insert a table in your editor, click on it the blank space on the row and use the bottom right button Insert this table to put it in your article. From here, you can edit the table before inserting it by clicking on the table name.
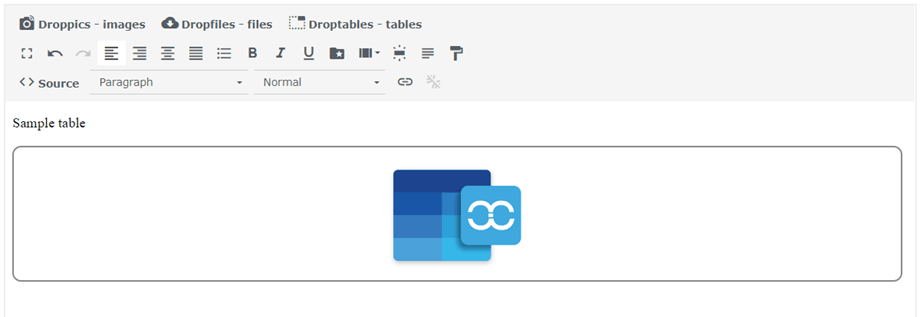
Then, the table will be materialized with a blue Droptables icon.
2. Manage tables and categories
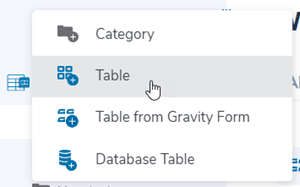
Tables are classified into categories. You can have as many tables as you want inside categories. In order to create a table category, click on Create New > Category on the top left corner. To create a new table just click on the Create New > Table.
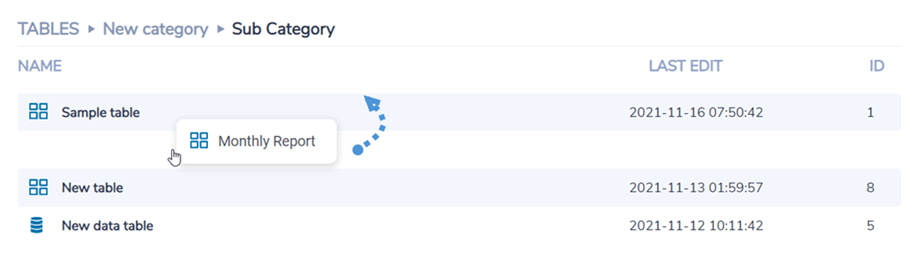
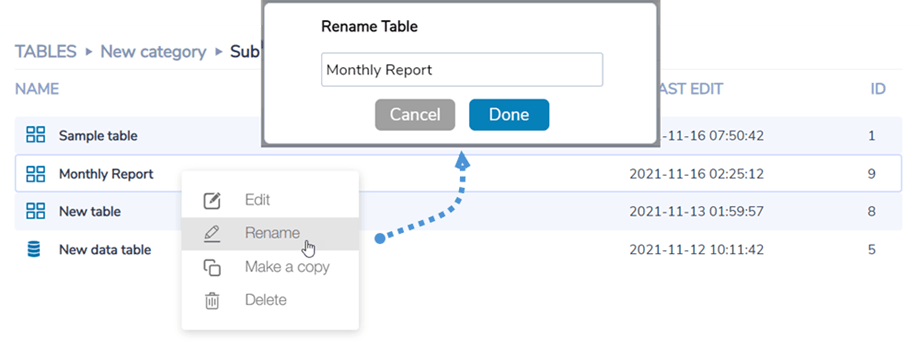
The category can be managed by putting your mouse on it, you’ll be able to edit the name, copy or delete the table.
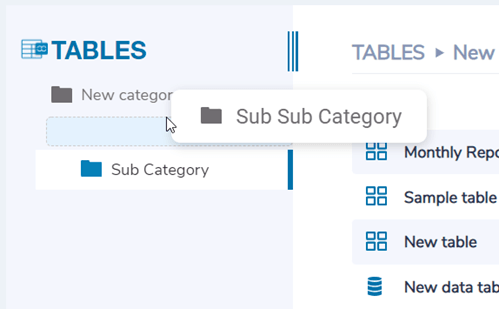
In order to create sub-category, you should navigate your cursor to the very left category title, then you can drag'n drop your mouse to the right or left to define the level of that category.
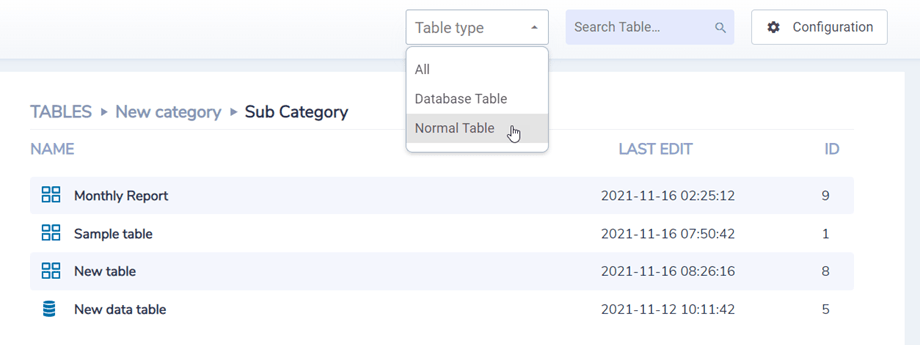
At the top right part of the dashboard, you can filter table types, search tables by name, or go to Configuration.
3. Table edition
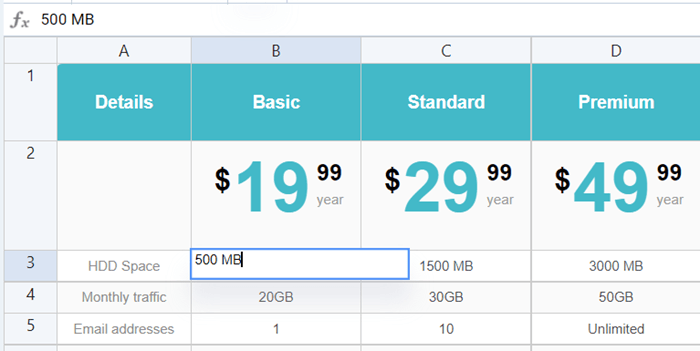
To add data in tables you have to act like you are in a spreadsheet. Double click on a cell will bring you the possibility to update content, a single click to select one/some cells (and to apply style for example).
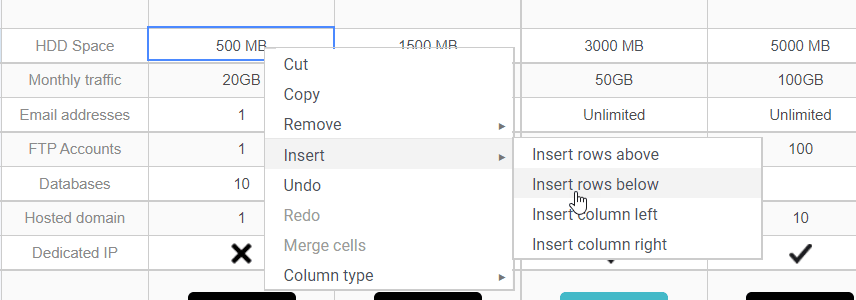
To add rows or columns, you can use the right-click and select option.
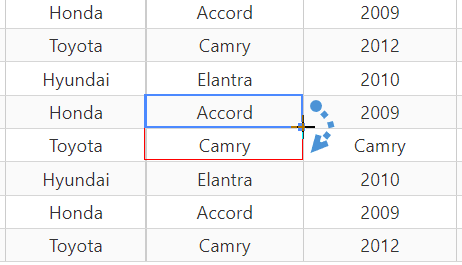
To copy cells you can use CTRL+C / CTRL+V or you can also put your mouse on the bottom right corner of the cell and bring it into the direction you want.

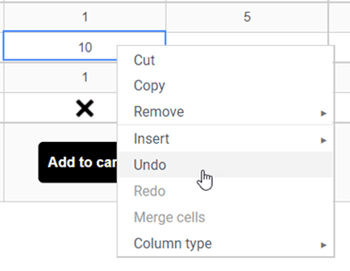
From the right-click menu you can undo the latest modifications, all the latest ones since you've reloaded the page. Droptables keeps a backup of the modification you’ve done with cells content edition and is able to restore it.
4. Advanced content edition
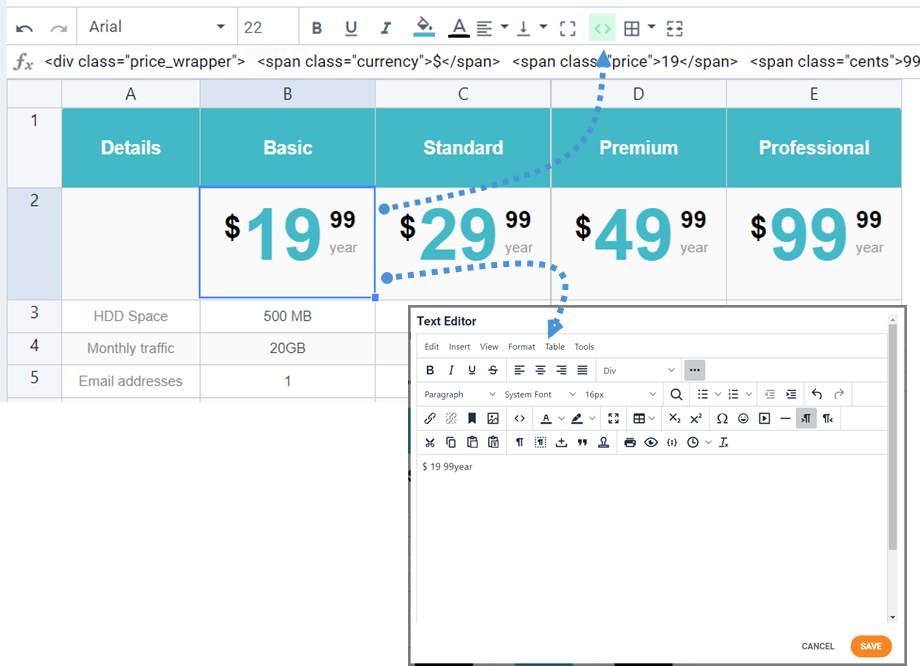
HTML cells
You can now add HTML content with a WYSIWYG editor inside each cell. Select a cell, on the toolbar, click on < > icon. Now when you edit the cell, you’ll have HTML editor inside. Image and HTML are available.
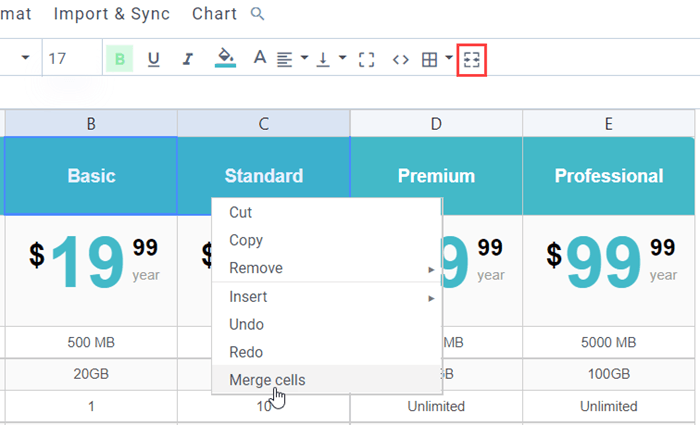
Merge cells
The cells can also be merged. Select 2 cells or more then do a right-click, a menu will allow you to do the merging. You can also use Merge cells icon on the toolbar.
Hide columns on front-end
In order to hide a column of a table on frontend, you can right-clicking on the column header, then select the "Hide column on front-end" option. The green tick will appear at the end of the option. Finally, users can not see that column on front-end. You can hide as many as columns you want.
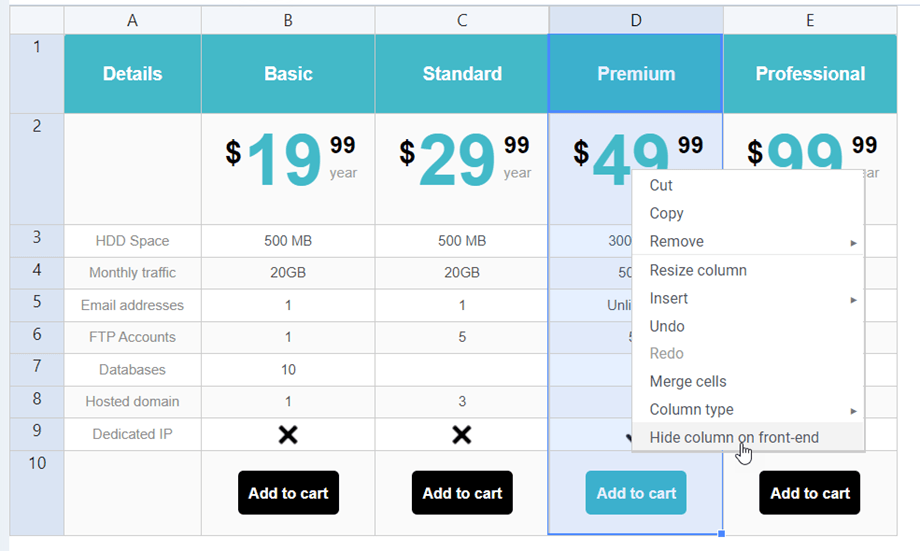
This feature is available on the database tables also.
5. Excel and spreadsheet export
You can export spreadsheets in Droptables by using our dedicated tool. It has to be activated from the configuration: Droptables > Configuration > Main settings.
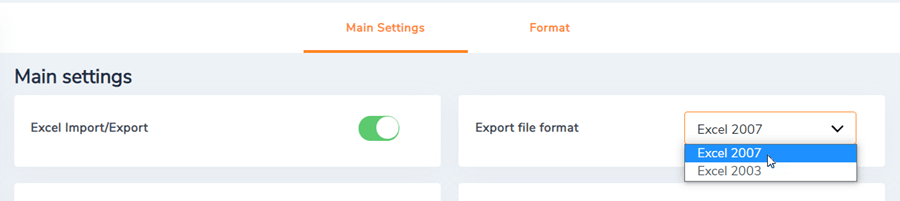
The tables can be imported from Excel or Open Office. The format will be detected automatically and imported. Note that only the first Excel page will be imported. The export can be done in Excel 2003 or 2007 format.
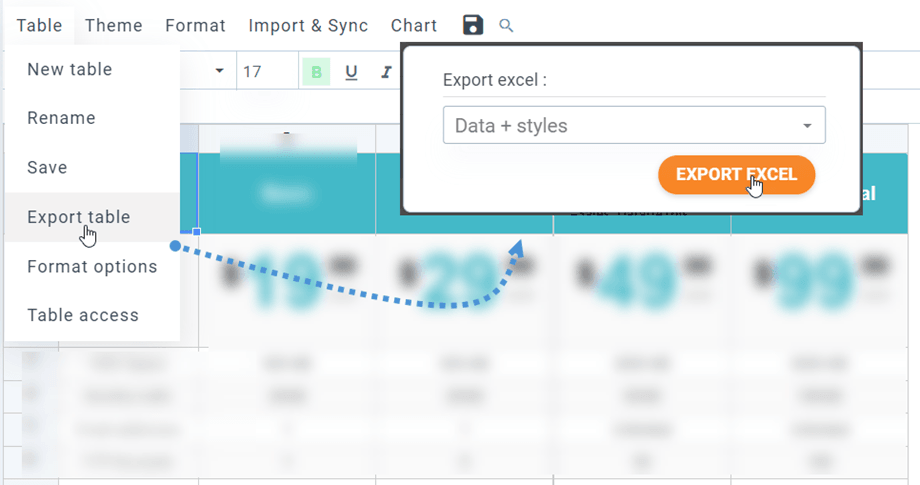
You can also import or export table data only or table data + styles. The import data only is pretty handy to preserve your layout on import.
6. Shortcode
Cells shortcode
User can insert several rows and columns using a shortcode instead of a whole table. First, you should select cells that you want to insert. Then right-click on that and select Cell insertion shortcode option in the context menu.

After selecting the options on the popup, click on Copy icon. Then you can paste the shortcode to your posts/pages.
e.g: [Droptable id="1" download="1" align="none" range="1,1,4,4"]
